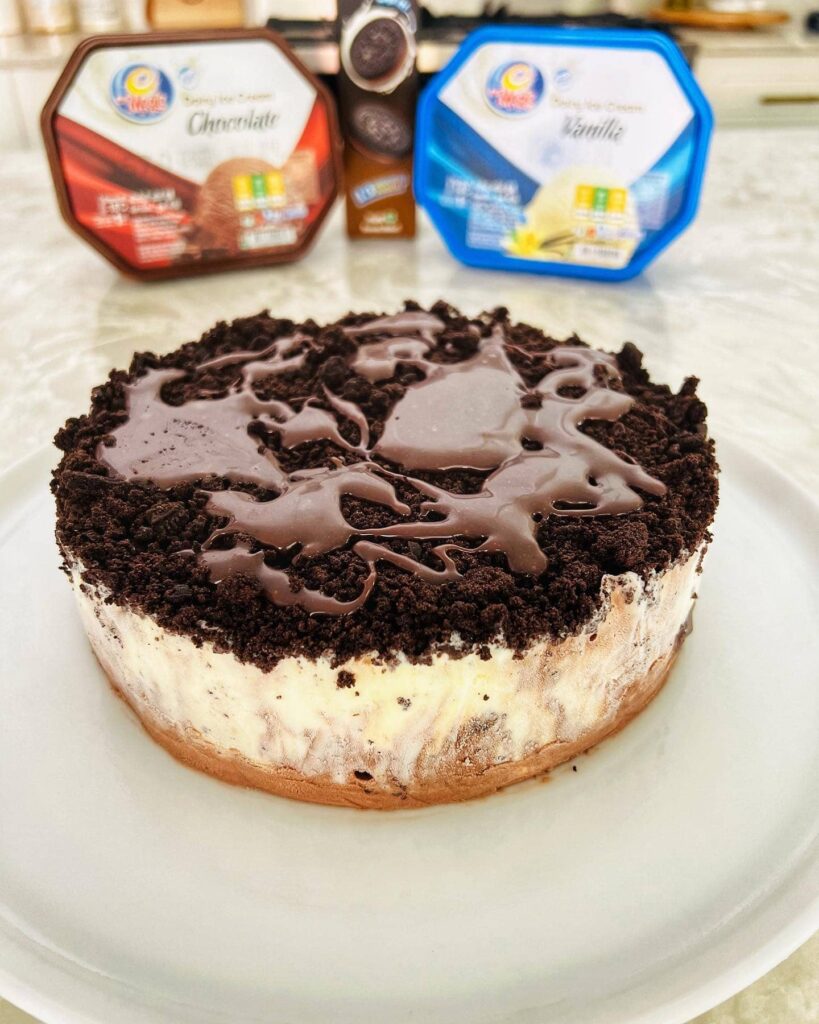
Who doesn’t love ice cream, especially when it’s transformed into a cake? If you’re craving something cold, sweet, and incredibly satisfying, this Ice Cream Cake is the dessert for you! It’s the perfect treat for any occasion.
Plus, it’s so easy to make! With layers of chocolate and vanilla ice cream, crunchy Oreo biscuits, and a rich chocolate fudge sauce, this cake is guaranteed to be a hit with everyone.
Let’s dive into this delicious, no-bake ice cream cake recipe that you’ll want to make again and again.
Stock Up with These Ingredients
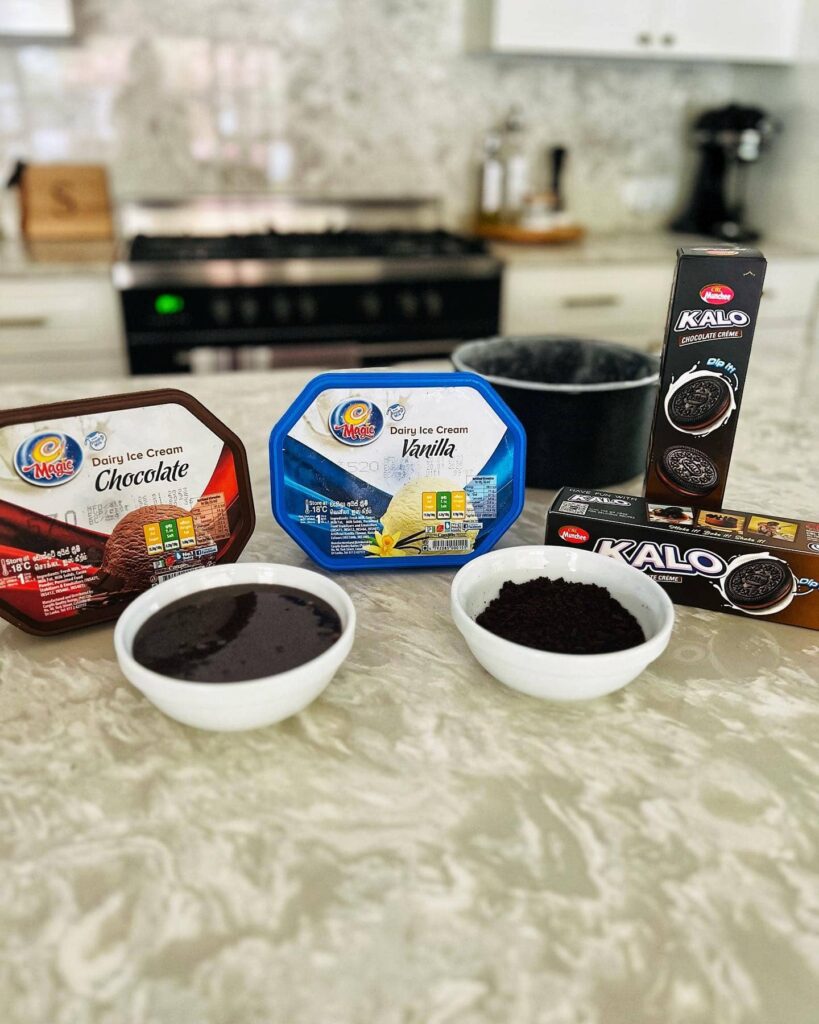
Here’s everything you’ll need to create this dreamy ice cream cake:
For the Cake:
- 1 liter chocolate ice cream
- 1 liter vanilla ice cream
- 140g Oreo or Kalo biscuits, crushed
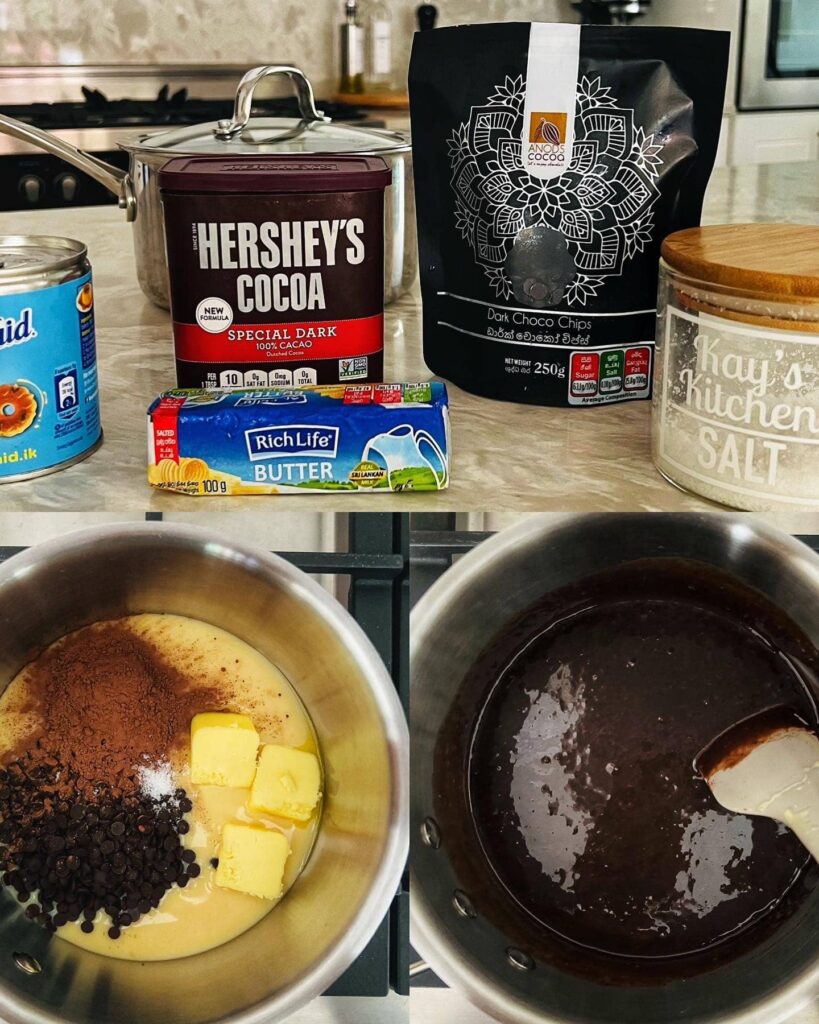
For the Hot Fudge Sauce:
- 1 tin condensed milk (390g)
- 1/2 cup dark chocolate chips
- 1/4 cup cocoa powder
- 75g salted butter
- A pinch of salt
Tip: You can easily find all these ingredients at your local supermarket, and you might even have most of them already in your kitchen!
Step-by-Step Guide to the Perfect Ice Cream Cake
Now, let’s get down to the fun part—making this irresistible dessert! Just follow these simple steps, and you’ll have an ice cream cake ready to wow your family and friends.
1. Prep the Cake Tin
Start by lining a 7-inch round cake tin with a removable bottom with parchment paper. This will make it easier to remove the cake once it’s frozen.
2. Create the Chocolate Layer
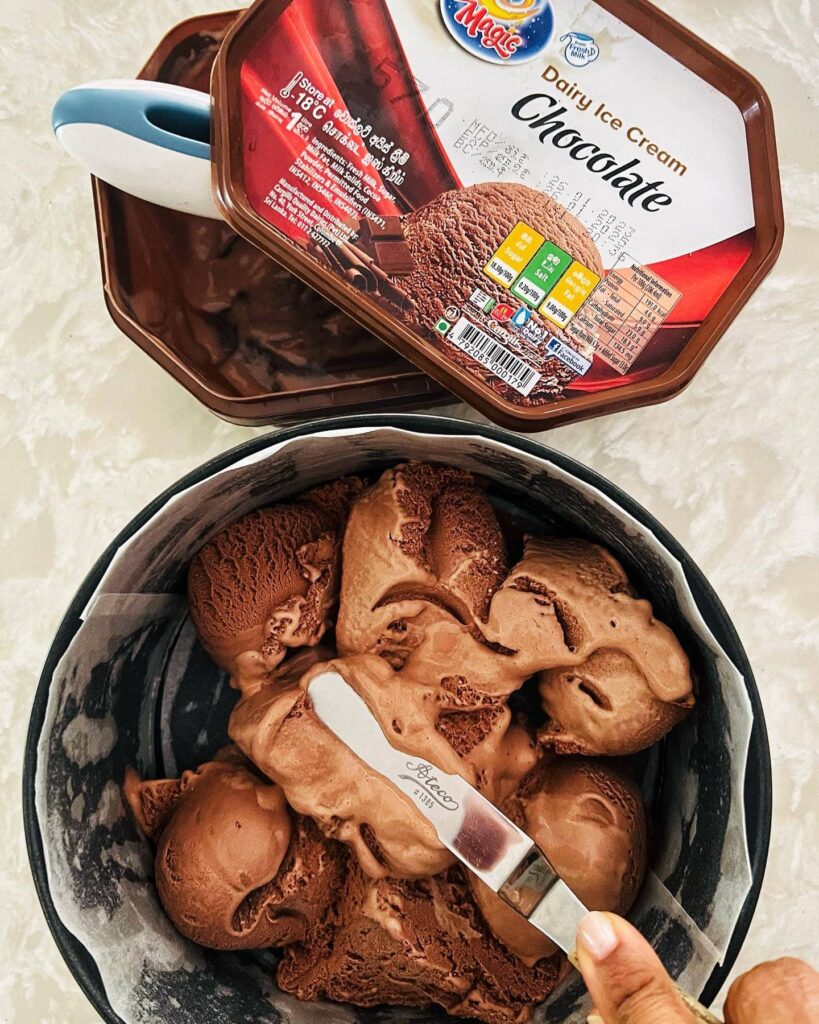
Spread the chocolate ice cream evenly in the bottom of the cake tin and smooth it out. It’s helpful if the ice cream is slightly softened to make spreading easier.
3. Add Some Crunch and Fudge
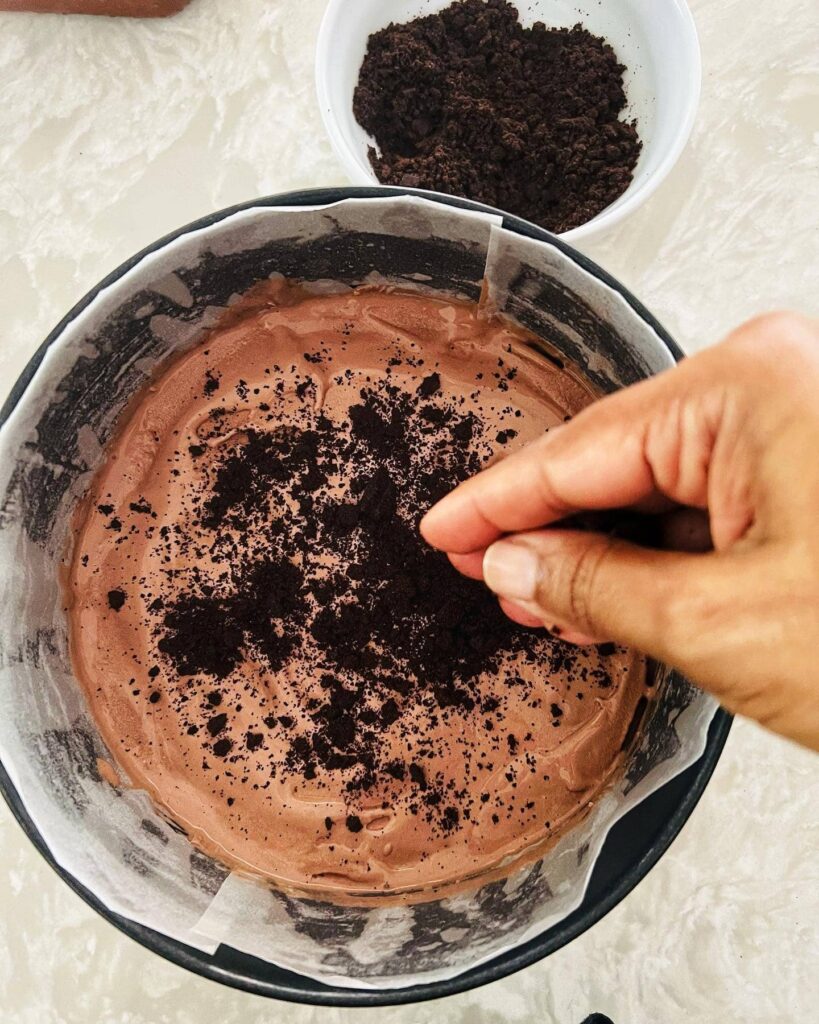
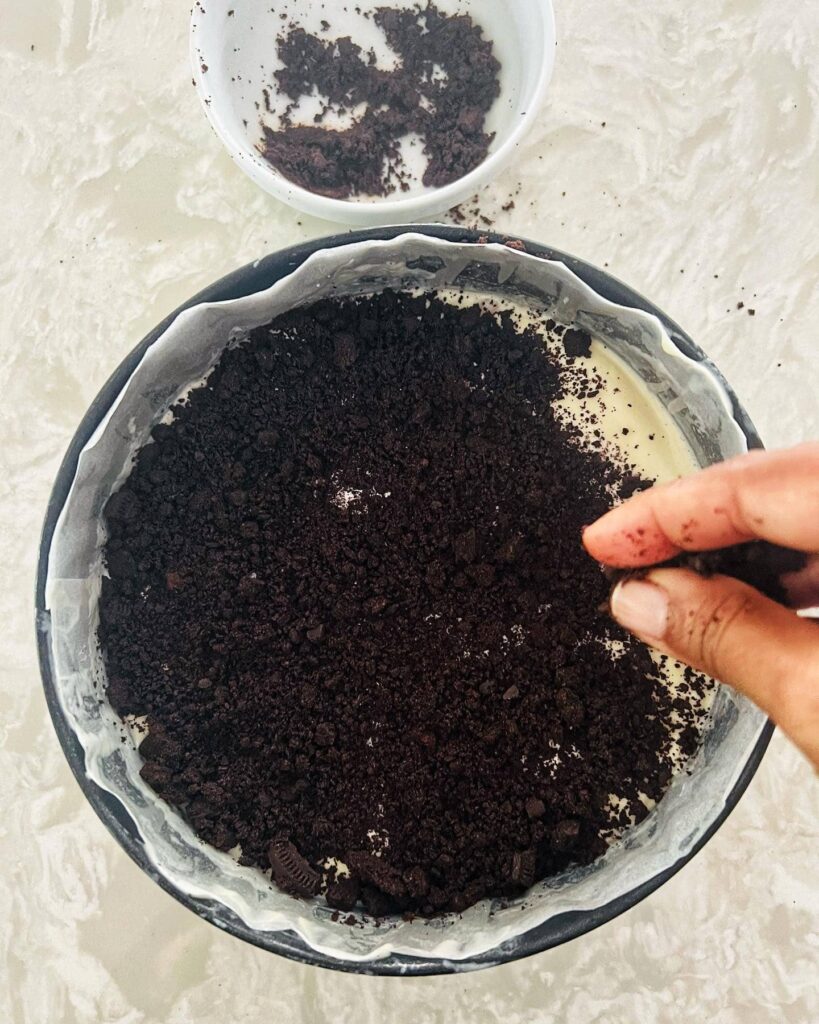
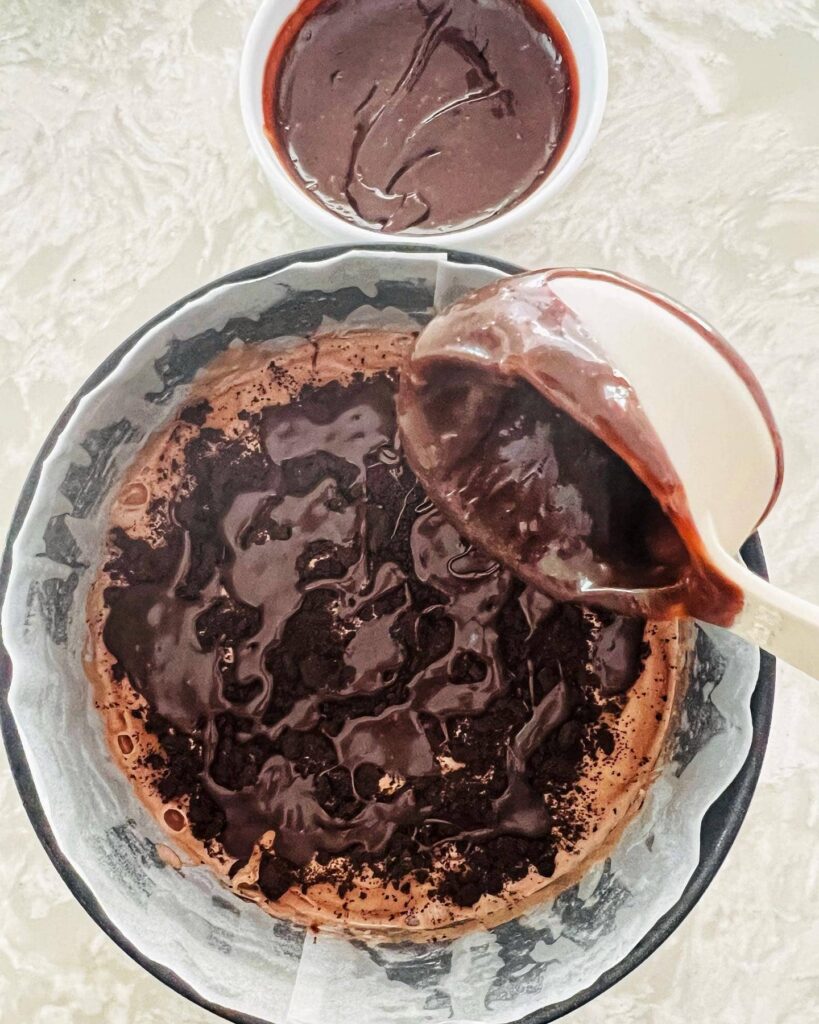
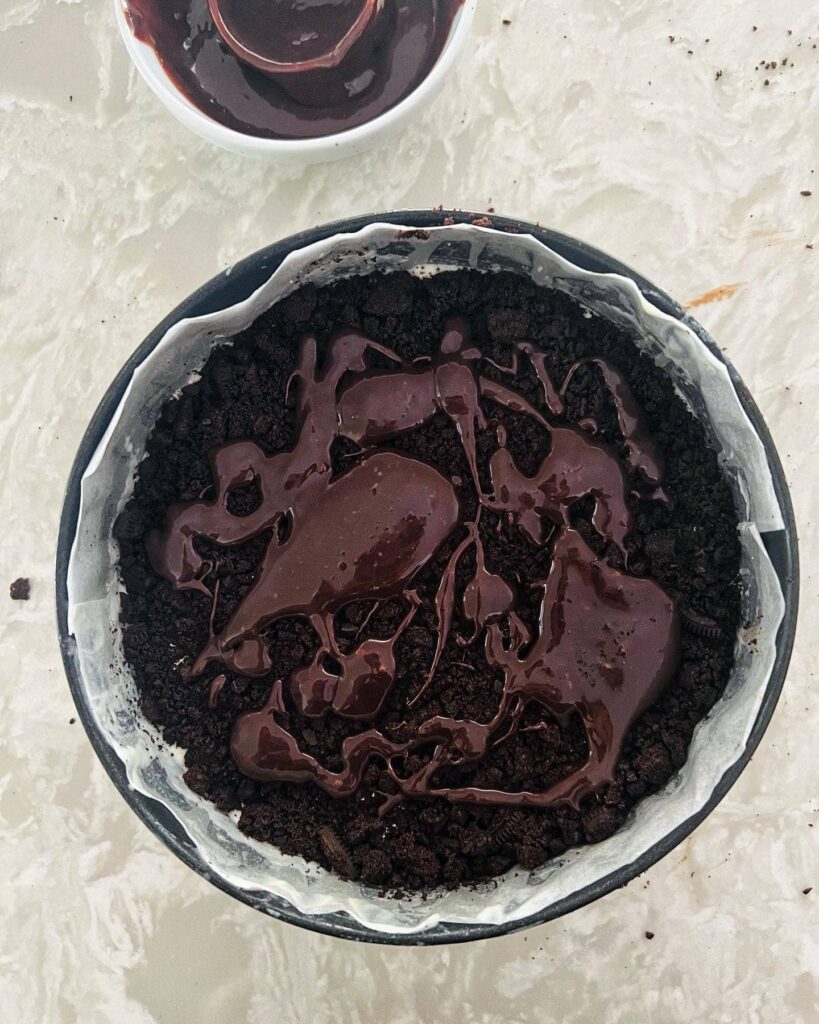
Sprinkle a layer of crushed Oreo biscuits over the chocolate ice cream. Drizzle swirls of chocolate fudge sauce on top for that extra decadent touch.
4. Freeze
Pop the cake into the freezer for 2-3 hours to firm up the chocolate layer.
5. Build the Vanilla Layer
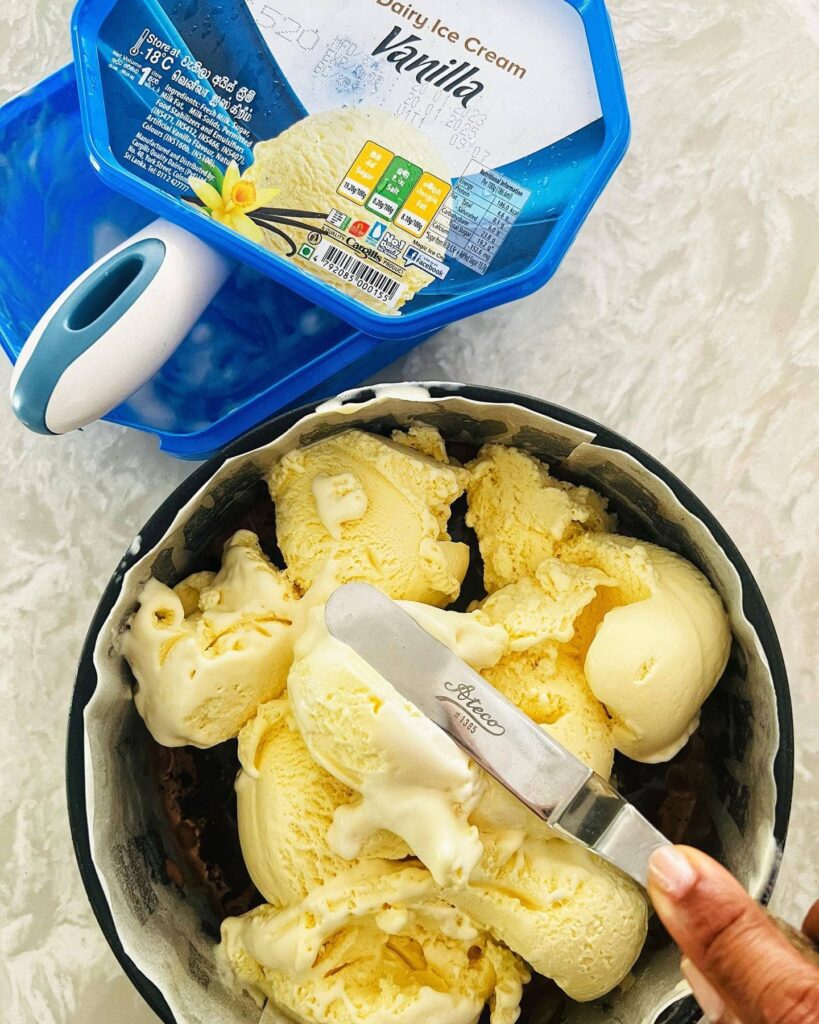
Once the chocolate layer is set, spread the vanilla ice cream on top and smooth it out.
6. More Oreos & Fudge!
Finish with another layer of crushed Oreos and more swirls of chocolate fudge sauce.
7. Freeze Overnight
Let the cake freeze overnight for the best results. This will ensure everything sets properly.
8. Slice and Enjoy!
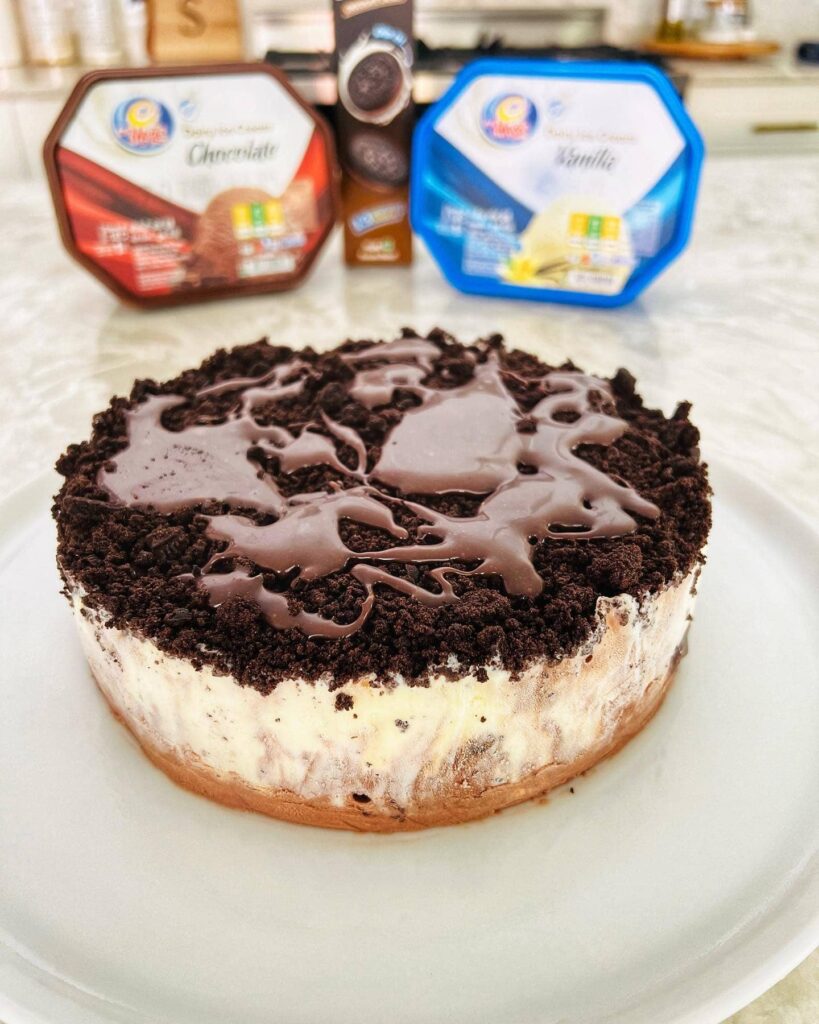
Once fully frozen, remove the cake from the tin, slice, and serve! You’ll love the combination of creamy ice cream, crunchy cookies, and rich chocolate sauce in every bite. 😍

Tips for the Perfect Ice Cream Cake Texture
To get that ideal, smooth texture for your ice cream cake, follow these handy tips:
- Slightly soften the ice cream before spreading it in the tin. It’ll make it easier to create even layers.
- Don’t skip the freezing times. It’s crucial to let each layer freeze properly before adding the next. This ensures that your layers don’t mix and stay beautifully defined.
- Use a warm knife to slice the cake once it’s ready to serve. Running the knife under hot water for a few seconds makes it easier to cut through the frozen layers cleanly.
Customize Your Ice Cream Cake
One of the best things about this recipe is how easy it is to customize. Here are a few ideas to make this cake uniquely yours:
- Mix up the flavors: Try using different ice cream flavors like strawberry, coffee, or caramel for a twist.
- Switch the toppings: Instead of Oreos, use crushed digestive biscuits, chocolate chips, or even sprinkles to create a fun and colorful version.
- Layer with fruit: For a fresher touch, add a layer of sliced bananas, strawberries, or raspberries between the ice cream layers.
Storage and Serving Tips
This ice cream cake can be made ahead of time and stored in the freezer for up to a week. Just cover it tightly with plastic wrap or foil to prevent freezer burn.
When you’re ready to serve, let the cake sit at room temperature for 5-10 minutes to soften slightly, making it easier to slice. This cake is perfect for sharing on hot days or whenever you need a sweet, frozen treat!
No-Bake Oreo Ice Cream Cake with Homemade Fudge Sauce
Ingredients
For the Ice Cream Cake:
- 1 liter chocolate ice cream
- 1 liter vanilla ice cream
- 140 g Oreo or Kalo biscuits crushed
For the Hot Fudge Sauce:
- 1 tin condensed milk 390g
- ½ cup dark chocolate chips
- ¼ cup cocoa powder
- 75 g salted butter
- Pinch of salt
Instructions
Prepare the Cake Tin:
- Line a 7-inch round cake tin with a removable bottom with parchment paper to prevent sticking.
Assemble the Cake:
- Layer 1: Spoon in the chocolate ice cream and smooth it into an even layer.
- Topping: Sprinkle half of the crushed biscuits over the chocolate ice cream, then drizzle with swirls of the hot fudge sauce.
- Freeze the cake for 2-3 hours until firm.
Add the Vanilla Ice Cream:
- Layer 2: Once the chocolate layer is firm, spread the vanilla ice cream on top, smoothing it evenly.
- Topping: Cover with the remaining crushed biscuits and another drizzle of hot fudge sauce.
- Freeze overnight to set completely.
Serve:
- Before serving, remove the cake from the freezer and let it sit for a few minutes to soften slightly.
- Slice and enjoy this delicious ice cream cake!
To Make the Chocolate Fudge Sauce:
- In a medium heavy-bottomed pan over low heat, combine 390g condensed milk, 1/2 cup dark chocolate chips, 1/4 cup cocoa powder, 75g salted butter, and a pinch of salt.
- Stir continuously until all ingredients have melted and the sauce is smooth. Do not let the fudge boil, or it will become grainy.
- Allow the fudge sauce to cool before drizzling over the ice cream cake.
Notes
- For extra crunch, add some chopped nuts or crushed candies between the layers.
- Customize the flavors by using different types of ice cream like strawberry or mint chocolate chip.
Leave a Reply