This Coconut Mousse Cake is an elegant and tropical dessert that balances creamy coconut with a hint of rum. The light, airy texture of the mousse pairs perfectly with a delicate chocolate shell for an impressive and indulgent treat.
Whether you’re looking to impress guests or treat yourself to a luxurious dessert, this coconut mousse cake will be a showstopper.

Essential Ingredients (Serves 8-10)
- 210g coconut purée
- 15g glucose syrup
- 80g cream cheese
- 8g gelatin sheets (softened)
- 270g whipping cream
- 3g rum (optional)
Now Follow These Easy Steps
1. Heat the Coconut Purée
Start by gently heating the coconut purée to 40°C in a small saucepan. The warmth helps the mixture blend smoothly with the other ingredients in the following steps.
Tip: If you can’t find coconut purée, you can blend coconut cream and desiccated coconut to create a similar texture.
2. Prepare the Cream Cheese Mixture
In a separate bowl, soften the 80g cream cheese by letting it sit at room temperature for about 10 minutes. Then, add the 15g glucose syrup and mix until you get a smooth consistency. Slowly pour the heated coconut purée into the cream cheese mixture, stirring continuously until fully combined.
Pro Tip: For an extra tropical flavor, you can add a dash of coconut extract at this stage.
3. Whip the Cream
Whip the 270g whipping cream until soft peaks form, meaning the cream should hold its shape but still be slightly soft. Aim for about 60% whipped, which gives the mousse a light, airy texture. Carefully fold the whipped cream into the coconut mixture, ensuring you don’t deflate the air whipped into the cream.
4. Add Gelatin and Chill
Melt the softened gelatin sheets (8g) in a small amount of water. Once fully dissolved, add the gelatin to the mousse mixture and stir thoroughly until it’s evenly distributed.
Tip: Gelatin helps the mousse set properly, giving it a smooth, firm texture. Be sure the gelatin is fully incorporated.
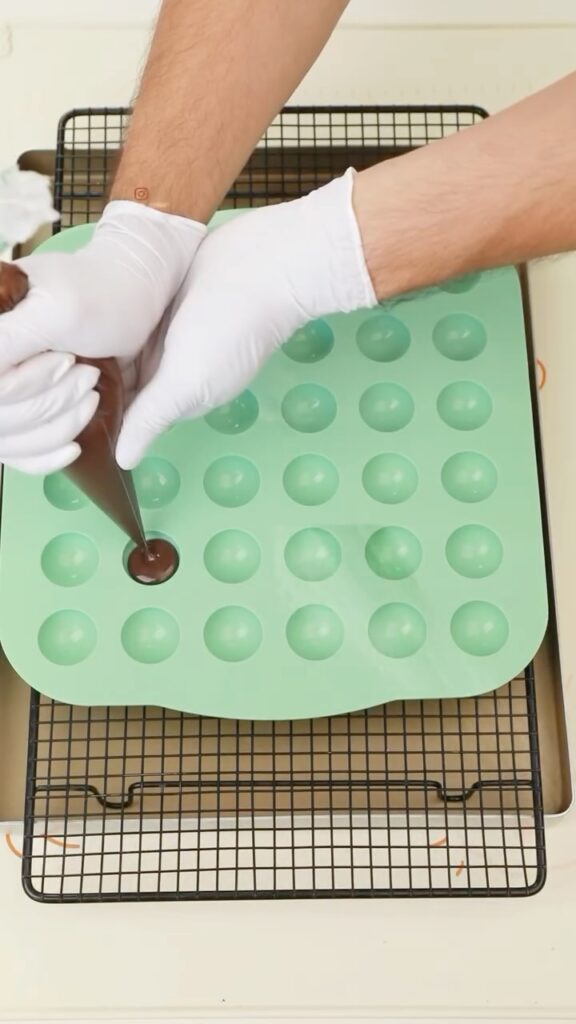
Pour the mixture into half-sphere molds and refrigerate for at least 4 hours or until the mousse is completely set.
5. Create the Chocolate Shells
While the mousse is setting, prepare the chocolate shells. Melt dark and white chocolate separately and pour each into sphere molds, creating a thin, even layer of chocolate. Invert the molds onto a wire rack to allow any excess chocolate to drip off, ensuring a smooth and consistent shell. Let them set until firm.
Once the shells are set, stick two half-spheres together to form full spheres. Use a piping tip to carve out a small semi-circle on top of each sphere and gently scrape out any uneven texture for a clean finish.
6. Assemble and Decorate
Carefully remove the chilled mousse from the molds and place them inside the chocolate shells. For the final touch, decorate the top of each mousse with a sprinkle of desiccated coconut to enhance the tropical flavor.

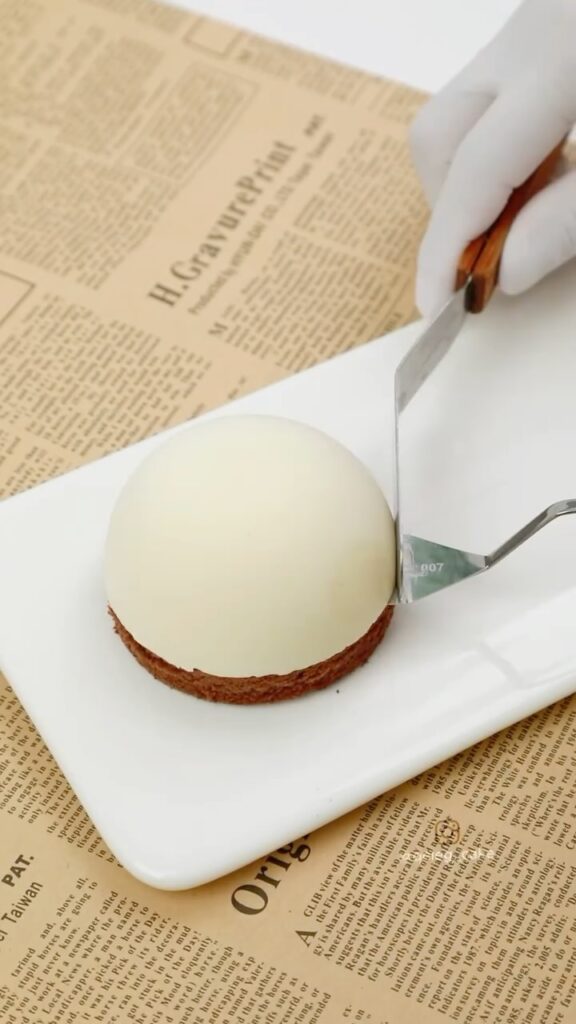
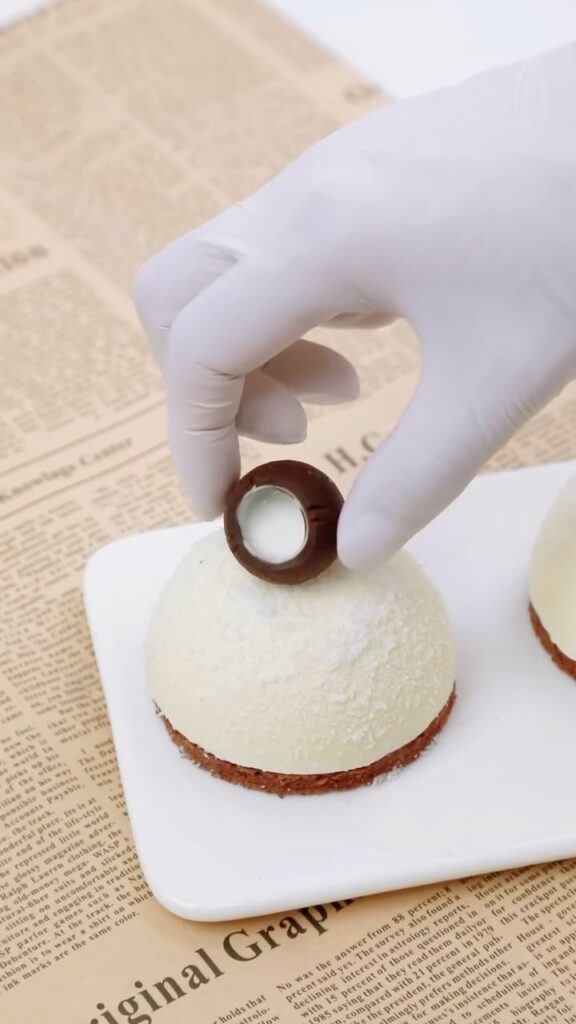
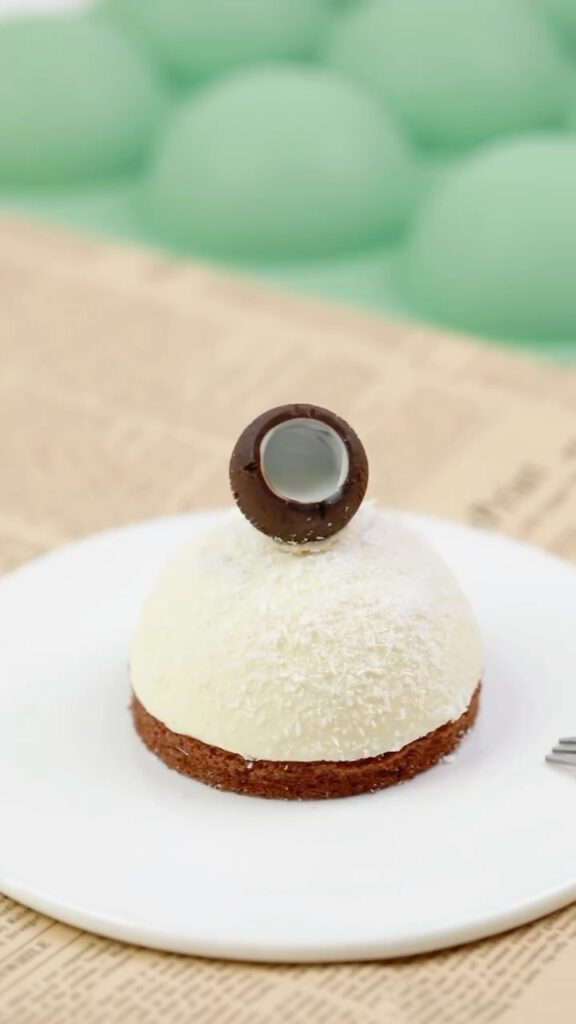
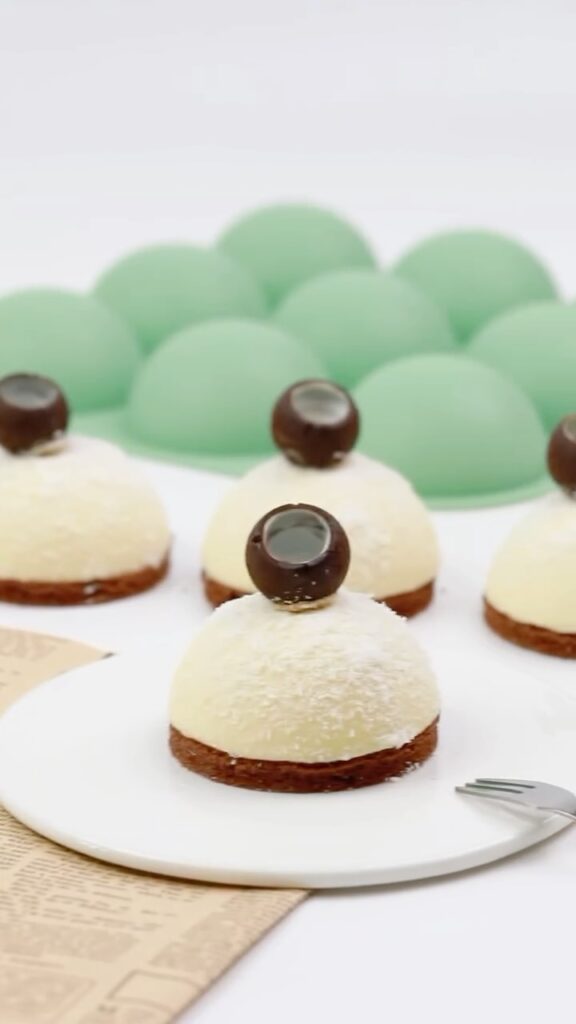
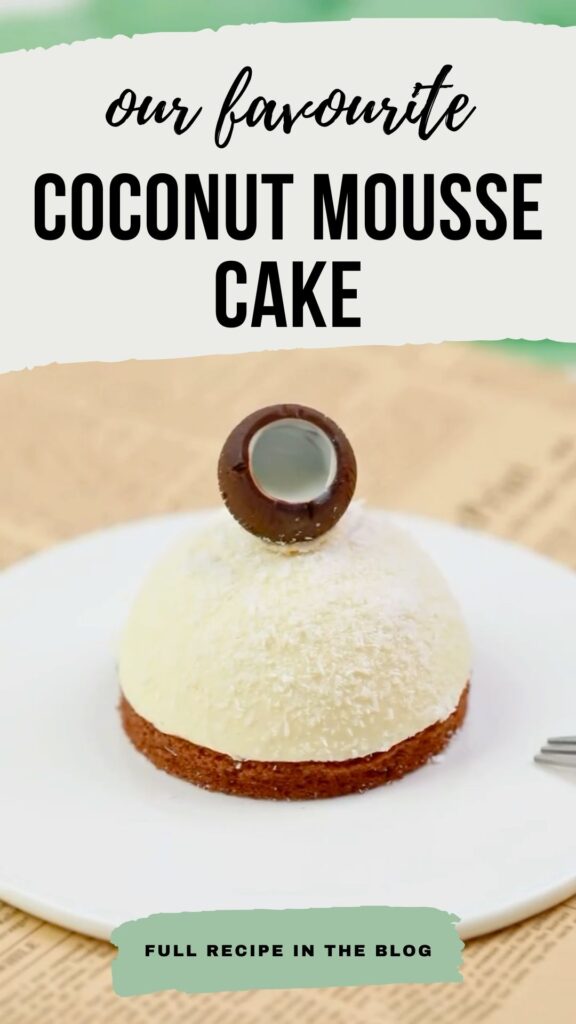

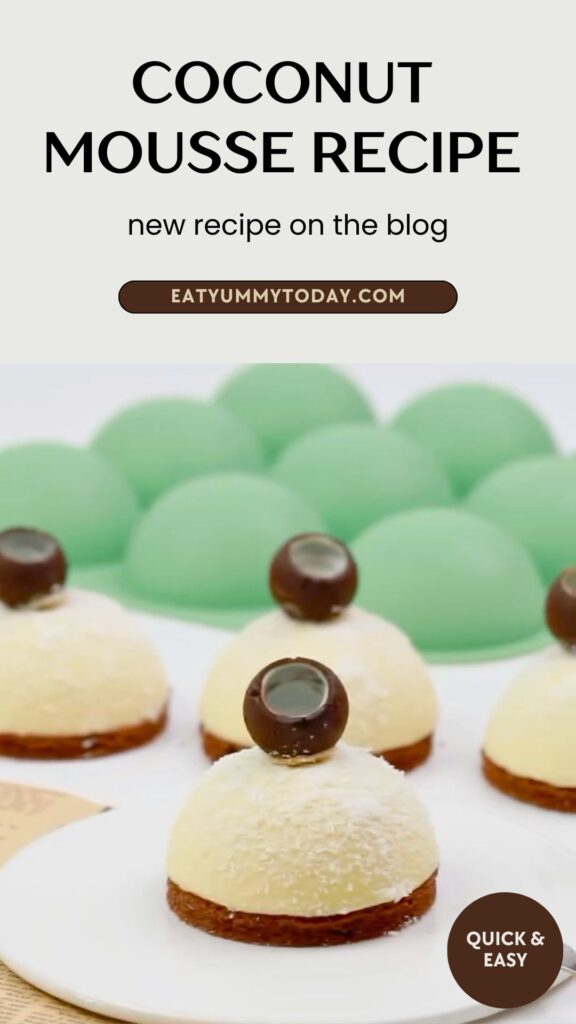
Extra Touch: “A Taste of the Tropics”
This Coconut Mousse Cake is not just visually stunning but also delivers a light and refreshing coconut flavor, balanced with the smooth texture of cream cheese and a hint of rum. It’s like taking a bite of the tropics! For a unique twist, consider adding a lime zest garnish or pairing the cake with fresh tropical fruits like mango or pineapple.
Tips for Success
- Chill the molds: Make sure your molds are well chilled before filling them with mousse or chocolate. This will help the dessert set more evenly and make unmolding easier.
- Work quickly with gelatin: Once gelatin is added, the mousse can start to set quickly. Ensure all your components are ready before combining to avoid any lumps.
- Chocolate shell tip: Use a silicone mold for easier unmolding, and tap the mold lightly to remove air bubbles before setting the chocolate.
Serving and Storage
- Serving suggestion: Serve the mousse cakes chilled, and pair them with a drizzle of white chocolate sauce or coconut cream for added richness.
- Storage: These mousse cakes can be stored in the refrigerator for up to 3 days. Keep them covered to maintain the freshness of both the mousse and the chocolate shell.
Coconut Mousse Cake
Ingredients
- 210 g coconut purée
- 15 g glucose syrup
- 80 g cream cheese softened
- 8 g gelatin sheets melted
- 270 g whipping cream 60% whipped
- 3 g rum
- dark chocolate for chocolate shell
- white chocolate for chocolate shell
- desiccated coconut for garnish
Instructions
- Heat the coconut purée to 40°C.
- Soften the cream cheese, then add the glucose syrup and mix until smooth. Gradually pour in the coconut purée and stir until well combined.
- Whip the whipping cream to soft peaks (60% whipped) and gently fold it into the mousse mixture.
- Add the melted gelatin sheets and mix well.
- Pour the mixture into a half-sphere mold and refrigerate for 4 hours until set.
- Pour melted chocolate into molds, then invert them onto a wire rack to form dark and white chocolate shells.
- Stick two half-spheres together, carve out a semi-circle with a piping tip, and scrape out the fuzzy texture.
- Decorate the top of the mousse with desiccated coconut.
Notes
- Ensure the gelatin is fully dissolved to avoid lumps in the mousse.
- Use a piping tip to carve out the semi-circle accurately for a clean finish.
Leave a Reply