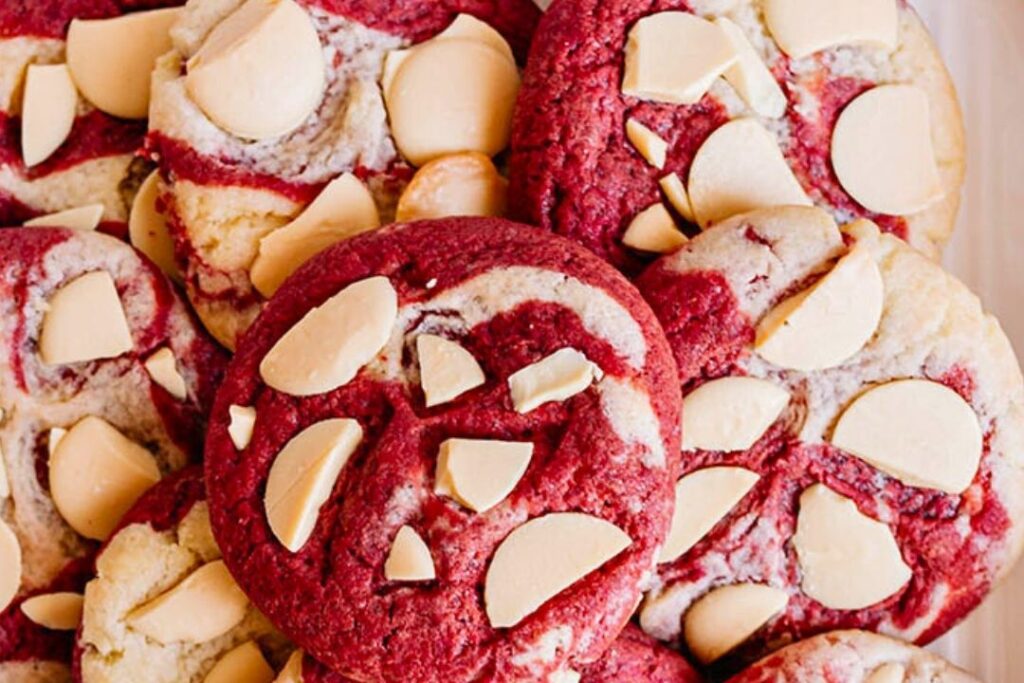
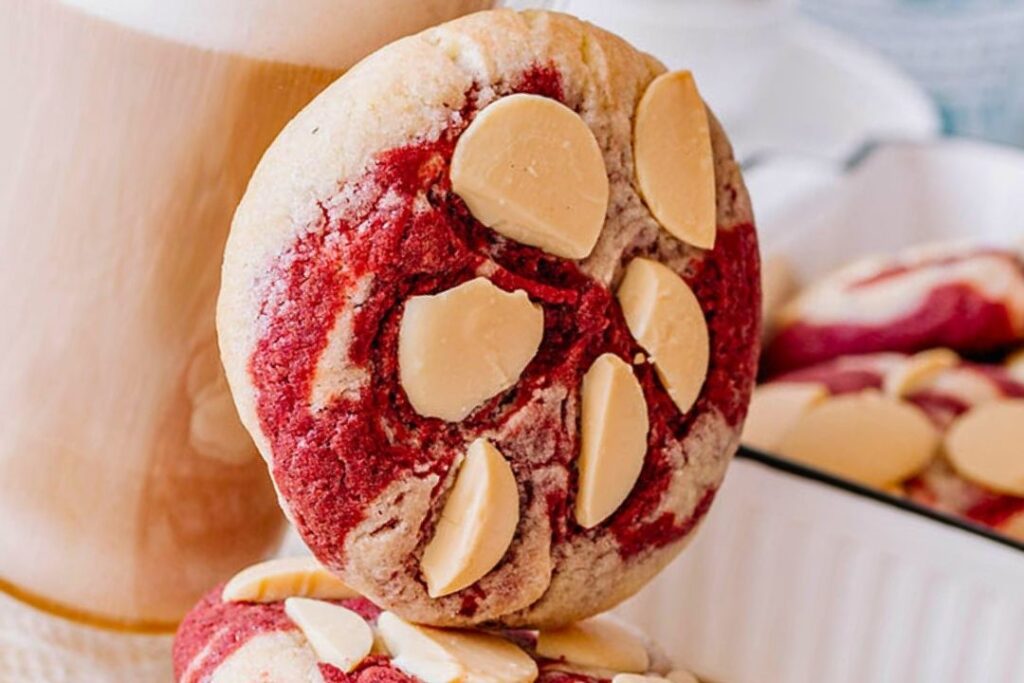
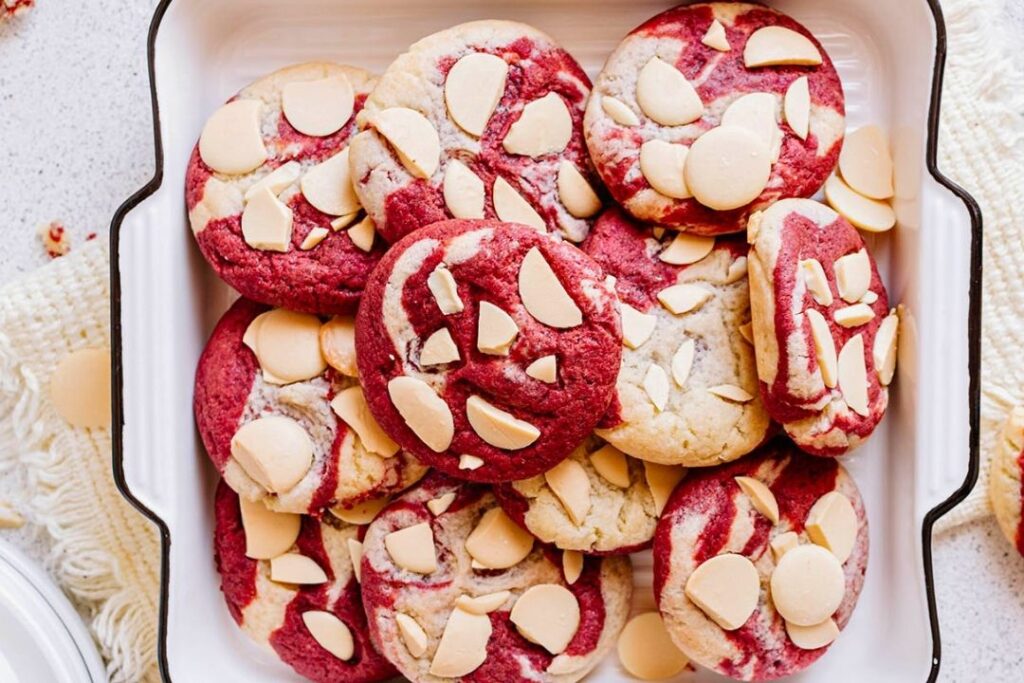
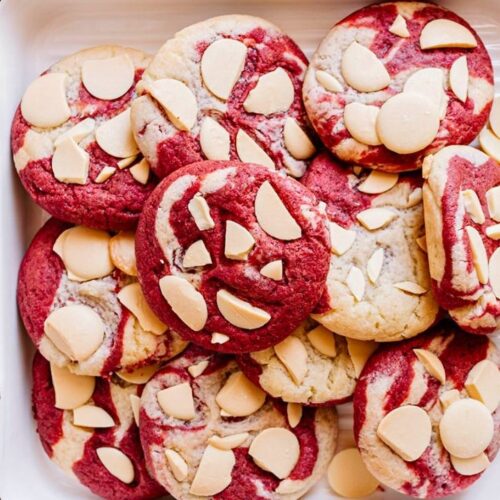
If you’ve ever craved something visually striking and irresistibly buttery without the fuss of rolling dough or digging out cookie cutters, these red velvet swirl cookies might just become your new go-to. With their gorgeous marbled effect, rich cocoa notes, and creamy pockets of white chocolate, they deliver big flavor and style — without demanding much effort.
These cookies marry the eye-catching contrast of red velvet and vanilla dough in one soft, chewy bite. And because they’re shaped by hand, the process is as approachable as it is satisfying. Whether you’re baking for a gathering, gifting a batch, or just indulging in a sweet moment, this recipe offers all the charm of decorated cookies without the extra steps.
Why You’ll Love These Red Velvet Swirl Cookies
- No special tools required: No rolling pins, cutters, or chill-and-cut procedures here. Just mix, shape, and bake.
- Beautiful marbled effect: A simple swirl technique creates that signature red velvet look.
- Soft and buttery texture: Thanks to the high butter ratio and short bake time.
- Sweet white chocolate pockets: They melt slightly into the cookie for a creamy contrast.
- Perfect for gifting or holidays: Their bold color and elegant pattern make them stand out on any cookie platter.
Ingredients You’ll Need
These cookies come together with a few pantry staples and a little food coloring. Here’s what you’ll need:
For the Vanilla Dough:
- 125 g unsalted butter, softened (just over ½ cup)
- 175 g granulated sugar (about ¾ cup)
- 1 large egg
- 1 tsp vanilla extract (optional but recommended)
- 150 g all-purpose flour (approx. 1 cup)
- 1 tsp baking powder
For the Red Velvet Dough:
- The second half of the base dough
- 130 g all-purpose flour (just under 1 cup)
- 1 tsp baking powder
- 1 tbsp unsweetened cocoa powder
- ½ tsp red gel food coloring (adjust based on intensity)
Mix-ins and Topping:
- 65–100 g white chocolate, roughly chopped (use good-quality bars for best melt and texture)
Step-by-Step Instructions
1. Start With the Base Dough
In a large bowl, cream together softened butter, sugar, and vanilla until light and fluffy. Add the egg and mix briefly — just enough to incorporate. You don’t want to overbeat at this stage.
Divide the dough evenly into two bowls.
2. Create the Two Dough Variants
To one bowl, add:
- 150 g flour
- 1 tsp baking powder
Mix until just combined. If the mixture looks a bit dry or crumbly, finish bringing it together gently with your hands.
To the second bowl, add:
- Red gel food coloring (start with ½ tsp)
- 130 g flour
- 1 tsp baking powder
- 1 tbsp cocoa powder
Mix again until combined, adjusting food coloring if needed to get that deep red hue.
3. Shape the Swirled Cookies
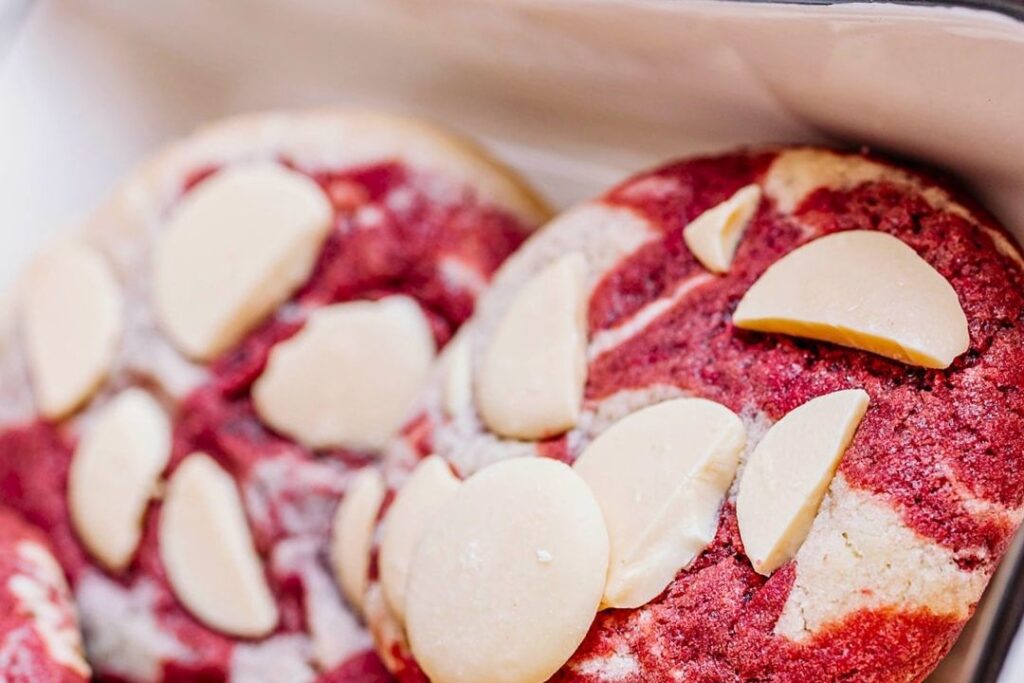
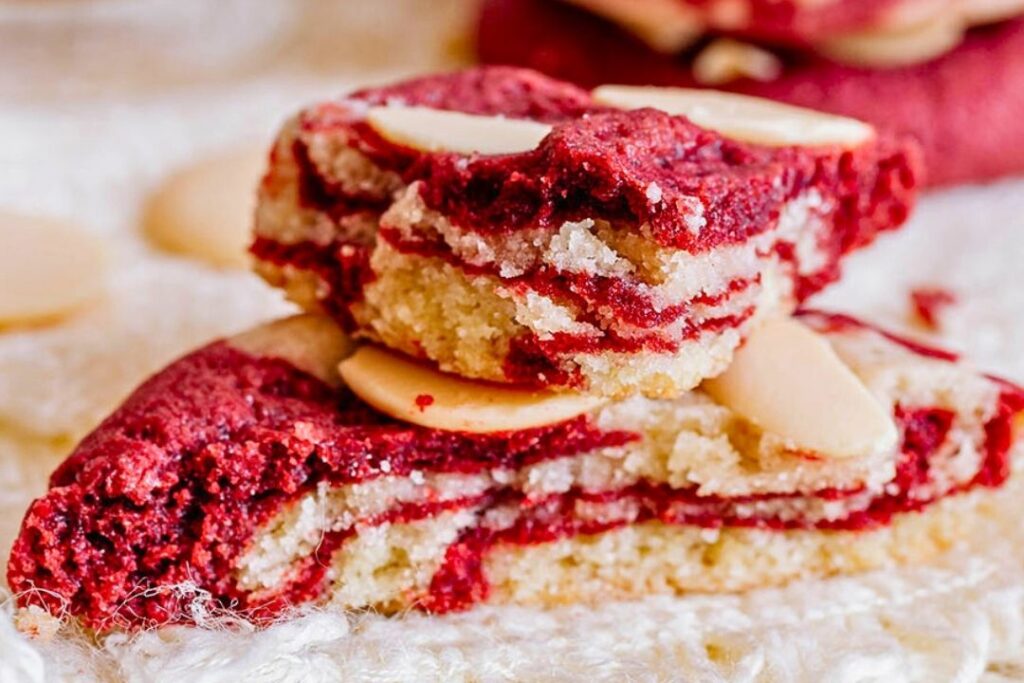
Divide both doughs into equal portions (roughly three parts per dough), then combine alternating pieces from both colors — think red and vanilla stripes. Gently press them together without overmixing, roll between your palms, and shape into round balls. This gives each cookie its signature marbled “zebra” appearance.
Chill the cookie balls in the fridge for at least 30 minutes to firm up and prevent excess spreading.
4. Prepare for Baking
While the dough chills, preheat your oven:
- 180°C (350°F) for conventional ovens
- 170°C (340°F) for fan-assisted
Line a baking tray with parchment paper.
Roughly chop the white chocolate — you want visible chunks, not shavings. This adds texture and a pleasant burst of creamy sweetness.
5. Assemble and Bake
Place chilled cookie balls on the tray, leaving ample space between each. Use your palm to gently flatten each one — aim for about ¾-inch thickness. Press white chocolate chunks onto the tops and lightly push them into the dough.
Bake for 10–12 minutes. The edges should be just set, while the centers will still look soft. Resist the urge to overbake; they’ll continue to set as they cool.
6. Cool Before Handling
Fresh from the oven, these cookies will be very soft. Let them rest on the baking sheet for at least 10 minutes before transferring to a wire rack. This brief wait helps them firm up without drying out.
Pro Tips for the Perfect Swirl Cookies
Use Gel Food Coloring
Gel-based food coloring delivers a vibrant red with just a small amount. Liquid dyes can water down your dough or give muted results.
Handle the Dough Gently
When shaping and combining the red and vanilla doughs, avoid overworking. Too much mixing can muddy the colors or develop gluten, which toughens the cookies.
Chill Time Matters
Skipping the chill step can cause cookies to flatten too much. A cold dough ensures they hold their marbled structure and bake evenly.
Don’t Overbake
They might not look fully set when the timer goes off, but that’s exactly what you want. Overbaking will lead to dry cookies instead of soft, chewy centers.
Variations and Custom Ideas
- Switch up the chocolate: Try using dark or milk chocolate chunks for a different flavor twist.
- Add a cream cheese drizzle: Stir together softened cream cheese, powdered sugar, and a splash of milk for a tangy glaze after baking.
- Make it festive: Add sprinkles or edible glitter for holidays or special occasions.
Storage and Make-Ahead Tips
These cookies keep well in an airtight container at room temperature for up to 4 days. For longer storage:
- Freeze shaped dough balls (before baking) for up to 2 months. Bake straight from frozen, adding an extra 1–2 minutes to the bake time.
- Baked cookies can also be frozen and thawed at room temperature.
Nutrition (Per Cookie, Approximate)
- Calories: 256 kcal
- Carbohydrates: 36 g
- Protein: 3 g
- Fat: 11 g
Final Thoughts
These red velvet swirl cookies are as delicious as they are beautiful — tender, buttery, and visually dramatic without requiring advanced techniques or tools. Their balanced sweetness and soft texture make them universally appealing, and the contrast of vanilla and cocoa flavors keeps things interesting.
Whether you’re baking for a party, holiday tin, or a cozy night in, these cookies are a stylish and satisfying addition to your repertoire. And best of all, they deliver bakery-quality results with minimal effort.
Red Velvet Swirl Cookies with White Chocolate
Ingredients
Base ingredients
- 125 g unsalted butter softened
- 175 g granulated sugar
- 1 large egg
- 1 tsp vanilla extract optional
Vanilla dough dry ingredients
- 150 g all-purpose flour for vanilla dough
- 1 tsp baking powder for vanilla dough
Red velvet dough dry and coloring ingredients
- 130 g all-purpose flour for red velvet dough
- 1 tsp baking powder for red velvet dough
- 1 tbsp unsweetened cocoa powder for red velvet dough
- 0.5 tsp red gel food coloring adjust for intensity
Mix-in
- 65-100 g white chocolate roughly chopped
Instructions
Base dough preparation
- In a large bowl, cream together softened butter, granulated sugar, and vanilla extract until light and fluffy. Add the egg and mix briefly until just combined.
- Divide the dough evenly into two separate bowls.
Separate dough preparation
- To one bowl, add 150 g all-purpose flour and 1 tsp baking powder. Mix until just combined. If too dry, gently knead with hands until smooth.
- To the other bowl, add red gel food coloring, 130 g flour, 1 tsp baking powder, and 1 tbsp cocoa powder. Mix until combined and the dough takes on a deep red color.
Shaping and chilling
- Divide each dough into three equal parts. Alternate pieces of vanilla and red velvet dough, gently pressing together without overmixing to create a marbled swirl. Roll into balls.
- Chill the shaped dough balls in the refrigerator for at least 30 minutes to firm up.
Baking
- Preheat oven to 180°C (350°F) for conventional or 170°C (340°F) for fan ovens. Line a baking tray with parchment paper. Place chilled dough balls on the tray with space in between. Flatten gently with your palm to about ¾-inch thickness. Press chopped white chocolate onto the tops and lightly press in.
- Bake for 10 to 12 minutes until edges are set but centers remain soft.
Finishing
- Allow cookies to cool on the baking sheet for about 10 minutes before transferring to a wire rack to cool completely.
Notes
- Use gel food coloring for the best vibrant red without altering dough texture.
- Do not overmix dough when combining to maintain clear marbling.
- Chill dough before baking to prevent excessive spreading.
- Allow cookies to cool on the tray to firm up before handling.
Leave a Reply