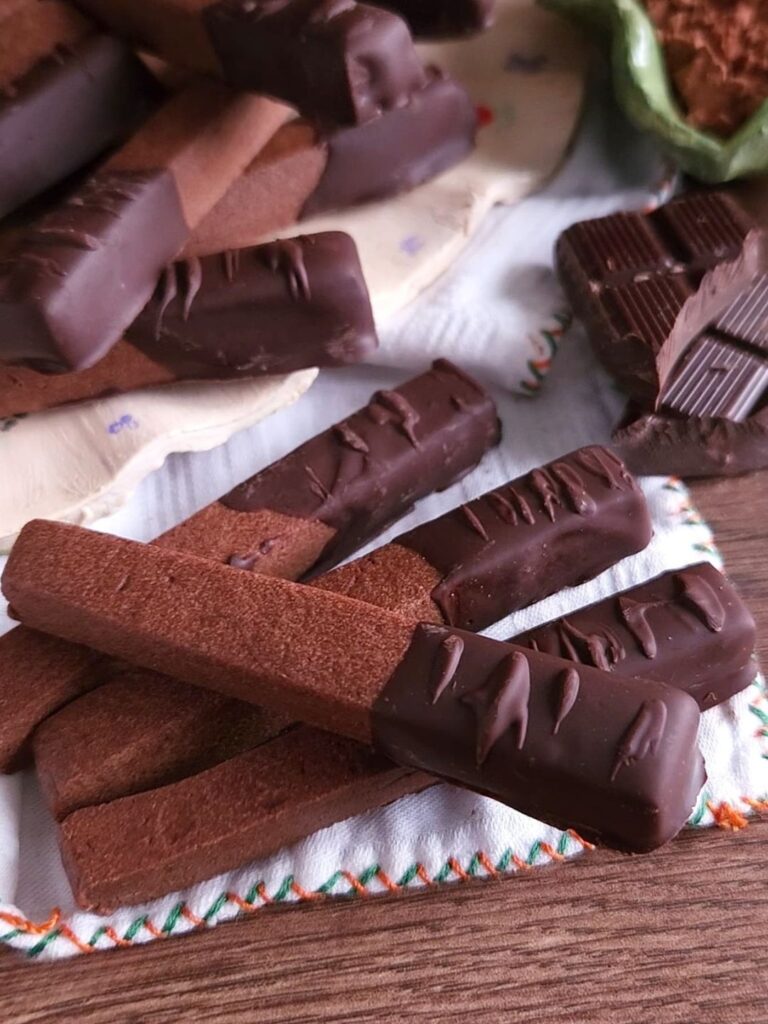
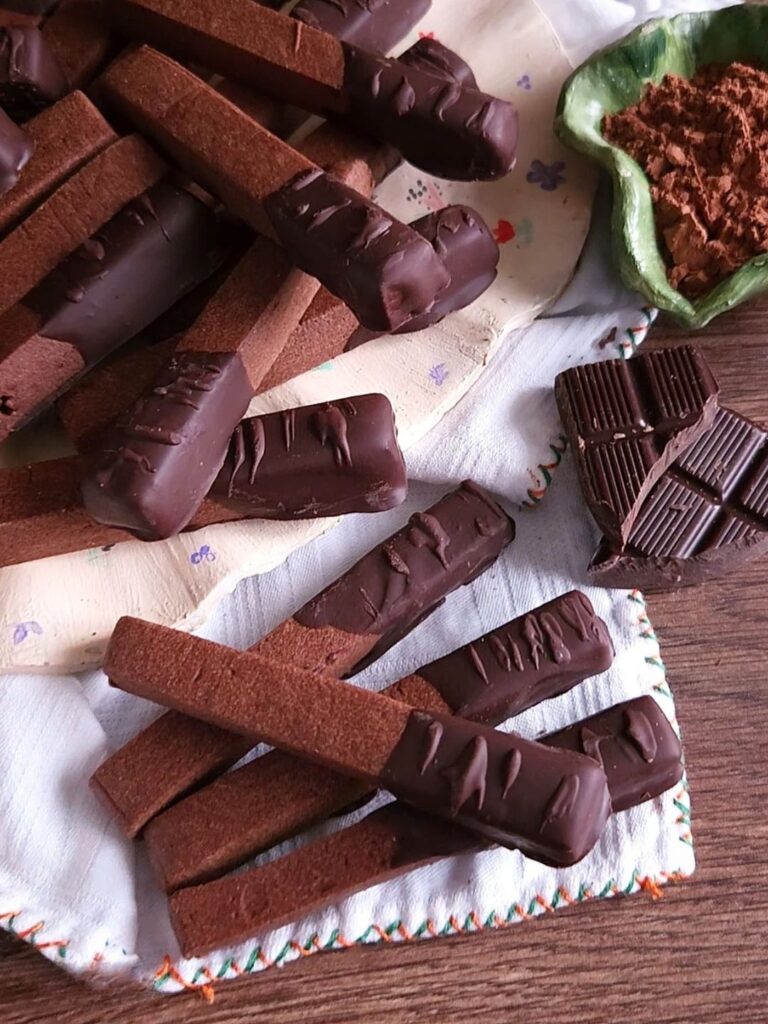
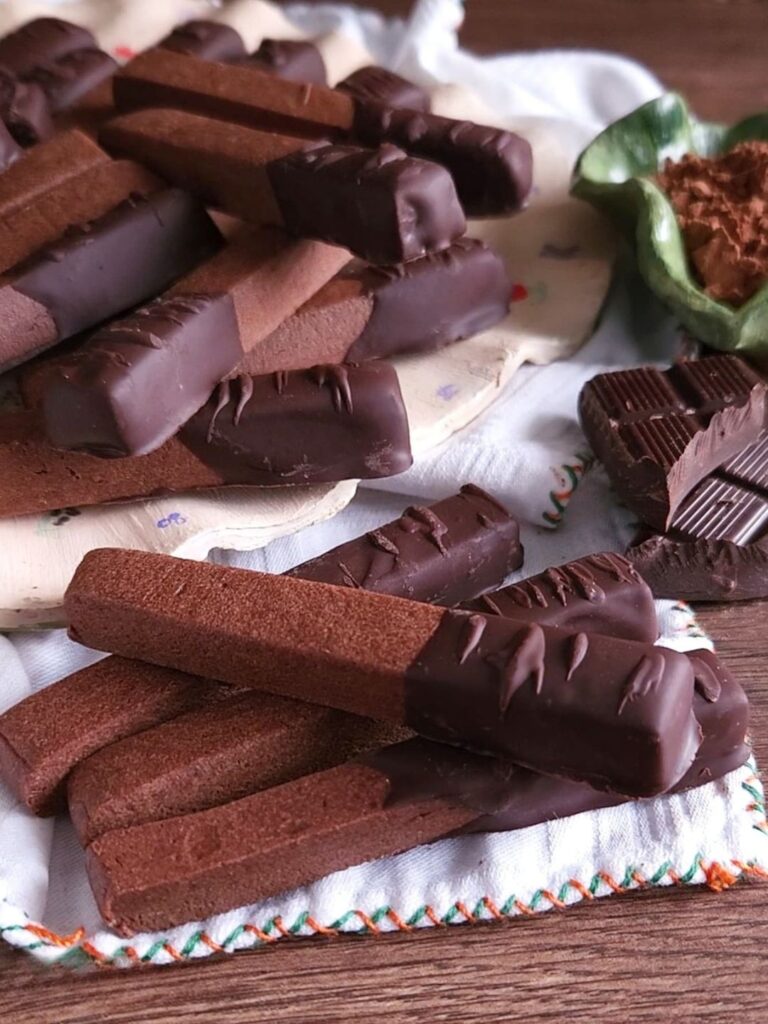
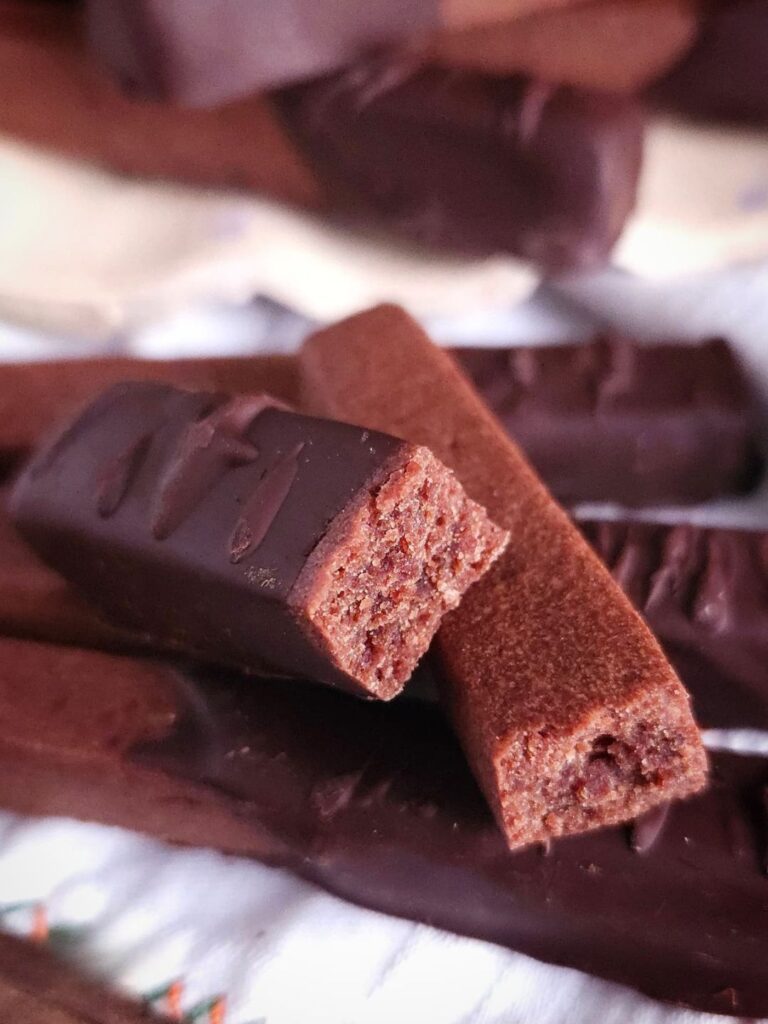
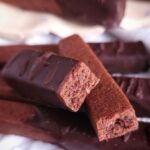
Have you ever had a moment where the simplest things become the most comforting? For me, it’s always been those little indulgences that bring a sense of nostalgia. I remember sitting in my grandmother’s cozy kitchen, the scent of warm chocolate filling the air, as she effortlessly prepared treats that made you feel like everything was going to be okay. One of those treats? These Stick Cacao & Chocolat—crispy on the outside, meltingly smooth on the inside, with just the right amount of chocolatey goodness.
This recipe is a perfect blend of simplicity and sophistication. With just a few pantry staples, you can create a treat that’s bound to leave everyone in awe. Whether you’re planning a cozy afternoon with friends or just treating yourself to something sweet, these cacao and chocolate sticks will never disappoint.
Before You Start: Key Ingredients & Tips
The Right Flour Matters
The recipe calls for T65 flour, a type of French flour that has a slightly higher protein content than typical all-purpose flour. This gives the sticks that perfect crumbly texture. If you can’t find T65, don’t worry—substitute it with regular all-purpose flour. It will work just fine!
Butter is Key
Use cold butter for that crispy, flaky texture. I love using semi-salted butter, as it adds just the right hint of saltiness that balances the sweetness.
Chocolate Choices
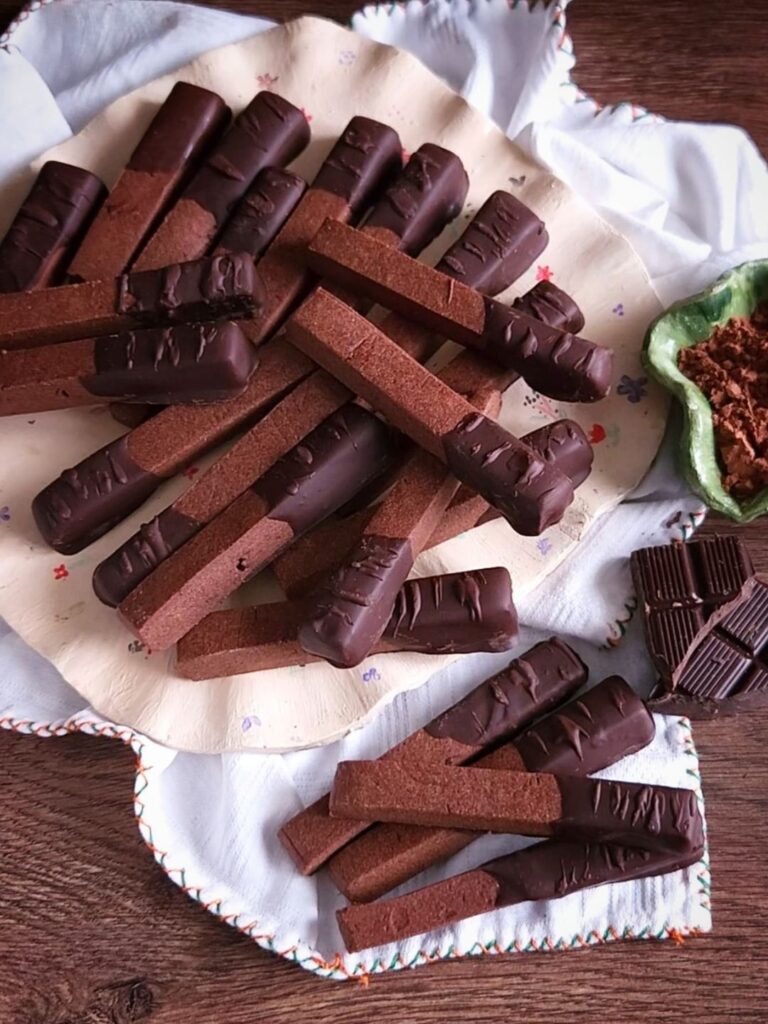
The chocolate coating is made with 70% dark chocolate, giving it a rich, slightly bitter flavor that complements the sweetness of the sticks. You can adjust the chocolate based on your preference for sweetness or bitterness. If you’re feeling adventurous, you can even add chopped nuts for extra crunch and flavor!
Don’t Skip the Chilling Time
The dough needs to rest in the fridge for at least 30 minutes. This step is crucial—it helps the dough set and ensures the sticks hold their shape when baked.
Let’s Get Baking
- Start with the dry ingredients: In a mixing bowl, sift together flour, unsweetened cocoa powder, and powdered sugar. These three ingredients are the foundation of your crispy, melt-in-your-mouth sticks.
- Add the cold butter: Cut your butter into small cubes and add it to the dry ingredients. Use your fingers or a pastry cutter to work it into the flour mixture. You’re looking for a texture that resembles coarse crumbs or sand. This step is where the magic happens—the butter creates the beautiful flakiness.
- Eggs and vanilla: Once your mixture is looking crumbly, add the egg yolks and vanilla extract (if you choose to use it). Gently mix it together, adding a tablespoon of water if the dough seems too dry. You should be able to form it into a smooth dough without it falling apart.
- Shape and chill: Form the dough into a rectangle and wrap it tightly in plastic wrap. Refrigerate it for at least 30 minutes. While it chills, preheat your oven to 180°C (350°F).
- Cut into sticks: Once the dough is firm, remove it from the fridge and slice it into thin sticks, each about the size you desire. The thinner they are, the quicker they’ll bake. Arrange them on a baking sheet lined with parchment paper.
- Baking time: Bake the sticks for about 12 minutes or until they are golden brown and crisp. The cooking time will depend on the thickness of your sticks, so keep an eye on them toward the end. Let them cool completely.
- Chocolate coating: While the sticks are cooling, melt the dark chocolate in a double boiler or microwave, stirring until smooth. Once the sticks have cooled, dip each one into the chocolate, allowing the excess to drip off.
- Final touch: For a little extra crunch, sprinkle some chopped nuts or sea salt over the chocolate coating before it sets. Let the chocolate firm up, and voilà—your sticks are ready to enjoy.
How to Perfectly Coat with Chocolate
The chocolate dip is an essential part of this recipe. When dipping the sticks, it’s best to let the chocolate cool slightly if it’s too hot. If it’s too thin, it won’t coat the sticks properly. You want it to be smooth and silky, but with a good consistency to form a lovely layer around each stick.
If you’re using nuts, chop them finely and sprinkle them on top of the chocolate before it hardens. This adds an extra layer of texture and flavor, making each bite even more indulgent.
Storing and Serving
These cacao and chocolate sticks are best enjoyed fresh, but they’ll keep for 3–4 days in an airtight container. Keep them in a cool, dry place, and you can always give them a quick reheat in the oven for a few minutes to restore that crispy texture.
I often serve these with a cup of tea or coffee. The chocolate perfectly complements a warm, comforting drink—an ideal pairing for a relaxing afternoon.
Final Thoughts
Making these Stick Cacao & Chocolat isn’t just about following a recipe—it’s about creating a moment. The way the chocolate melts in your mouth, the delicate crunch of the sticks, and the joy of sharing them with others—all these details make it a memorable experience. And the best part? You don’t need to be a pastry chef to create these delightful treats. With just a few simple ingredients, you’ll be able to bring a taste of comfort and elegance into your kitchen. So go ahead—treat yourself to something sweet and share it with those you love.
Stick Cacao & Chocolat
Description
Ingredients
Dry Ingredients
- 200 g T65 flour You can substitute with all-purpose flour.
- 30 g unsweetened cocoa powder
- 50 g powdered sugar
Wet Ingredients
- 100 g semi-salted butter Use cold butter for best results.
- 2 egg yolks
- 1 tsp vanilla extract Optional, but adds flavor.
- 1 tbsp water Add if dough is too dry.
Coating
- 200 g dark chocolate (70% cocoa) For coating.
- optional chopped nuts or sea salt For sprinkling on top of chocolate coating.
Instructions
Making Stick Cacao & Chocolat
- Sift together the T65 flour, unsweetened cocoa powder, and powdered sugar in a mixing bowl.
- Cut the cold butter into small cubes and mix into the dry ingredients using your fingers or a pastry cutter. The texture should resemble coarse crumbs.
- Add the egg yolks and vanilla extract (if using) and gently mix to form a dough. Add a tablespoon of water if the dough is too dry.
- Form the dough into a rectangle, wrap in plastic wrap, and refrigerate for at least 30 minutes.
- Preheat the oven to 180°C (350°F) while the dough chills.
- Once chilled, remove the dough and slice it into thin sticks. Arrange them on a baking sheet lined with parchment paper.
- Bake for 12 minutes, or until the sticks are golden brown and crisp. Let them cool completely.
- While the sticks are cooling, melt the dark chocolate in a double boiler or microwave. Stir until smooth.
- Once cooled, dip each stick into the melted chocolate, allowing any excess to drip off. Optional: Sprinkle chopped nuts or sea salt on top before the chocolate sets.
- Allow the chocolate to firm up before serving. Enjoy!
Notes
- If you don’t have T65 flour, all-purpose flour is a suitable substitute.
- Ensure the butter is cold for the perfect flaky texture.
- These sticks can be stored in an airtight container for 3–4 days.
Leave a Reply