Who doesn’t have a favorite childhood dessert that instantly brings back a flood of happy memories? For many of us, that dessert is the Chocolate Clinker Slice. It’s one of those treats that’s so simple yet incredibly satisfying—a perfect combination of crunch, chewiness, and creamy chocolate goodness. Whether you’re planning a family gathering or just craving something sweet, this recipe is sure to hit the spot.
And the best part? You have the freedom to play around with your choice of chocolate, making each batch a little unique. Ready to dive in?
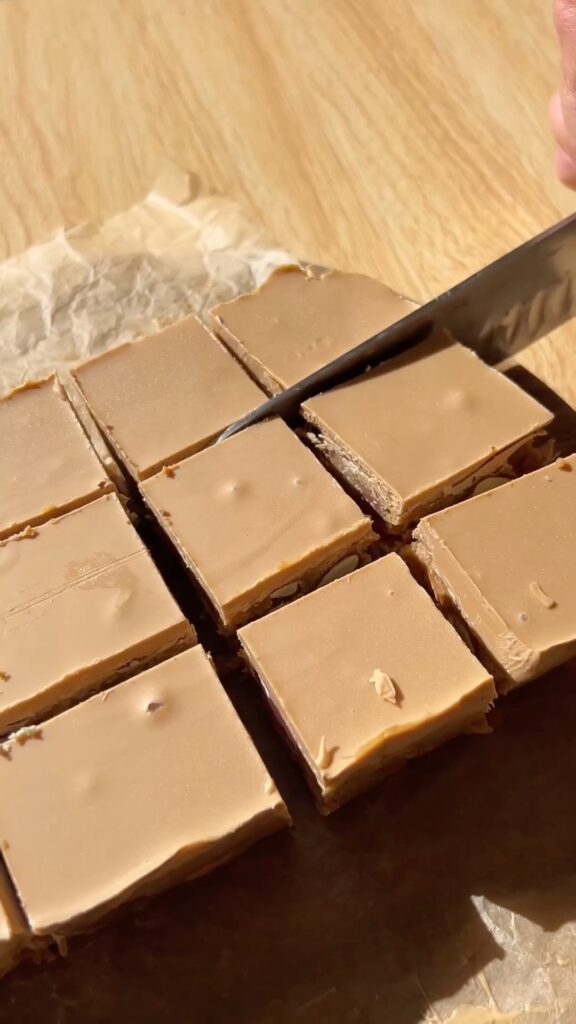
Ingredients You’ll Need
- 250g Marie Biscuits (or any plain biscuits you love): Provides a crunchy base for the slice.
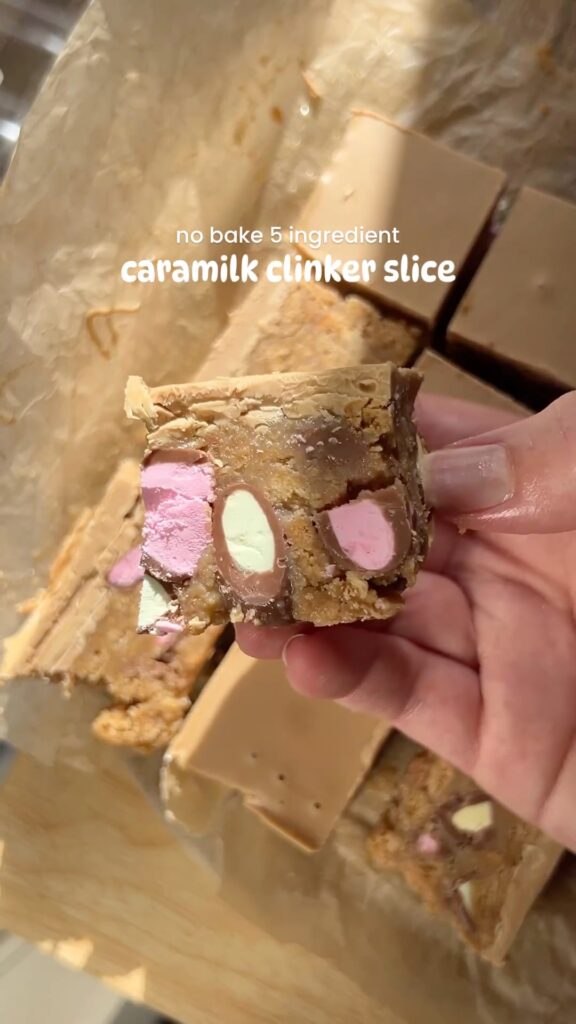
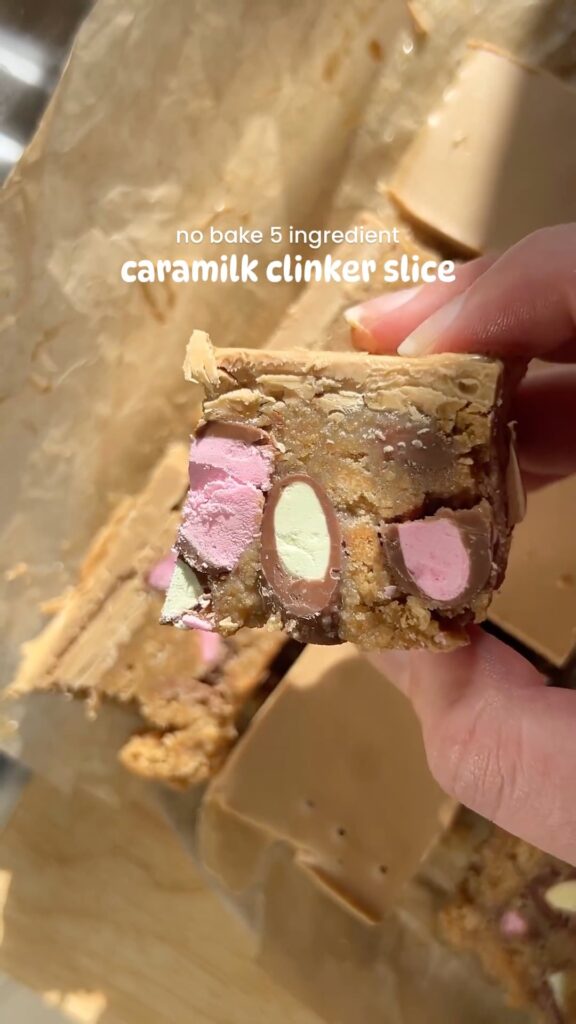
- 160g Clinkers: Adds bursts of color and a delightful chewy texture.
- 200g Condensed Milk: Acts as the sweet glue that holds everything together.
- 120g Melted Butter: Adds richness and helps bind the ingredients.
- 250g Caramilk (melted): For a creamy, caramel-flavored topping.
Why These Ingredients Work
- Marie Biscuits are light and crisp, providing a neutral canvas for the other flavors.
- Clinkers offer a playful, chewy contrast with their candy-coated goodness.
- Condensed Milk gives the slice its signature sweetness and chewy texture.
- Melted Butter enhances the flavor and consistency, ensuring a delicious, cohesive bite.
- Caramilk brings a unique, caramel-chocolate finish, adding an extra layer of deliciousness.
Step-by-Step: Making the Chocolate Clinker Slice
Step 1: Prepare the Base
Start by crushing the Marie biscuits into small pieces and placing them in a large bowl. You can do this by hand for a more rustic texture or use a food processor if you prefer a finer crumb.
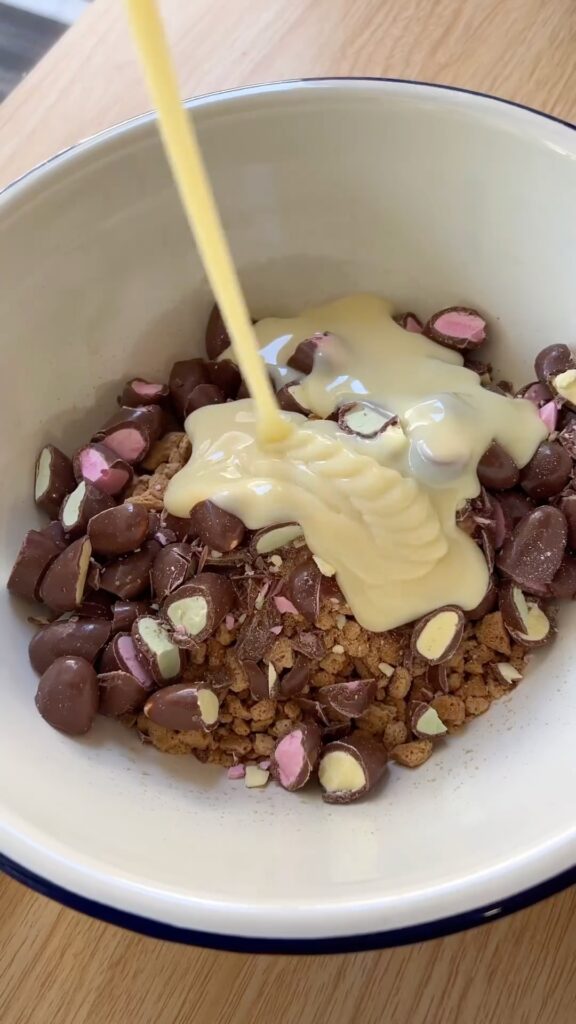
Next, roughly chop the Clinkers and add them to the bowl. The fun part here is that you don’t need perfect uniformity—different-sized pieces will add texture!
Step 2: Mix the Wet Ingredients
Pour in the condensed milk and melted butter over the dry ingredients. Stir the mixture until everything is thoroughly combined. You should end up with a sticky, well-mixed base that’s easy to press into your tray.
Step 3: Set the Base in the Tray
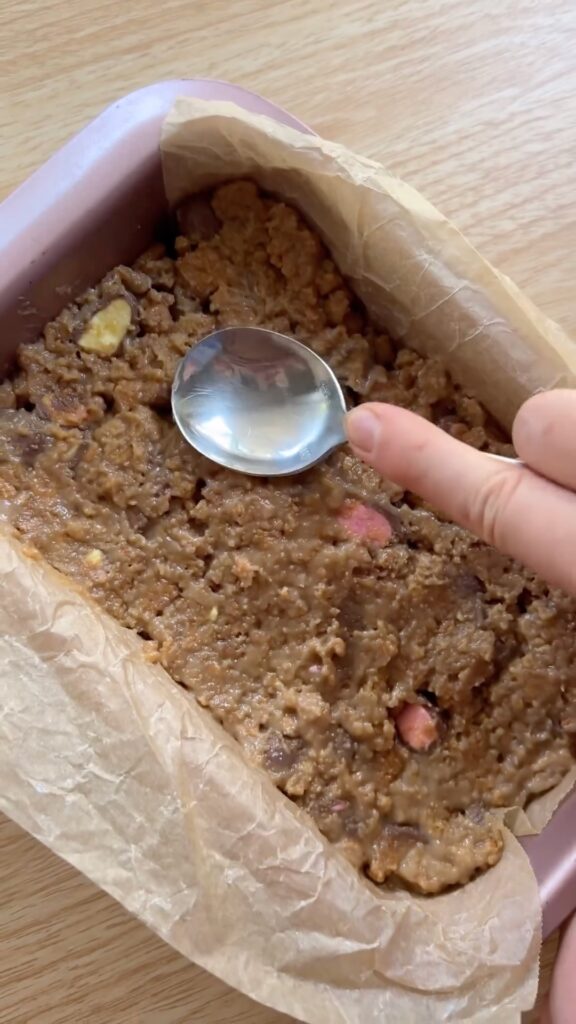
Line a tray (approximately 24cm x 13cm) with parchment paper and press the mixture evenly into it. Make sure to spread it out to the edges and press down firmly to create an even layer.
Step 4: Add the Topping
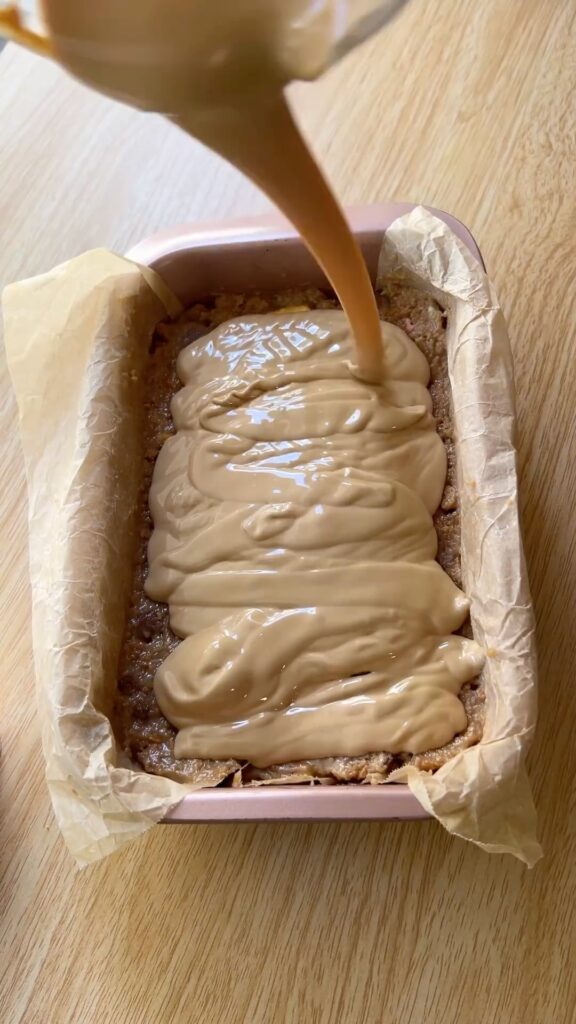
Melt the Caramilk (you can do this in the microwave in short bursts or using a double boiler). Once melted, pour it evenly over the biscuit base, spreading it with a spatula to ensure an even coating.
Step 5: Chill and Slice
Place the tray in the fridge for a few hours to set completely. Once firm, slice into squares and enjoy!
Step 6: Storing Your Clinker Slice
Store any leftovers in an airtight container in the fridge to keep them fresh and chewy.

Tips and Variations
- Experiment with Different Chocolates: Try dark chocolate for a richer flavor, or white chocolate with some sprinkles for a fun, colorful twist.
- Add Some Nuts: For extra crunch, add chopped almonds or hazelnuts to the mixture.
- Make It Gluten-Free: Use gluten-free biscuits if you have dietary restrictions.
- Decorate the Top: Drizzle additional melted chocolate or scatter some sea salt on top for an elevated finish.
The Joy of Simple Desserts
There’s something incredibly comforting about making a dessert that’s been a family favorite for years. The Chocolate Clinker Slice is nostalgic, easy to prepare, and always a crowd-pleaser. It’s perfect for when you need a quick treat, and it brings that sense of joy and delight every single time. So, why not try it today? Whether you’re making it for a special occasion or a simple afternoon snack, this recipe is bound to become a staple in your kitchen.
Enjoy every bite and don’t forget to share your creative twists on this classic recipe! 🍫✨

5 Ingredient Caramilk Clinker Slice
Ingredients
- 250 g Marie biscuits or any plain biscuits of your choice
- 160 g clinkers or any chocolate-coated candy
- 200 g condensed milk
- 120 g melted butter
- 250 g Caramilk chocolate melted
Instructions
Prepare the Ingredients:
- Crush the biscuits into small pieces and add them to a mixing bowl. Roughly chop the clinkers and add them to the bowl with the biscuits.
Mix Together:
- Add the condensed milk and melted butter to the bowl. Mix everything until well combined.
Transfer to Tray:
- Line a 24cm x 13cm tray with parchment paper. Spread the biscuit mixture evenly into the tray, pressing down firmly.
Top with Melted Chocolate:
- Pour the melted Caramilk chocolate over the biscuit mixture and spread evenly with a spatula.
Set in Fridge:
- Place the tray in the fridge for a few hours until the slice has set.
Slice and Serve:
- Once set, remove from the fridge, slice into pieces, and enjoy!
Store:
- Store any leftovers in an airtight container in the fridge to keep them fresh.
Notes
- Feel free to experiment with different chocolates or candies to suit your taste.
- For a nutty twist, consider adding chopped nuts or dried fruits to the mixture.
Leave a Reply