Chicken Kiev is one of those dishes that never goes out of style. It’s a nostalgic favorite that many of us remember from childhood dinners, and it’s currently making a comeback.
Whether you’re cooking for family or just yourself, this dish is perfect for when you want something a little special without spending hours in the kitchen.
Plus, it freezes beautifully, making it a fantastic option for quick midweek meals. Let’s dive into this timeless recipe that’s sure to become a staple in your home.
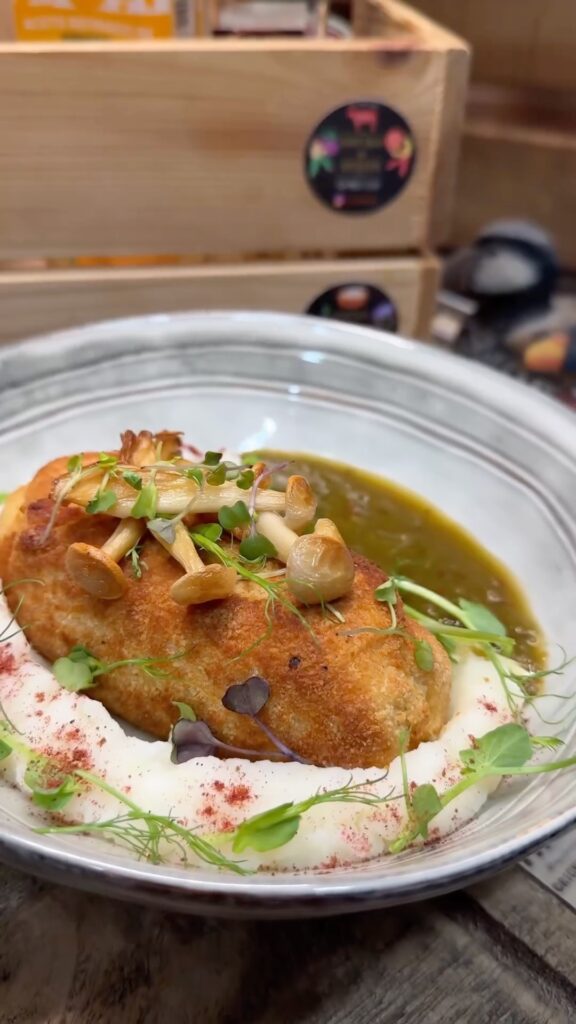
What is Chicken Kiev?
Chicken Kiev is a classic dish featuring chicken breasts that have been tenderized and filled with delicious compound butter made with garlic and parsley.
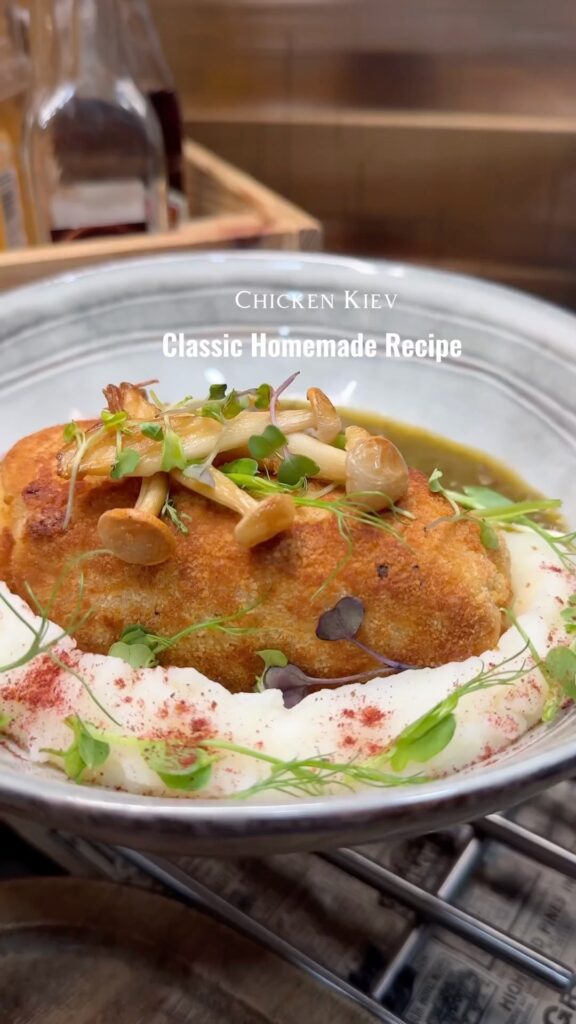
The chicken is then rolled up, breaded, and cooked to perfection. The result is a crispy, golden exterior that gives way to a juicy chicken breast and a buttery, flavorful center.
The name “Kiev” comes from the capital of Ukraine, but this dish has become a beloved favorite around the world.
Key Ingredients You’ll Need
- 2 chicken breasts
- 150g butter (softened to room temperature)
- 2 eggs
- 2 cloves garlic
- 2 tbsp fresh or dried dill
- Salt and pepper
- Flour and breadcrumbs (for coating)
- Oil for frying
Making Process
1. Prepare the Compound Butter
To start, take your butter out of the fridge about an hour before you plan to make the compound butter. This allows it to soften, making it easier to work with.
Prepare the garlic and dill:
Squeeze the garlic through a garlic press, shred it with a thin shredder, or finely mince it with a knife. Then, wash and finely chop the dill or measure out the dried dill.
Make the butter mixture:
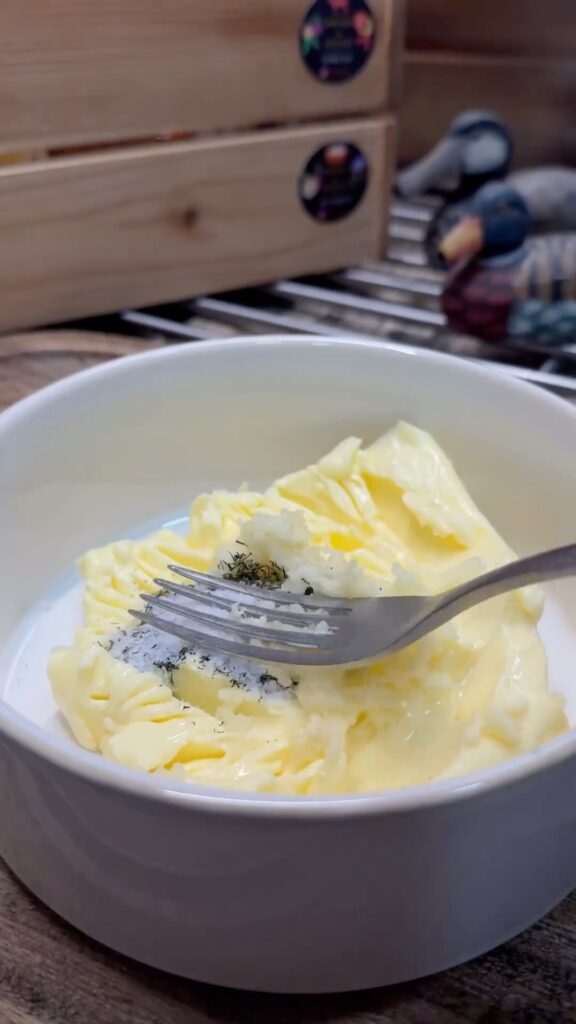
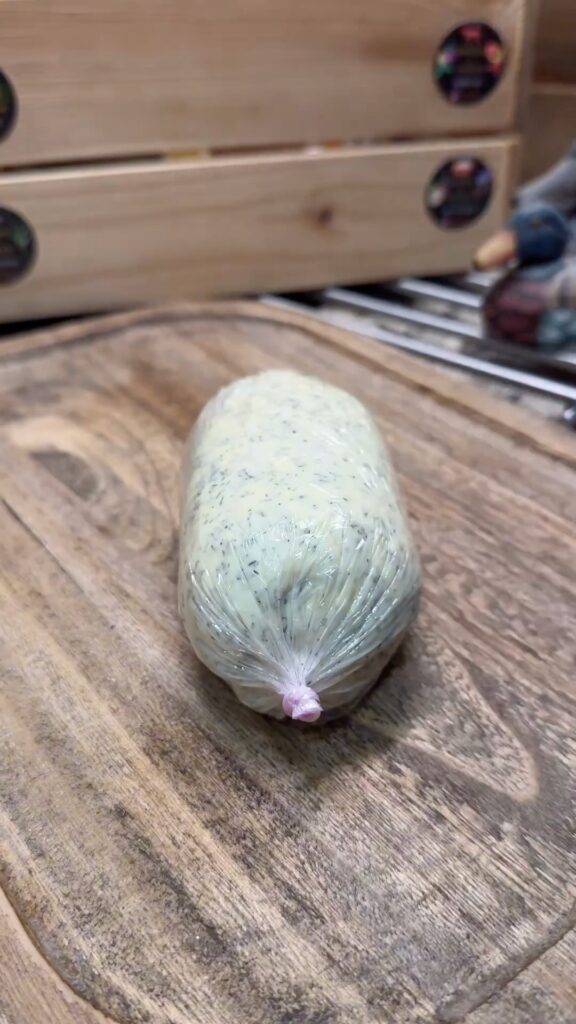
In a bowl, combine the softened butter, garlic, dill, salt, and pepper. Use a fork to mix everything together until the ingredients are fully incorporated. Transfer the butter mixture onto a sheet of plastic wrap and shape it into a cylindrical log. Wrap it up and place it in the freezer for about 30 minutes to firm up.
2. Prepare the Chicken
Butterfly the chicken:
Using a sharp knife, butterfly each chicken breast by cutting horizontally through the thickest part without cutting all the way through. Open the chicken breast like a book.
Tenderize the chicken:
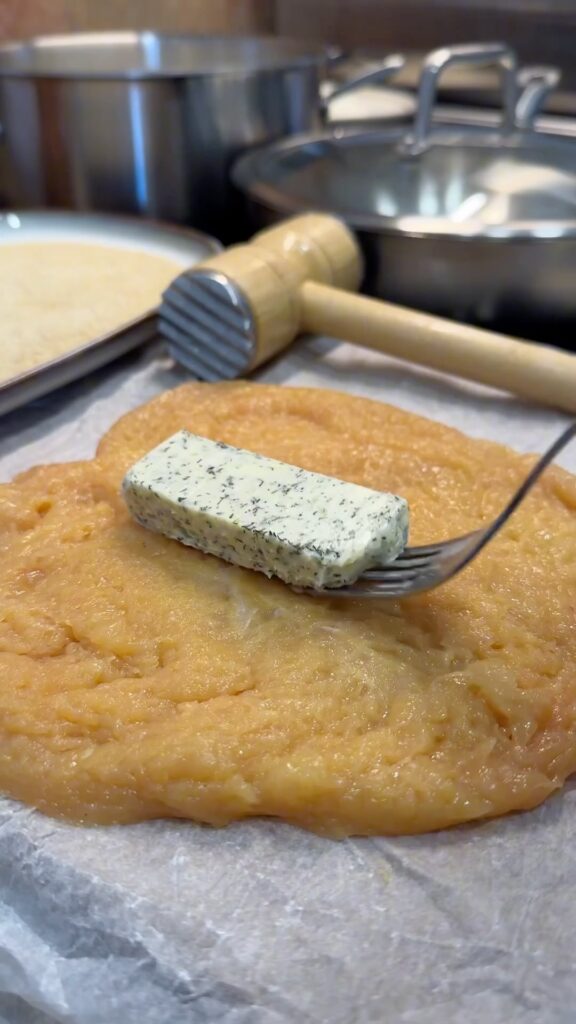
Cover the butterflied chicken with plastic wrap and gently pound with a meat mallet until the chicken is an even thickness. This helps it cook evenly and makes it easier to roll.
3. Assemble the Chicken Kiev
Season and fill:
Sprinkle both sides of the chicken breasts with salt and pepper. Place a piece of the chilled compound butter in the center of each chicken breast.
Roll it up:
Fold the sides of the chicken over the butter, then fold up one end and roll tightly to enclose the butter completely. This will prevent the butter from leaking out during cooking.
4. Bread the Chicken
Set up your breading station:
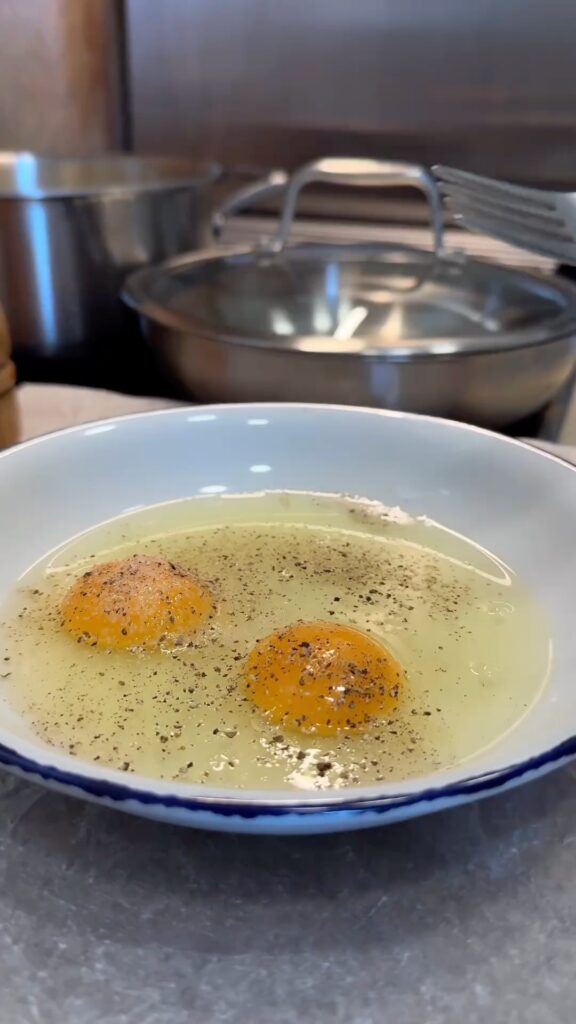
In one bowl, combine flour with a bit of salt and pepper. In another bowl, whisk the eggs. Place breadcrumbs in a third bowl.
Coat the chicken:
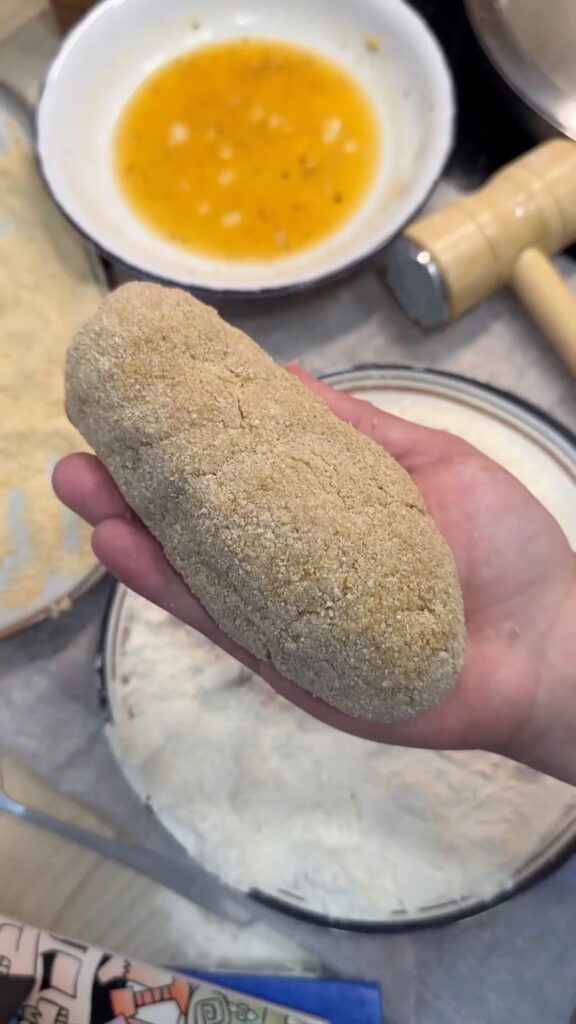
Dredge each chicken roll in flour, shaking off the excess. Dip it in the beaten eggs, letting the excess drip off, then roll in breadcrumbs, pressing gently to adhere. Lay the coated chicken on a platter, cover with plastic wrap, and refrigerate for 1 to 2 hours. This helps the breading stick better during frying.
Cooking Tecniques
Fry to perfection:
Heat oil in a skillet over medium heat. Fry the chicken on all sides until it’s golden brown and crispy. This usually takes about 4-5 minutes per side.
Optional finish in the oven:
If you want to ensure the chicken is cooked through without over-browning the exterior, you can quickly fry the cutlets on each side and then transfer them to an oven preheated to 430°F (220°C) for 10 minutes.

Pro Tips for Make it More Yummy
- Chill the butter thoroughly: Make sure your butter is well-chilled before rolling it inside the chicken. This helps keep the butter from melting too quickly during frying.
- Seal tightly: Roll the chicken breast tightly around the butter to prevent leaks. If necessary, use toothpicks to secure the edges.
- Freezer-friendly: Make a double batch and freeze the uncooked chicken rolls on a baking sheet. Once frozen solid, transfer them to a freezer bag. When ready to cook, you can fry them directly from frozen; just add a few extra minutes to the cooking time.
FAQs
Q: Can I use different herbs for the butter?
Absolutely! Feel free to experiment with different herbs such as parsley, thyme, or chives to customize the flavor to your liking.
Q: Can I bake the Chicken Kiev instead of frying it?
Yes, you can bake them in a preheated oven at 400°F (200°C) for about 25-30 minutes or until golden and cooked through. Just keep in mind that baking will yield a slightly different texture.

Chicken Kiev
Ingredients
- 2 chicken breasts
- 150 g butter softened
- 2 eggs
- Salt to taste
- Black pepper to taste
- 2 tbsp dried or fresh dill
- 2 cloves garlic
- Oil for frying
- Flour for coating
- Breadcrumbs for coating
Instructions
Prepare the Compound Butter:
- Take the butter out of the fridge approximately 1 hour before preparing to allow it to soften.
- Mince the garlic using a garlic press or a knife.
- Finely chop the dill (or use dried dill).
- In a bowl, mix the softened butter with garlic, dill, salt, and pepper until well combined.
- Shape the butter mixture into a cylindrical log using plastic wrap and freeze for 30 minutes.
Prepare the Chicken:
- Butterfly the chicken breasts with a sharp knife and tenderize them with a meat pounder until thin on both sides.
- Season the chicken with salt and pepper.
- Place a piece of the prepared butter in the center of each chicken breast. Fold the sides of the breast over the butter, then roll it up to enclose the butter.
Bread the Chicken:
- Coat each chicken roll with flour, shaking off excess.
- Dip in beaten eggs, shaking off excess.
- Roll in breadcrumbs, ensuring an even coating.
- Place the breaded chicken on a platter, cover with plastic wrap, and refrigerate for 1 to 2 hours.
Cook the Chicken:
- Heat oil in a frying pan over medium heat.
- Fry the chicken on all sides until golden brown.
- Alternatively, you can quickly fry the chicken on each side and then bake in a preheated oven at 220°C (430°F) for 10 minutes.
Notes
- Serve with a side of vegetables or a fresh salad.
- Refrigerate leftovers in an airtight container for up to 3 days.
- For longer storage, freeze uncooked breaded chicken rolls. Thaw before frying or baking.
Chef’s Last Note About This Recipe
Chicken Kiev is a delightful dish that combines the best of crispy, juicy chicken with a buttery, garlicky filling. Whether you’re making it for a special occasion or just because, it’s sure to impress.
And with a few extra stored in the freezer, you’ve got a delicious meal ready to go whenever the craving strikes. Give this recipe a try, and enjoy a little taste of comfort food at its finest!
Leave a Reply