When I think back to summer vacations as a child, one dessert always stands out: ice cream cakes. My family had a tradition of making ice cream cakes for every birthday celebration, and they were always a hit.
But as much as I loved the classic versions, I wanted to create something a bit more indulgent and fun. That’s when I came up with the Oreo Fudge Ice Cream Cake.
This cake combines layers of ice cream sandwiches with a rich fudge and Oreo topping, making it the ultimate treat for any occasion. It’s easy to make, absolutely delicious, and guaranteed to bring smiles to everyone’s faces. Let’s dive into this delightful recipe and create some sweet memories together!
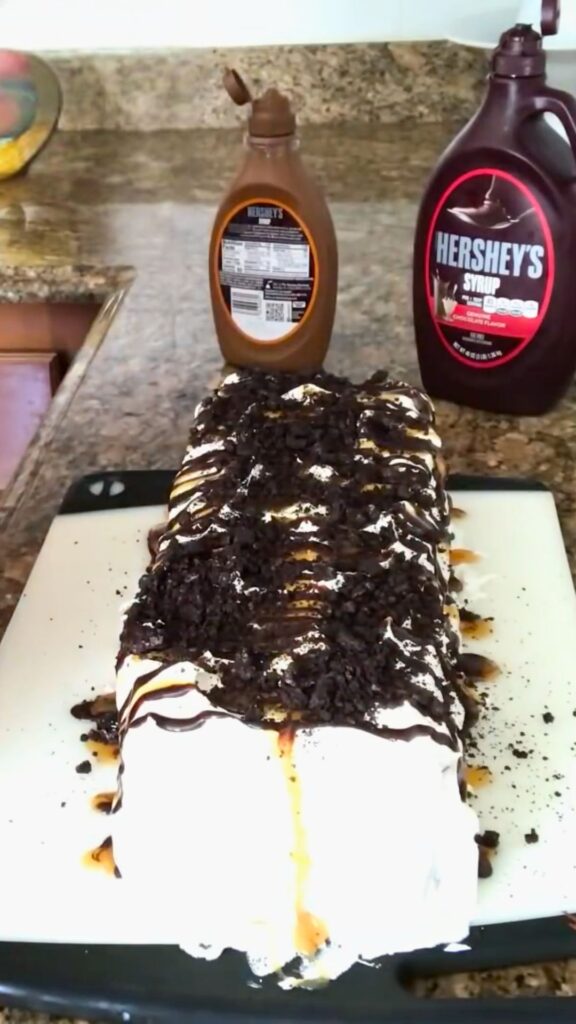
Ingredients For the Oreo Fudge Ice Cream Cake:
- 1/2 cup fudge ice cream topping, warmed
- 1 (8 oz) tub of Cool Whip, divided
- 1/2 package (about 2 servings) chocolate instant pudding mix
- 8 Oreo cookies, chopped
- 12 vanilla ice cream sandwiches
Step-by-Step Guide to Crafting Your Ice Cream Cake
1. Prepare the Fudge Mixture
Start by warming up 1/2 cup of fudge ice cream topping. You can do this in the microwave or on the stovetop over low heat. Once warmed, whisk it together with 1 cup of Cool Whip in a medium-sized bowl until smooth and well combined. This mixture will be the delicious base that ties all the flavors together.
2. Mix in the Pudding
Gradually add 1/2 package of chocolate instant pudding mix to the fudge mixture, whisking continuously. The mixture will start to thicken as the pudding sets. If it becomes too thick, add a splash of milk to achieve your desired consistency. This step adds a rich, creamy chocolate layer that will melt in your mouth.
3. Add the Oreos
Next, gently fold in the 8 chopped Oreo cookies into the pudding mixture. The Oreos add a wonderful crunch and a classic flavor that perfectly complements the chocolate and fudge. Make sure they’re evenly distributed throughout the mixture for maximum Oreo goodness in every bite!
4. Layer the Ice Cream Sandwiches
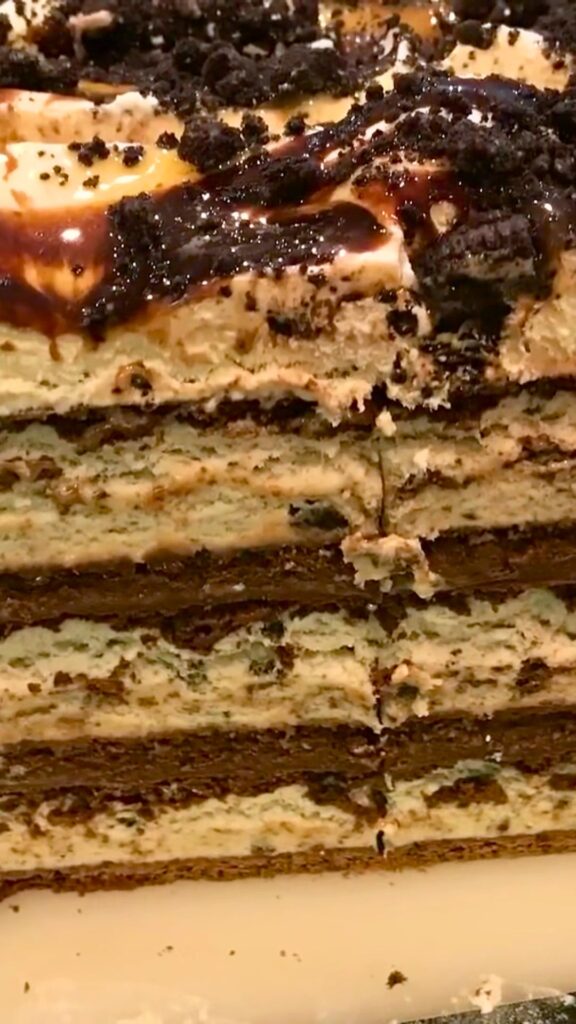
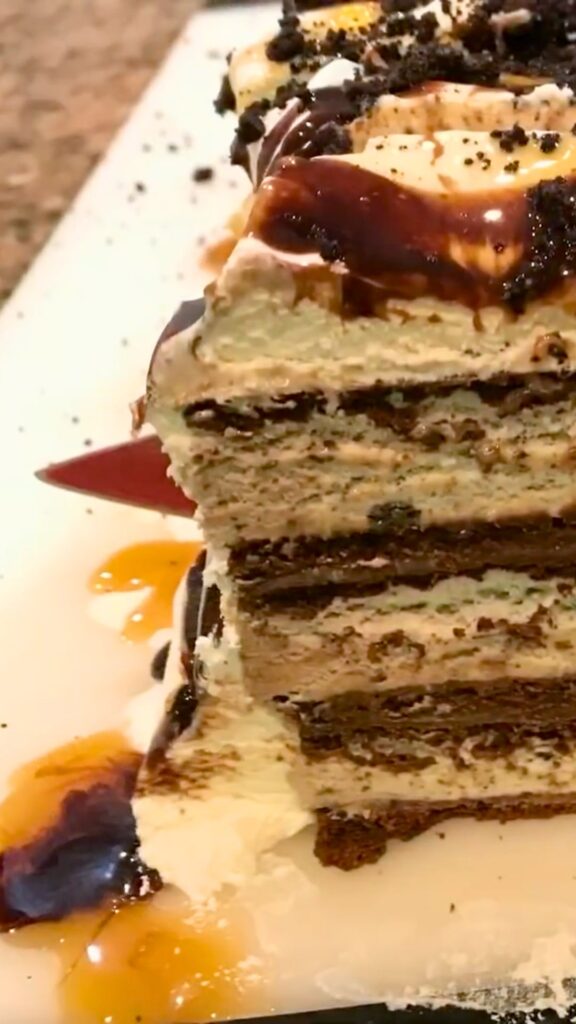
Now comes the fun part: layering the cake. Arrange 4 ice cream sandwiches side by side on a serving plate to form the base layer. Top this layer with half of the pudding mixture, spreading it evenly across the sandwiches to create a smooth layer. This layering creates the structure of the cake and ensures every bite has a perfect balance of flavors.
5. Repeat Layers
Repeat the layering process with another 4 ice cream sandwiches placed on top of the first layer. Spread the remaining half of the pudding mixture over this layer. Finally, add a third and final layer of the last 4 ice cream sandwiches on top.
6. Frost the Cake
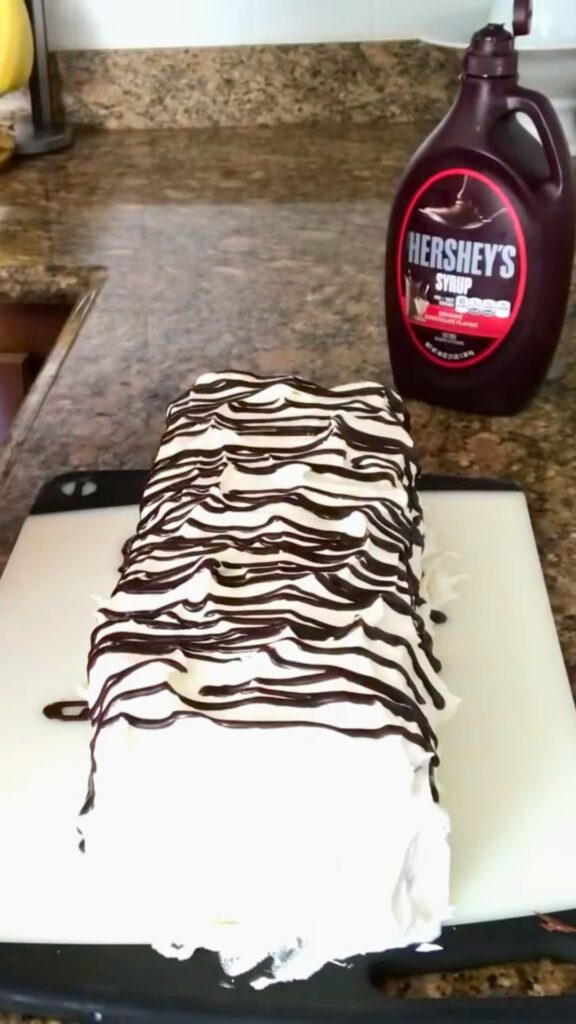
With all the layers in place, it’s time to frost the cake. Use the remaining Cool Whip to frost the entire cake. This gives it a smooth, creamy finish that looks just as good as it tastes. Be generous with the frosting to ensure every bite is light and airy.
7. Freeze the Cake
Place the cake in the freezer and freeze for at least 4 hours or until firm. This is crucial to ensure the cake holds its shape when sliced and served. The longer it sits in the freezer, the better the flavors meld together.
8. Decorate and Serve
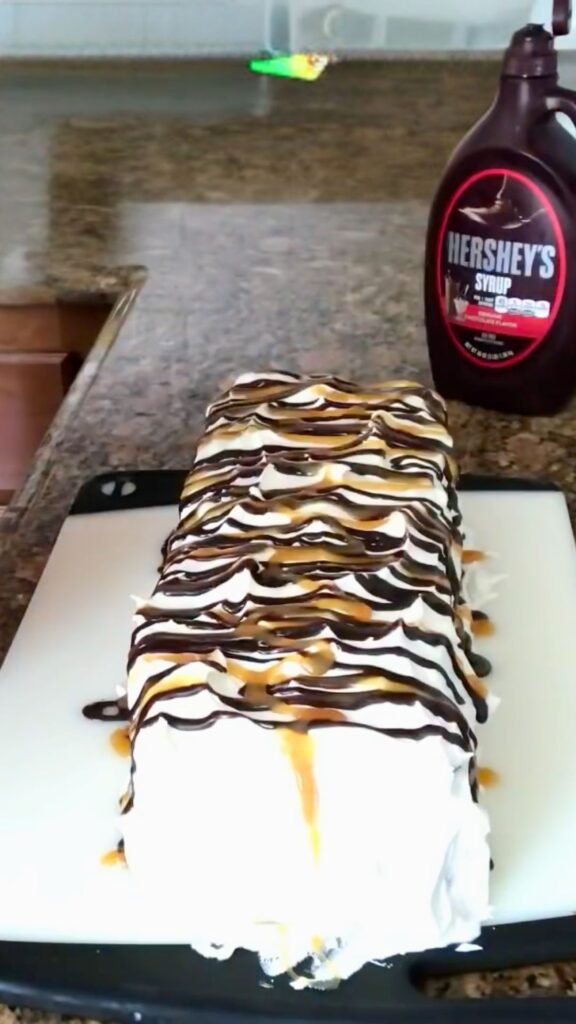
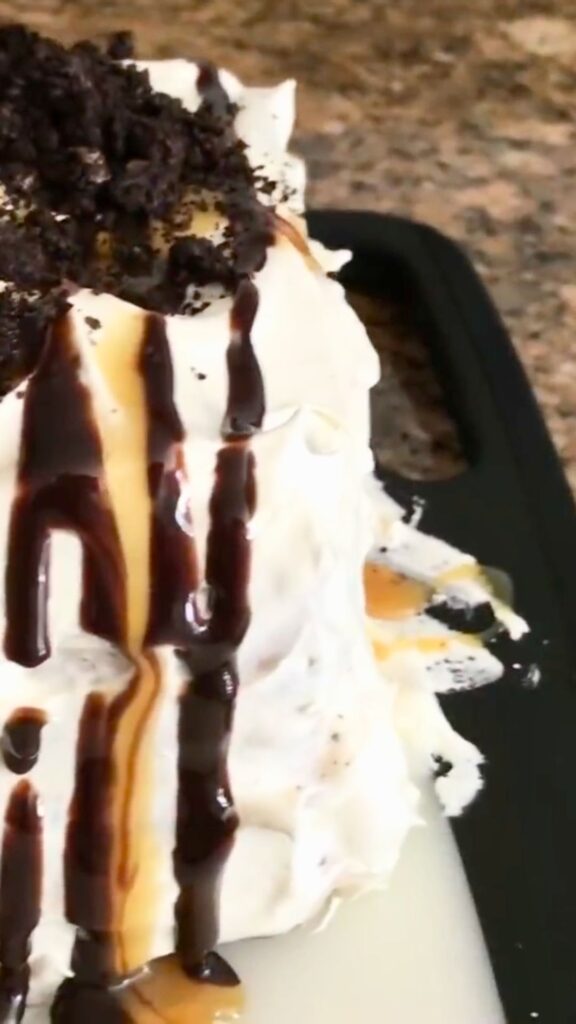
Before serving, you can get creative with your decorations. Top with extra chopped Oreo cookies, a drizzle of chocolate syrup, or any other desired toppings. This adds a touch of flair and extra flavor to your cake, making it even more irresistible. Slice, serve, and enjoy your Oreo Fudge Ice Cream Cake—a guaranteed crowd-pleaser!

Fun Twists and Serving Suggestions
Customize Your Flavors
This cake is incredibly versatile. Feel free to swap out the vanilla ice cream sandwiches for chocolate or mint for a fun twist. You could also add a layer of caramel sauce or sprinkle in some peanut butter cups for an extra layer of indulgence.
Perfect for Any Occasion
This ice cream cake is perfect for birthday parties, summer barbecues, or any gathering where you want to impress your guests with a delicious, no-bake dessert. It’s also great for those days when you just want to enjoy a special treat at home.
Storage Tips
If you have leftovers (which isn’t likely!), store them in an airtight container in the freezer for up to a week. This cake is just as good when served frozen, making it a great make-ahead dessert.
With its delightful layers of fudge, chocolate, Oreos, and creamy ice cream, this Oreo Fudge Ice Cream Cake is sure to become a favorite in your dessert repertoire. It’s quick, easy, and absolutely delicious—perfect for any sweet tooth craving! 🍨🍫
Oreo And Fudge Ice Cream Cake
Ingredients
- ½ cup fudge ice cream topping warmed
- 1 8 oz tub of Cool Whip, divided
- ½ package about 2 servings chocolate instant pudding mix
- 8 Oreo cookies chopped
- 12 vanilla ice cream sandwiches
Instructions
- In a bowl, whisk together 1/2 cup of warmed fudge ice cream topping with 1 cup of Cool Whip until smooth.
- Gradually add the chocolate instant pudding mix to the fudge mixture, whisking until the desired consistency is reached. If the mixture becomes too thick, thin it with a little milk.
- Fold the chopped Oreos into the pudding mixture.
- Arrange 4 ice cream sandwiches on a serving plate. Top with half of the pudding mixture, spreading it evenly.
- Place another layer of 4 ice cream sandwiches on top, followed by the remaining pudding mixture. Repeat one more time with the last layer of sandwiches.
- Frost the entire cake with the remaining Cool Whip.
- Place the cake in the freezer and freeze for at least 4 hours or until firm.
- Before serving, top with extra chopped Oreo cookies, a drizzle of chocolate syrup, or any other desired toppings. Enjoy!
Notes
- You can substitute regular Cool Whip with a light version or a homemade whipped cream.
- Feel free to add different toppings like caramel sauce, nuts, or sprinkles for extra flavor and fun!
Leave a Reply