Growing up, Twix bars were always a special treat for me. The combination of a crunchy shortbread base, gooey caramel, and a chocolate coating was something I couldn’t resist.
As I got older, I started to explore making my favorite store-bought candies at home, and I discovered that creating a homemade version of Twix is not only fun but allows you to tailor it to your dietary needs.
The best part? This recipe is both vegan and gluten-free, so everyone can enjoy this nostalgic treat without compromise.

What You’ll Need for the Perfect Twix Bars
Let’s break down the ingredients that make this recipe special. Each component is crucial for capturing the classic Twix flavor while keeping it vegan and gluten-free.
For the Shortbread:
- 1 cup all-purpose flour or gluten-free 1:1 flour (120g): The base of our Twix bar, this flour ensures a sturdy yet tender foundation.
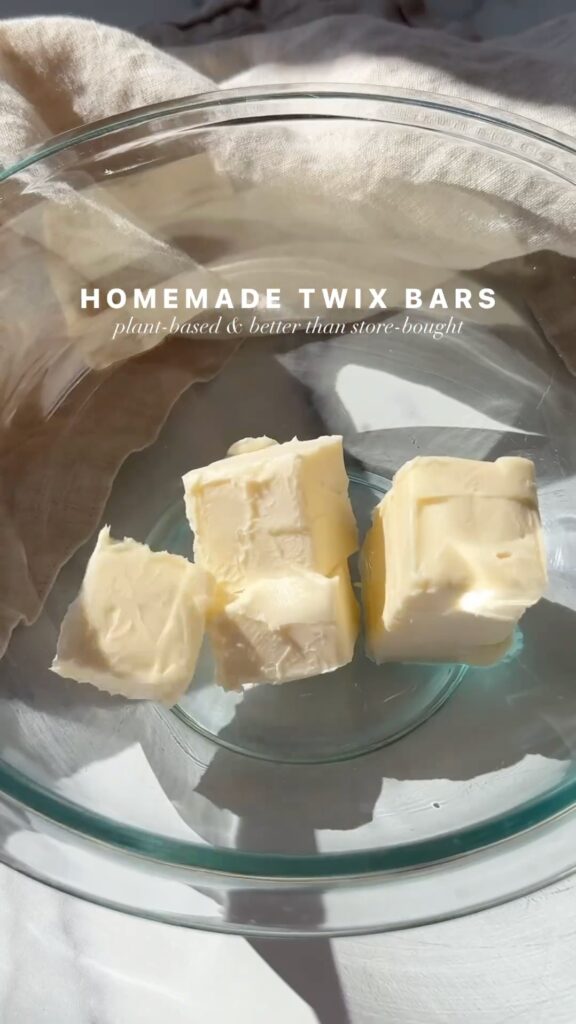
- 1/2 cup cold butter (115g): Vegan butter works perfectly here, creating a flaky and rich shortbread.
- 2 tbsp granulated sugar: Adds just the right amount of sweetness without overpowering the other flavors.
- 1 tsp vanilla: This enhances the flavor profile, giving a warm, aromatic hint to the shortbread.
- 1/8 tsp salt: A small amount of salt balances the sweetness, bringing out the best in all the ingredients.
For the Caramel Layer:
- 1 can Native Forest Organic Simple Coconut Milk: A vital component, this is what makes our caramel creamy yet suitable for those following a vegan diet.
- 1/2 cup coconut sugar: A healthier alternative to regular sugar, it gives a deep, caramel-like flavor and color.
- 6 tbsp Let’s Do Organic Cornstarch: Acts as a thickening agent, creating a smooth and luscious caramel without dairy.
- 2 tsp vanilla: Adds an extra layer of flavor, making the caramel irresistibly rich.
- 1/8 tsp salt: Again, a touch of salt helps to bring out the sweetness and enhances the caramel’s flavor.
For the Topping:
- Dark chocolate: Opt for dairy-free dark chocolate to keep this recipe vegan. The bitterness of the dark chocolate pairs wonderfully with the sweet caramel.
- Flaky salt: A sprinkle of flaky salt on top adds a delightful contrast, elevating the flavors to a new level.
Creating Your Homemade Twix Bars
Now, let’s get into the kitchen and start crafting these delightful bars!
Step 1: Prepare the Shortbread
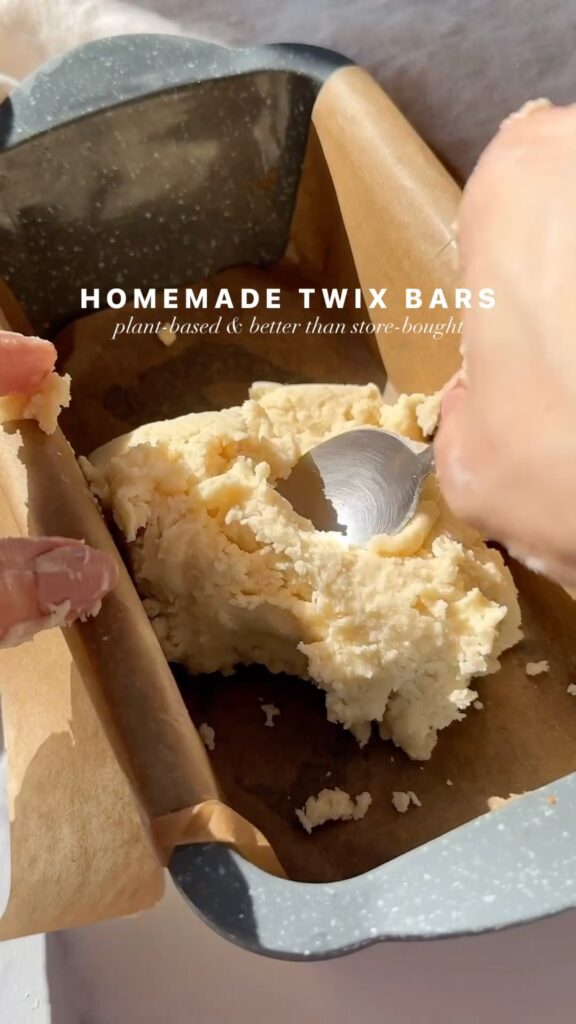
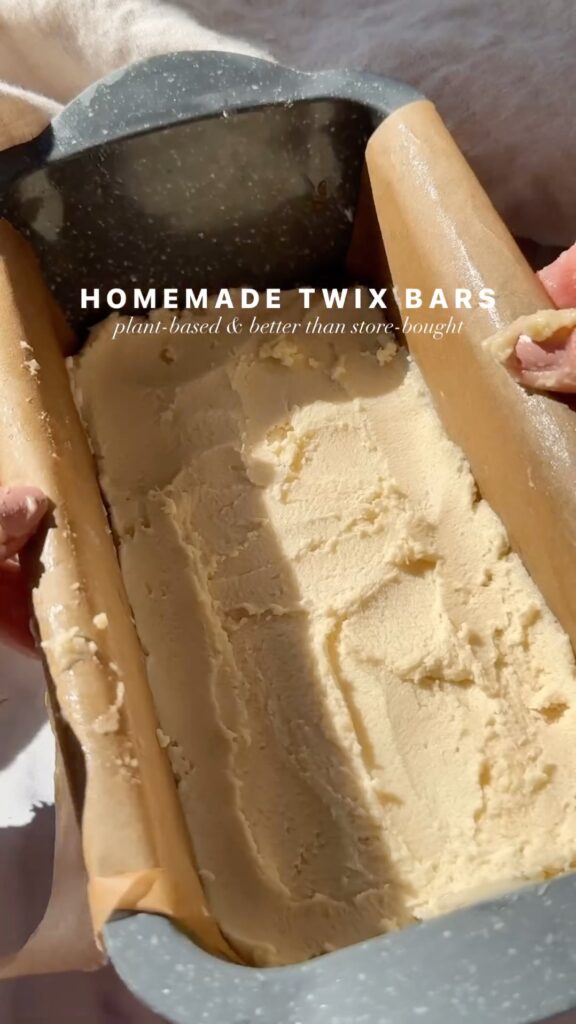
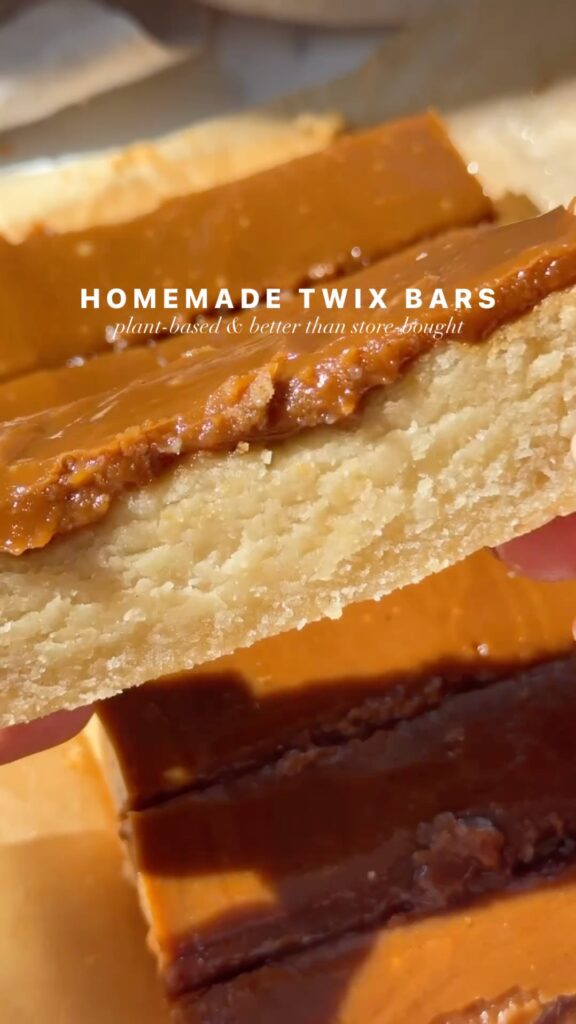
Begin by mixing all the shortbread ingredients in a bowl. Once combined, transfer the dough to a loaf pan lined with parchment paper. This helps in easy removal later. Using a toothpick, poke small holes across the shortbread to ensure even baking.
Bake the shortbread in a preheated oven at 350°F for 25-30 minutes, or until it’s lightly golden. This will give it the perfect crunch.
Step 2: Make the Caramel
While the shortbread is baking, it’s time to prepare the caramel. Start by refrigerating your coconut milk overnight. This allows the cream to separate from the liquid. When you’re ready to make the caramel, scoop out 5 tablespoons of the solidified coconut cream from the can.
Heat a pan over medium heat and add the coconut cream, coconut sugar, vanilla, and salt. Whisk together until everything is well combined. Then, slowly add the cornstarch, continuing to whisk until all clumps are dissolved.
Let the mixture heat until it begins to bubble slightly. This is your cue to remove it from the heat—overcooking could cause the caramel to separate.
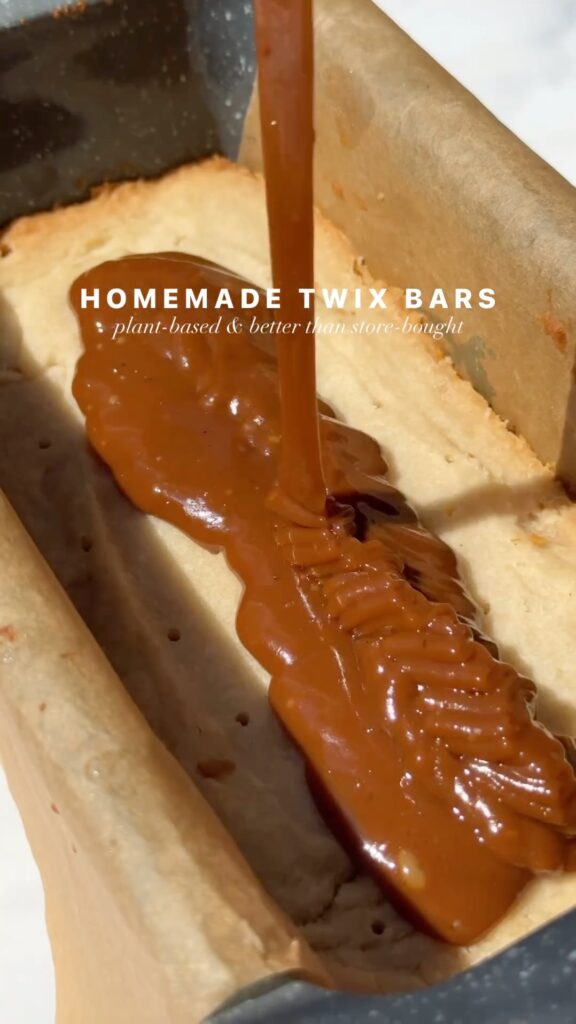
Pour the warm caramel over your baked shortbread layer. The key here is to work quickly but carefully, spreading it evenly before it begins to set.
Step 3: Chill and Slice
Place the pan in the freezer for a few hours until the caramel is completely hardened. This step is crucial for achieving the signature texture of a Twix bar.
Once firm, remove the pan from the freezer and carefully slice the bars. Using a sharp knife will help create clean, precise edges.
Step 4: Dip in Chocolate
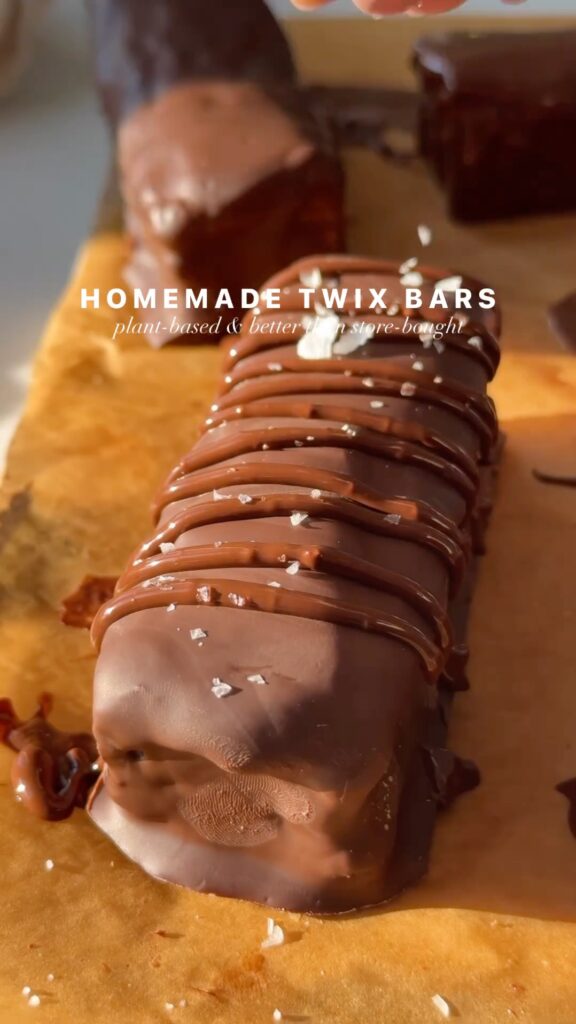
Melt the dark chocolate in a microwave or over a double boiler. Dip each bar into the melted chocolate, ensuring it’s fully coated. Place the bars on a parchment paper-lined surface to set. Before the chocolate hardens completely, drizzle any remaining chocolate over the top and sprinkle with flaky salt for that extra touch.
Refrigerate the bars until the chocolate is completely hardened.



Tips
- Chilling the coconut milk: Don’t skip the step of refrigerating the coconut milk overnight. This allows the cream to separate, which is essential for making a smooth and creamy caramel.
- Patience with the caramel: Make sure not to overheat the caramel; it should only bubble slightly. Overcooking can cause it to split, leaving you with a grainy texture.
- Chocolate tempering: If you want a glossy finish on your chocolate coating, consider tempering the chocolate. This is a bit more advanced but will give your Twix bars a professional look.

Homemade Twix Bars
Ingredients
Shortbread:
- 1 cup all-purpose flour or gluten-free 1:1 flour 120g
- ½ cup cold vegan butter 115g
- 2 tbsp granulated sugar
- 1 tsp vanilla extract
- ⅛ tsp salt
Caramel:
- 1 can Native Forest Organic Simple Coconut Milk refrigerated overnight
- ½ cup coconut sugar
- 6 tbsp Let’s Do Organic Cornstarch
- 2 tsp vanilla extract
- ⅛ tsp salt
Topping:
- Dark chocolate melted
- Flakey salt
Instructions
Prepare the Shortbread:
- Preheat your oven to 350°F (175°C). In a bowl, mix together the flour, cold vegan butter, sugar, vanilla, and salt until a dough forms.
- Press the dough evenly into a loaf pan lined with parchment paper. Use a toothpick to poke small holes all over the shortbread.
- Bake the shortbread crust for 25-30 minutes, or until lightly golden.
Make the Caramel:
- While the shortbread is baking, scoop out the solid part from the chilled coconut milk and measure out 5 tablespoons.
- In a medium saucepan over medium heat, add the coconut cream, coconut sugar, vanilla, and salt. Whisk together.
- Gradually add the cornstarch, whisking continuously until the mixture is smooth and free of clumps. Cook until the caramel just begins to bubble, then remove from heat.
- Pour the caramel over the baked shortbread layer and spread evenly.
Chill the Layers:
- Place the pan in the freezer for a few hours, or until the caramel layer is fully hardened.
- Once hardened, remove from the freezer and slice into bars.
Coat with Chocolate:
- Melt the dark chocolate in a microwave or over a double boiler.
- Dip each Twix bar into the melted chocolate, ensuring all sides are coated. Place the chocolate-coated bars on a parchment-lined surface.
- Drizzle any remaining chocolate on top of the bars and sprinkle with flakey salt.
Final Chill:
- Refrigerate the bars until the chocolate hardens. Enjoy!
Notes
- The caramel layer may soften at room temperature, so it’s best to store the bars in the fridge.
- For a nutty twist, you can add a layer of almond butter or peanut butter before pouring the caramel over the shortbread.
- These Twix bars can be stored in the refrigerator for up to 1 week or in the freezer for up to 1 month.
Final Thoughts
These homemade Twix bars are a perfect blend of creamy caramel, crunchy shortbread, and rich chocolate.
Making them yourself allows you to control the ingredients, ensuring they meet any dietary needs while tasting even better than the store-bought version.
Whether you’re sharing these with friends or enjoying them yourself, this recipe brings a nostalgic treat into your kitchen in a fun and healthy way. Enjoy the process and the delicious results!
Happy baking!
Leave a Reply