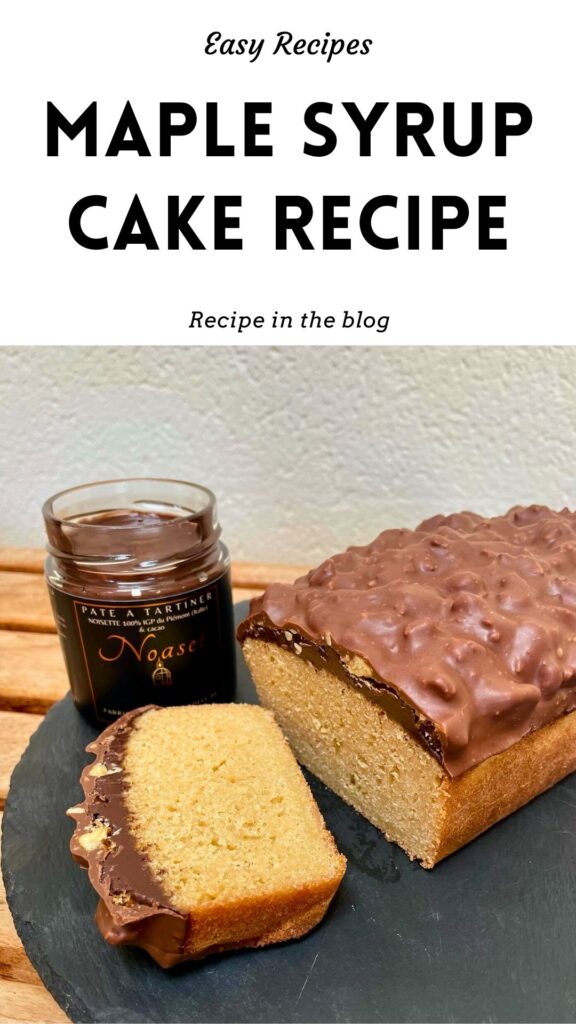
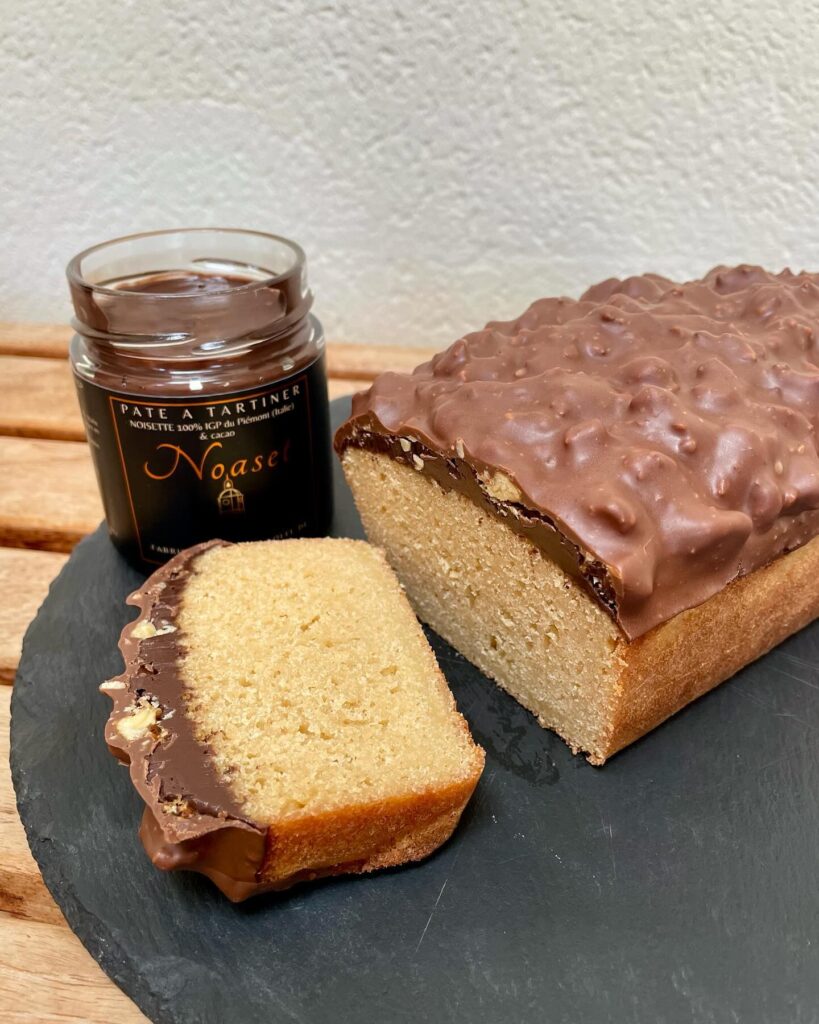
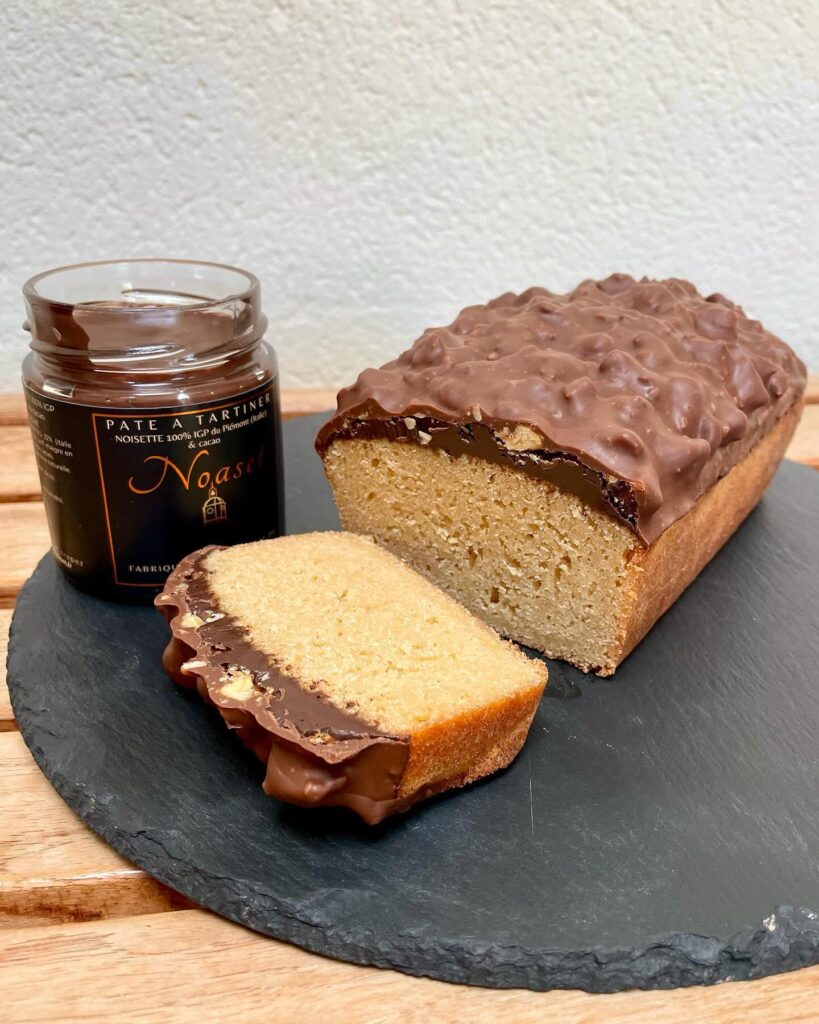
This cake is more than just an average dessert. It’s a moist and flavorful maple syrup cake, covered with a rich chocolate spread, topped with caramelized nuts, and finished with a decadent, crunchy Rocher-style glaze. The combination of maple syrup, creamy chocolate, and nutty crunch makes this a dessert worthy of any special occasion. Let’s break down the process to create this indulgent treat step by step.
Ingredients You’ll Need
For the Cake Batter:
- 190 g softened butter
- 190 ml maple syrup
- Vanilla extract (to taste)
- 3 eggs
- 165 g flour
- 6 g baking powder
- 10 ml heavy cream (30% fat)
For the Caramelized Nuts:
- 100 g nuts (e.g., walnuts, hazelnuts, or a mix)
- 66 g sugar
- 60 g water
For the Chocolate Spread Topping:
- Your favorite chocolate spread (recommended: artisanal hazelnut spread)
For the Rocher Glaze:
- 300 g milk chocolate
- 50 g neutral oil (such as vegetable oil)
- Crushed pralines or chopped nuts for texture
Step 1: Preparing the Maple Syrup Cake Batter
Preheat your oven to 165°C (329°F) and line a small cake mold with parchment paper. This ensures an even bake and makes it easier to remove the cake later.
In a large mixing bowl, combine 190 ml of maple syrup and 3 eggs, whisking until the mixture is smooth and well-combined. The maple syrup adds a deep, natural sweetness and moisture to the cake.
Next, add 190 g of softened butter and a splash of vanilla extract. Beat the ingredients together until the mixture becomes creamy and smooth. The butter helps to create a tender, rich crumb, while the vanilla enhances the flavor.
Now it’s time to incorporate the dry ingredients. Gradually sift in 165 g of flour and 6 g of baking powder, folding them into the batter until just combined. Be careful not to overmix, as you want to preserve the lightness of the batter.
Lastly, stir in 10 ml of heavy cream (30% fat) to add extra richness and moisture to the cake. The cream helps create a soft texture, complementing the syrup’s sweetness.
Pour the batter into your prepared cake mold, spreading it evenly. Bake the cake in the preheated oven for about 45 minutes, or until a toothpick inserted in the center comes out clean. Once baked, remove the cake from the oven.
Step 2: Steaming and Freezing the Cake for Extra Moisture
Immediately after baking, cover the cake with plastic wrap or place it in a steamer to trap moisture. This process helps soften the crumb and keep the cake extra moist.
After steaming, place the cake directly in the freezer for two hours. This step might seem unusual, but freezing helps lock in moisture and prepares the cake for the topping and glaze, ensuring that it holds its shape while being coated.
Step 3: Spreading the Chocolate Topping
Once the cake has chilled for two hours, remove it from the freezer. Spread a generous layer of your favorite chocolate spread on top of the cake. An artisanal hazelnut spread works beautifully here, but any chocolate spread will do the trick.
Make sure to cover the top evenly, creating a smooth, thick layer of chocolate that contrasts perfectly with the maple flavor of the cake.
Let the cake sit for a bit to allow the chocolate to settle before moving on to the next step.
Step 4: Preparing the Caramelized Nuts
To add a layer of crunch and nutty sweetness, we’ll make some caramelized nuts.
In a saucepan, combine 66 g of sugar and 60 g of water. Heat the mixture over medium heat until it begins to boil. Stir occasionally until the sugar fully dissolves.
Once the syrup is boiling, add 100 g of nuts (walnuts, hazelnuts, or a mix). Continue stirring until the nuts are fully coated in the syrup, and the sugar starts to caramelize. The nuts will develop a glossy, candied coating and a slight “chouchou” texture as they caramelize.
Remove the nuts from the pan and spread them out on a tray to cool. Once they’ve cooled completely, you can pulse them in a blender or chop them finely for a crunchy topping.
Generously sprinkle the chopped caramelized nuts over the chocolate-spread layer of your cake, ensuring an even distribution of crunch across the surface.
To allow the flavors to meld, place the cake back in the freezer for one hour. This step also helps the chocolate spread firm up, making it easier to add the final glaze.
Step 5: Making the Crunchy Rocher Glaze
The final layer of this cake is the Rocher glaze, which adds a luxurious chocolate shell with nutty texture.
In a bain-marie (double boiler), melt 300 g of milk chocolate gently, stirring until smooth. Once the chocolate has melted, remove it from the heat and stir in 50 g of neutral oil (such as vegetable oil). The oil gives the glaze a smooth, glossy finish and makes it easy to pour over the cake.
For added crunch, mix in some crushed pralines or chopped nuts (such as almonds or hazelnuts) into the melted chocolate. This creates the signature texture of the Rocher glaze, reminiscent of a Ferrero Rocher candy.
Let the glaze cool to about 35°C (95°F), the ideal temperature for coating the cake. This allows the glaze to be poured easily without being too runny.
Step 6: Glazing the Cake and Final Assembly
Remove the cake from the freezer and place it on a wire rack over a baking sheet (to catch any excess glaze). Slowly pour the Rocher glaze over the entire cake, making sure to cover it evenly. Use a spatula to spread the glaze, if necessary, ensuring that the cake is completely coated.
Allow the glaze to set at room temperature, and then transfer the cake to the refrigerator to chill further.
Step 7: Serve and Enjoy
Once the glaze has set and the cake has fully chilled, it’s ready to be served. The combination of the maple syrup cake’s softness, the smooth chocolate spread, the crunchy caramelized nuts, and the rich Rocher glaze makes this cake an absolute treat.
Cut into slices and enjoy each bite—this cake is a true masterpiece with layers of flavor and texture that will impress anyone lucky enough to try it.
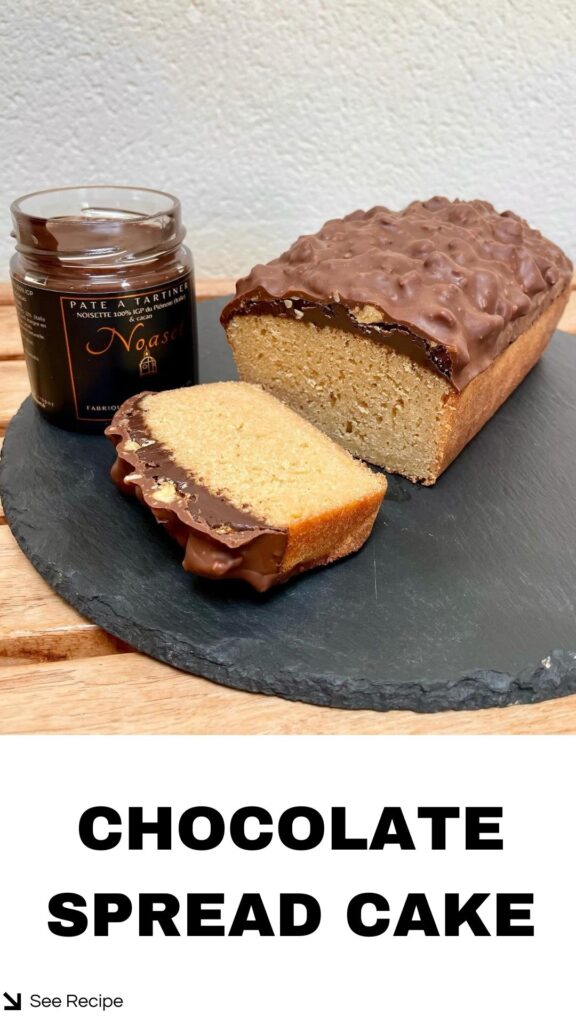
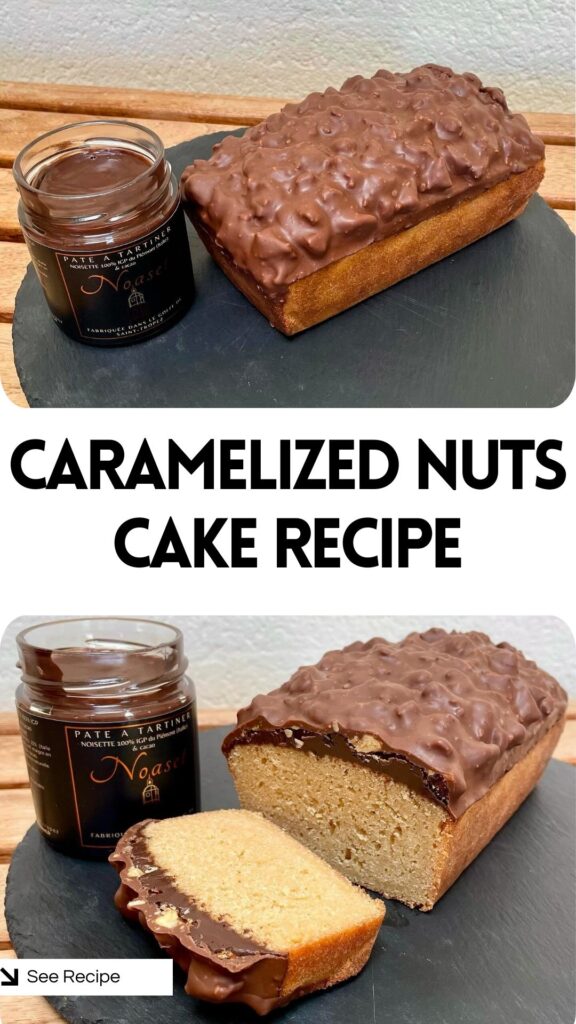

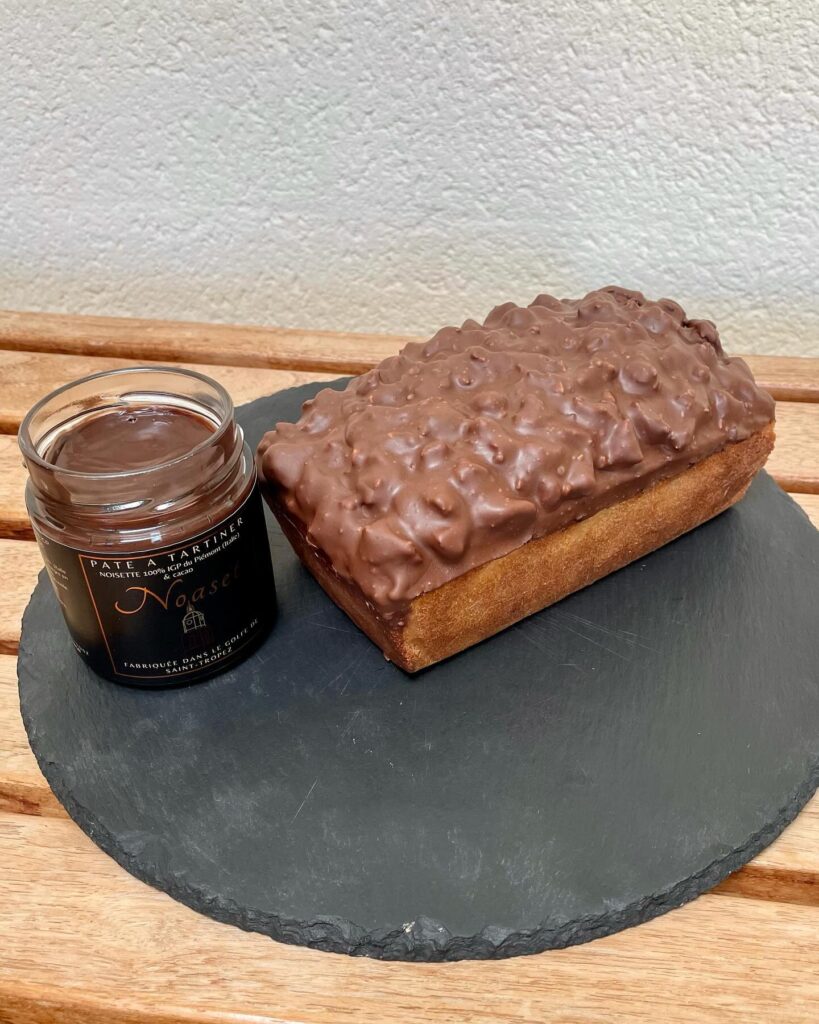
Maple Syrup and Chocolate Spread Cake
Ingredients
Cake Batter
- 190 g butter softened
- 190 ml maple syrup
- vanilla to taste
- 3 eggs
- 165 g flour
- 6 g baking powder
- 10 ml heavy cream 30% fat
Caramelized Nuts
- 100 g nuts e.g., walnuts or hazelnuts
- 66 g sugar
- 60 ml water
Rocher Glaze
- 300 g milk chocolate
- 50 g neutral oil e.g., vegetable oil
- crushed pralines or chopped nuts
Instructions
Cake Batter Instructions
- Preheat your oven to 165°C (329°F).
- In a bowl, mix the maple syrup with the eggs until smooth.
- Add the softened butter and vanilla, stirring well.
- Incorporate the flour and baking powder into the mixture.
- Line a small cake mold with parchment paper, pour in the batter, and bake for 45 minutes.
- Once baked, remove the cake from the oven and steam it (cover it or wrap in plastic). Then, place it directly in the freezer for two hours.
Chocolate Spread Topping Instructions
- After removing the cake from the freezer, generously spread a layer of your favorite chocolate spread on top.
- Let the cake sit for a while before moving to the next steps.
Caramelized Nuts Instructions
- Make a syrup by heating the sugar and water in a pan.
- Once it reaches a boil, add the nuts and stir until they are caramelized and have a ‘chouchou’ (candied) texture.
- Let them cool on a tray, then pulse in a blender or chop finely.
- Generously sprinkle these caramelized nuts over the chocolate spread layer on your cake.
- Place the cake back in the freezer for an hour to set.
Rocher Glaze Instructions
- Melt the milk chocolate using a double boiler (bain-marie). Once melted, remove from heat.
- Stir in the neutral oil and crushed pralines/nuts.
- Let the glaze cool to about 35°C (95°F), then dip or coat your cake with the glaze, making sure it’s evenly covered.
- Store the cake in the fridge to keep it fresh.
Notes
- Freeze the cake for at least 2 hours before applying the toppings for best results.
- Use high-quality chocolate spread for a richer flavor.
- Let the cake sit at room temperature for 10 minutes before serving for a softer texture.
Leave a Reply