When the weather’s too hot to turn on the oven but you’re craving something sweet and satisfying, these No-Bake Peanut Butter Bars are the perfect solution. Combining creamy peanut butter, a touch of maple syrup, and a smooth layer of chocolate, they’re a delicious indulgence that’s both simple to make and packed with flavor. With just a handful of ingredients and no baking required, these bars are sure to become a go-to treat in your recipe collection.
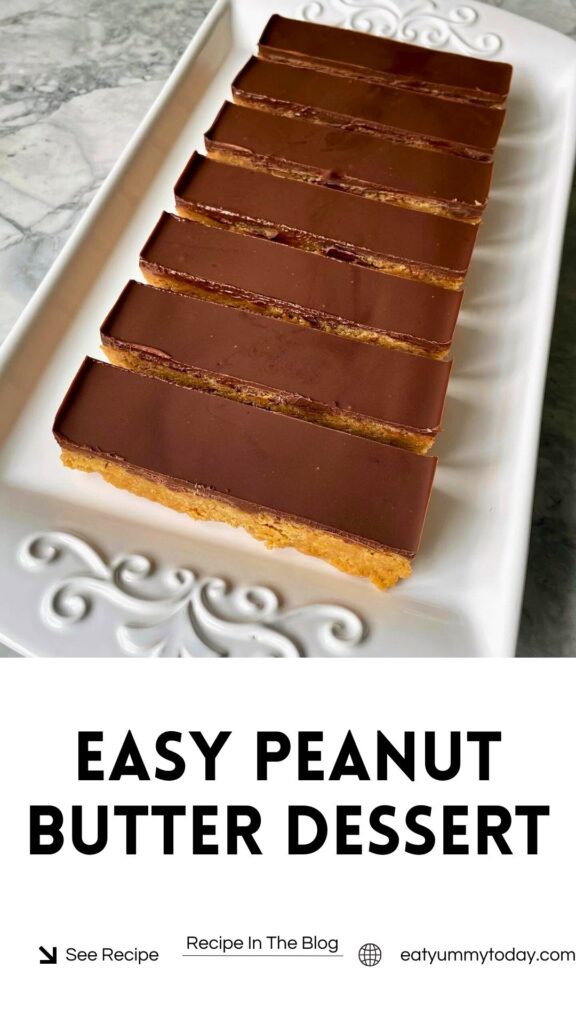
Creating the Peanut Butter Base
The foundation of these bars is a smooth peanut butter mixture that’s sweetened with maple syrup and balanced with almond flour, which adds structure without requiring baking.
Ingredients for the Peanut Butter Layer:
- 215 g peanut butter (smooth peanut butter works best for a uniform texture)
- 80 ml maple syrup (adds natural sweetness while keeping the mixture moist)
- 110 g almond flour (essential for safe, no-bake use and gives the bars a soft, chewy texture)
- A pinch of salt (enhances the flavors and balances the sweetness)
How to Make the Base:
- Mixing the Ingredients: In a large bowl, combine the peanut butter, maple syrup, almond flour, and a pinch of salt. Stir until the mixture comes together into a smooth, dough-like consistency. The almond flour helps give structure without requiring heat, while the maple syrup provides moisture and sweetness. Tip: If the mixture feels too dry, you can add a bit more maple syrup or peanut butter, one teaspoon at a time, until it reaches the perfect consistency.
- Shaping the Base: Line a small baking tray or mold with parchment paper. Press the peanut butter mixture into the prepared mold, ensuring an even layer across the bottom. Use a spatula or the back of a spoon to smooth the surface for a uniform base.
Preparing the Chocolate Topping
The silky chocolate topping adds a rich contrast to the sweet and nutty base. A small amount of neutral oil helps the chocolate melt smoothly and creates a glossy finish that’s easy to slice through.
Ingredients for the Chocolate Layer:
- 125 g chocolate (milk or dark, depending on your preference)
- 1 tsp neutral oil (such as vegetable oil, which helps create a smoother texture and prevents the chocolate from cracking)
Steps to Prepare the Chocolate Topping:
- Melting the Chocolate: Break the chocolate into small pieces and melt it together with the neutral oil. You can do this using a microwave (heat in 20-second intervals, stirring in between) or a double boiler (placing a heatproof bowl over simmering water, stirring until smooth). The oil ensures the chocolate is pourable and sets with a beautiful shine. Tip: If you prefer a richer, darker chocolate flavor, use a higher percentage dark chocolate. For a milder taste, milk chocolate works beautifully.
- Coating the Bars: Pour the melted chocolate over the peanut butter base, spreading it evenly with a spatula to fully coat the top. Make sure the layer is smooth to create a professional-looking finish once the bars are set.
Chilling and Cutting the Bars
To get the perfect texture, the bars need to be chilled until firm. This process sets both the peanut butter base and the chocolate topping.
- Chill in the Freezer: Place the tray in the freezer for about 45 minutes to allow the bars to firm up completely. The chocolate should harden and the base will solidify, making it easier to slice.
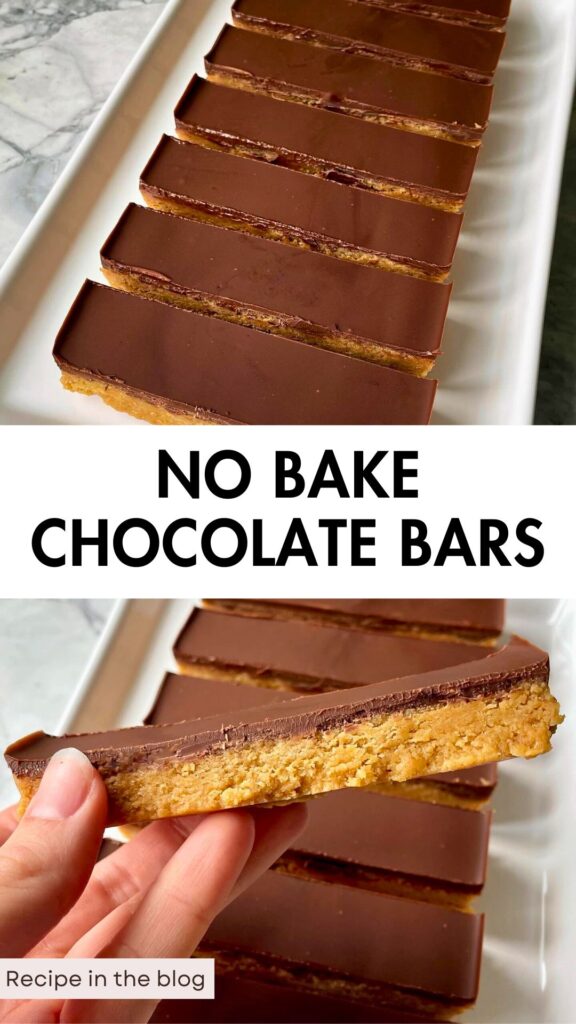
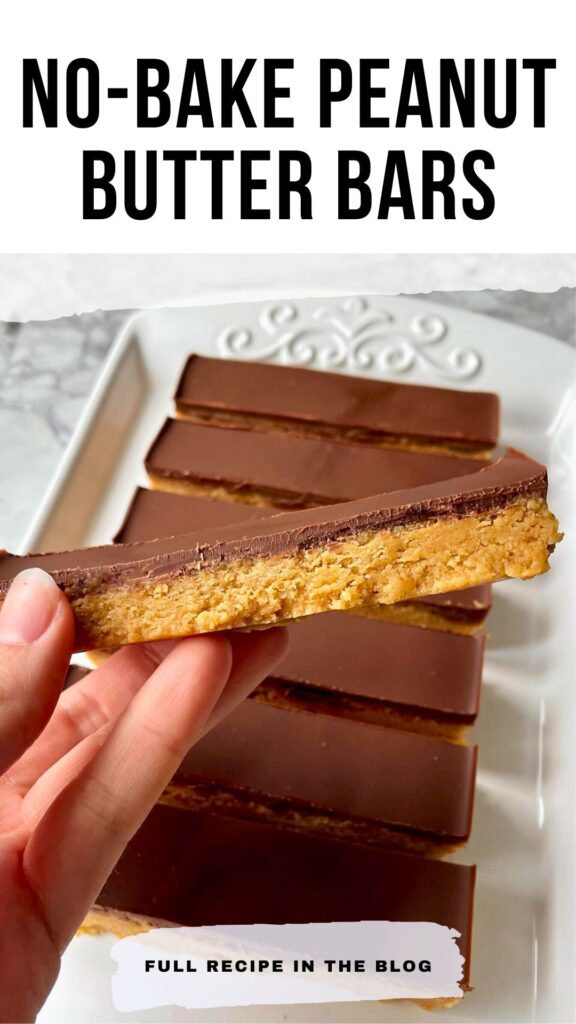
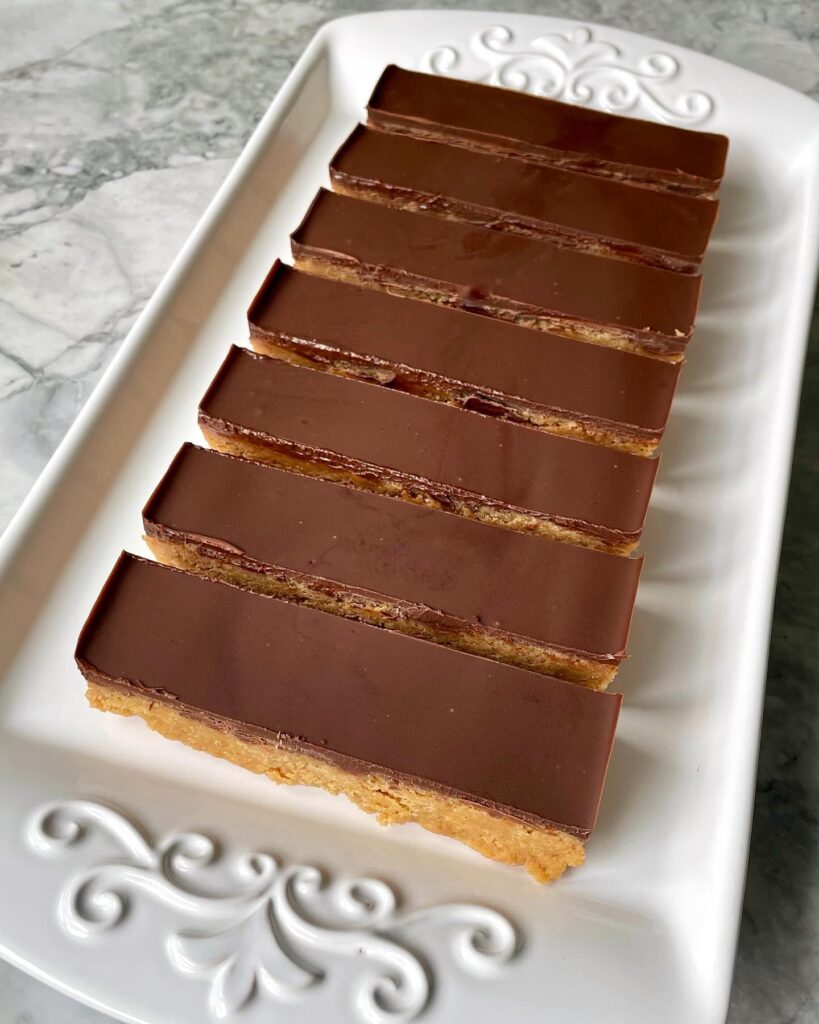
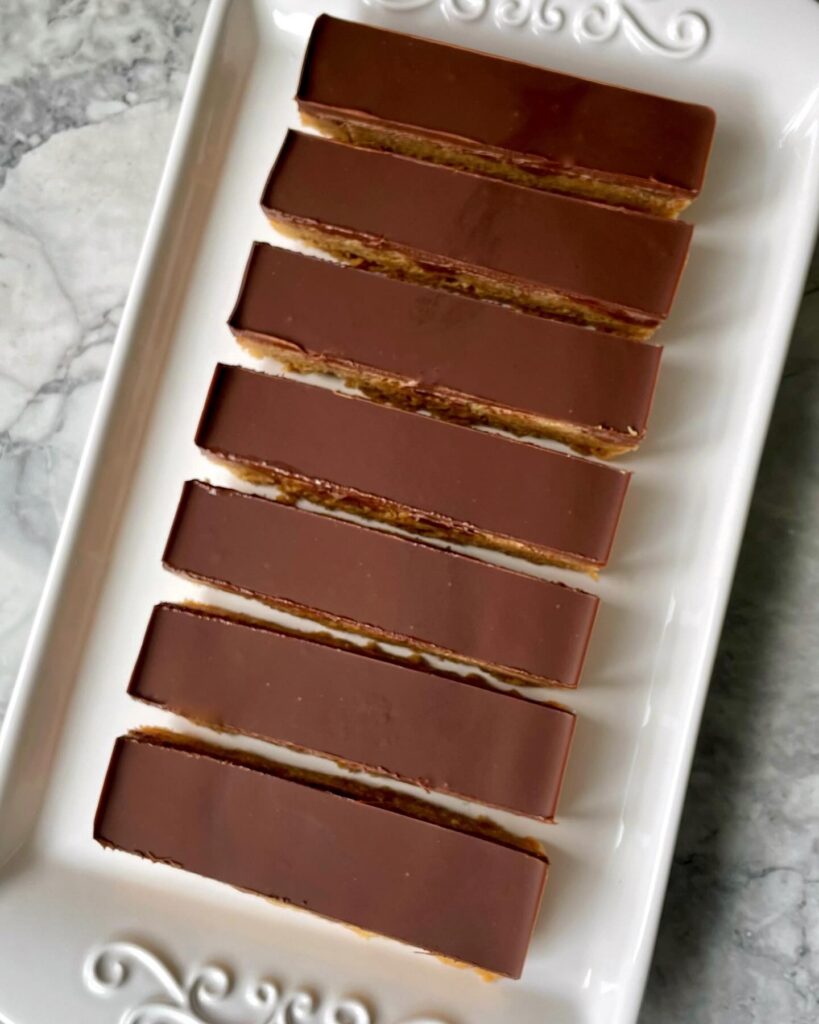
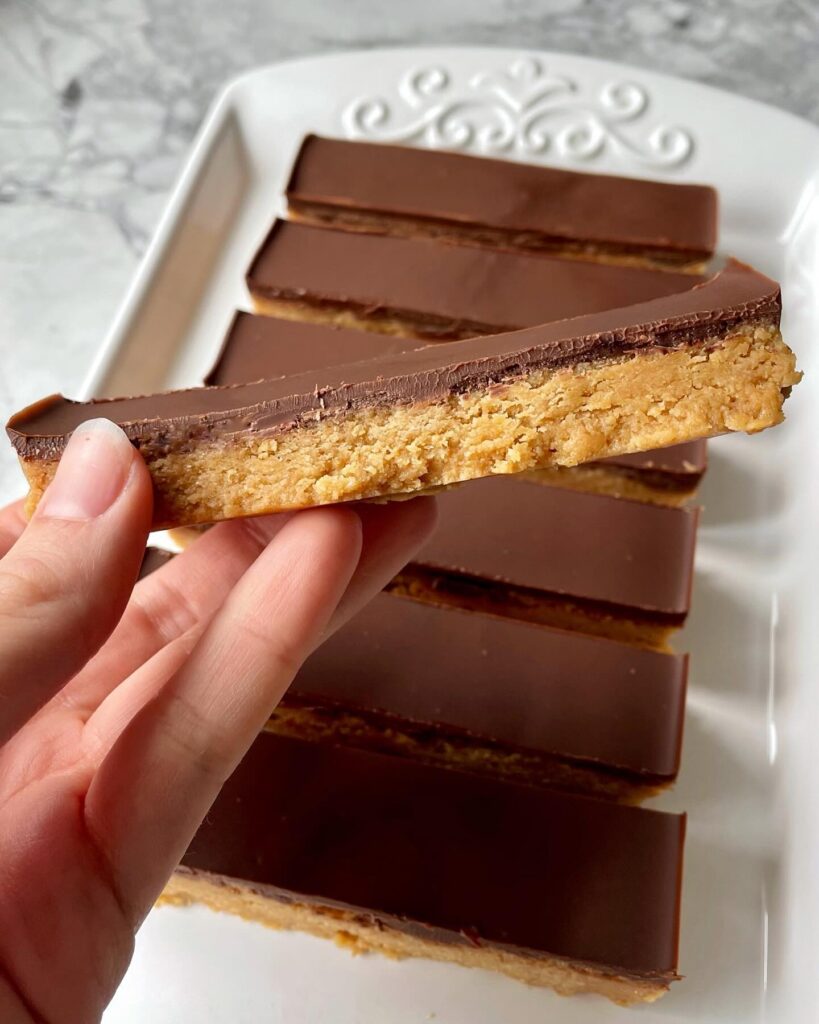
- Slicing the Bars: Once the bars are set, remove them from the freezer and carefully lift them out of the mold using the parchment paper. To prevent the chocolate from cracking as you slice, run your knife under hot water and dry it off before making each cut. This technique helps the knife glide through the chocolate without putting too much pressure on the base. Tip: Cut the bars gently, using a sawing motion rather than pressing straight down. This helps maintain the clean edges and prevents the chocolate from breaking unevenly.

Serving and Storing the Bars
Your No-Bake Peanut Butter Bars are now ready to enjoy! They make a fantastic snack or dessert and can be stored in the fridge for up to a week.
Storing Tips:
- Refrigeration: Since these bars contain peanut butter and chocolate, they’re best stored in the fridge to maintain their firmness. Keep them in an airtight container, layered with parchment paper if stacking, to avoid sticking.
- Freezer Option: If you’d like to keep them for longer, you can freeze the bars for up to a month. Just let them thaw for a few minutes before enjoying for the perfect texture.
A Versatile and Nutritious Option
One of the great things about this recipe is its versatility. You can easily swap ingredients to suit dietary preferences or what you have on hand:
- For a sweeter bar, try using honey instead of maple syrup.
- For a crunchier texture, stir in chopped peanuts or other nuts before pressing the base into the tray.
- For a different flavor twist, use almond butter or cashew butter in place of peanut butter.
Whether you’re looking for a quick and easy dessert or a satisfying snack, these No-Bake Peanut Butter Bars hit the spot every time. With minimal ingredients and no oven required, they’re a stress-free way to satisfy your sweet tooth, especially when the weather’s warm. Plus, with the combination of creamy peanut butter and rich chocolate, they’re a guaranteed crowd-pleaser!
Enjoy making (and eating) this simple yet decadent treat! 🍫🥜
No-Bake Peanut Butter Bars
Ingredients
- 215 g peanut butter preferably smooth
- 80 ml maple syrup
- 110 g almond flour important to use almond flour, as it’s safe to eat raw
- pinch of salt
- 125 g chocolate milk or dark
- 1 tsp neutral oil like vegetable oil
🎓 Are You 18–24?
You Are Eligible For $0 Prime Trial!
6-month trial at no cost + limited-time 5–10% cashback
Get It Now!Instructions
- In a bowl, mix the peanut butter, maple syrup, almond flour, and a pinch of salt until you have a smooth dough-like consistency.
- Line a mold or small baking tray with parchment paper, then press the peanut butter mixture into the mold, flattening it evenly.
- Melt the chocolate with the neutral oil in the microwave or over a double boiler.
- Pour the melted chocolate over the peanut butter layer, spreading it evenly to coat.
- Place the mold in the freezer for about 45 minutes until the bars are firm.
- Once set, remove from the freezer and cut into bars.
- To prevent the chocolate layer from cracking when cutting, run your knife under hot water before each slice. Cut gently!
Notes
- For best results, use smooth peanut butter.
- Running the knife under hot water before slicing helps prevent the chocolate from cracking.
Leave a Reply