Indulge in the rich flavors of caramel, chocolate, and a marbled vanilla-cocoa cake, all wrapped in a decadent crunchy Rocher glaze. This show-stopping dessert combines a soft, moist cake with a silky caramel filling, soaked in syrup, and topped with a luxurious chocolate coating. Though it requires some patience and preparation, the result is well worth the effort. Let’s dive into the process for creating this delicious, multi-layered dessert.
Ingredients You’ll Need for the Smooth Caramel Cake
For the Smooth Caramel (prepare the day before):
- 160 g sugar
- 30 g glucose
- 300 g very hot 30% liquid cream
- 1 vanilla pod
- Pinch of salt
- 70 g butter
For the Cake:
- 180 g sugar
- 4 eggs
- 250 g butter, melted and cooled
- 70 g milk
- 300 g flour
- 1 sachet (about 10 g) baking powder
- 10 g unsweetened cocoa
- 1 vanilla pod
For the Soaking Syrup:
- 50 g sugar
- 100 g water
For the Glacage Rocher (Chocolate and Nut Glaze):
- 300 g milk chocolate
- 50 g neutral oil (such as vegetable oil)
- Praline or almond slivers
Step 1: Preparing the Silky Smooth Caramel (Do This the Day Before)
Start by making the caramel in advance to ensure it has time to cool and set properly. This is essential for achieving that smooth, creamy consistency in the cake’s center.
In a saucepan, heat 160 g sugar and 30 g glucose over medium heat. Stir occasionally, allowing the sugar to melt slowly and caramelize to a deep amber color. The glucose helps prevent crystallization, resulting in a smoother caramel.
Once the sugar reaches the perfect caramel hue, carefully pour in the very hot liquid cream (300 g), stirring constantly to prevent clumping. Scrape the seeds from the vanilla pod and add them to the mixture, along with a pinch of salt. This will enhance the flavor with a subtle, aromatic touch.
Finally, stir in 70 g of butter until it melts and the caramel becomes silky smooth. Transfer the caramel to a container, let it cool, and then refrigerate overnight. This cooling period allows the flavors to deepen and the texture to thicken.
Step 2: Baking the Marbled Vanilla and Cocoa Cake
Preheat your oven to 180°C (350°F) and grease a cake mold to prevent sticking.
In a large mixing bowl, whisk together 180 g of sugar and 4 eggs until the mixture is light, fluffy, and pale in color. This step is crucial for achieving a light cake texture.
Once the eggs and sugar are properly whipped, slowly pour in the cooled melted butter (250 g) and 70 g of milk. Stir gently until combined. These ingredients add richness and moisture to the cake.
Sift together 300 g of flour and 1 sachet (10 g) of baking powder, then fold this into the wet mixture. Be careful not to overmix, as you want to maintain a tender crumb.
Now, divide the batter evenly into two bowls. In one, add 10 g of unsweetened cocoa powder to create the chocolate layer, and in the other, scrape in the seeds from a vanilla pod for the vanilla portion.
To create a beautiful marbled effect, alternate spooning the vanilla and chocolate batters into the prepared cake mold. Use a knife to gently swirl the batters together for a visually appealing pattern.
Bake the cake for 30–35 minutes, or until a toothpick inserted into the center comes out clean. Let the cake cool completely in the mold before proceeding.
Step 3: Preparing the Simple Syrup for Soaking
While the cake cools, make a simple soaking syrup that will keep the cake moist and enhance its flavor.
In a small saucepan, bring 50 g of sugar and 100 g of water to a boil. Stir until the sugar is fully dissolved, then remove from heat.
While the cake is still in the mold, slowly pour the syrup over it, allowing the cake to soak in the moisture. This step is key for a luscious, moist texture.
Step 4: Freezing the Cake and Adding the Smooth Caramel Filling
Once soaked, carefully unmold the cake and wrap it tightly in cling film. Place it in the freezer for at least 4 hours. This freezing step firms the cake, making it easier to handle when adding the caramel filling and glazing.
After freezing, take the cake out and use a piping bag to fill the center with the prepared caramel from the previous day. This caramel core will add a deliciously smooth surprise to each bite.
Return the cake to the freezer for another 2 hours. The second freezing ensures the cake stays firm when you add the final chocolate glaze.
Step 5: Preparing the Decadent Glacage Rocher (Chocolate and Nut Glaze)
The final touch of this cake is the luxurious Rocher-style glaze, known for its rich chocolate flavor and nutty crunch.
To begin, melt 300 g of milk chocolate in a bain-marie (double boiler). This method ensures the chocolate melts gently and doesn’t burn. Once the chocolate is fully melted, remove it from the heat.
Stir in 50 g of neutral oil to the melted chocolate. The oil gives the glaze its smooth, glossy finish while making it easy to pour over the cake. For an added layer of texture, mix in praline or almond slivers to the glaze, giving it the signature crunch of a Rocher.
Let the glaze cool slightly to 35°C before pouring it over the cake. This temperature ensures the glaze will coat evenly without being too runny.
Step 6: Glazing the Cake with Perfection
Take the cake out of the freezer and place it on a wire rack with a baking sheet underneath to catch excess glaze. Slowly pour the Rocher glaze over the frozen cake, making sure every inch is covered. The cold cake will help the glaze set quickly, forming a beautiful, crunchy shell.
Allow the glaze to set at room temperature for a few minutes before transferring the cake to a serving plate.
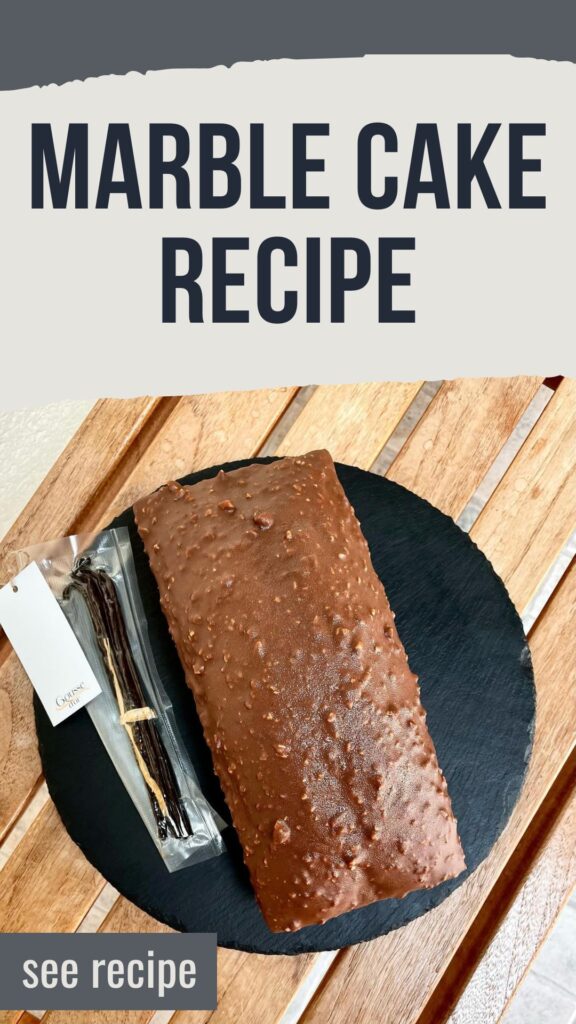
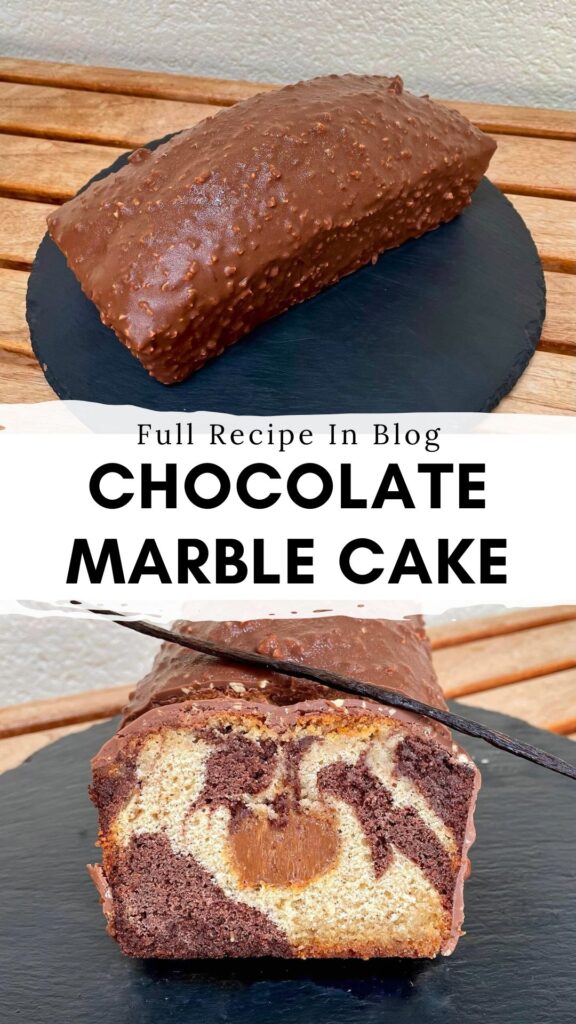

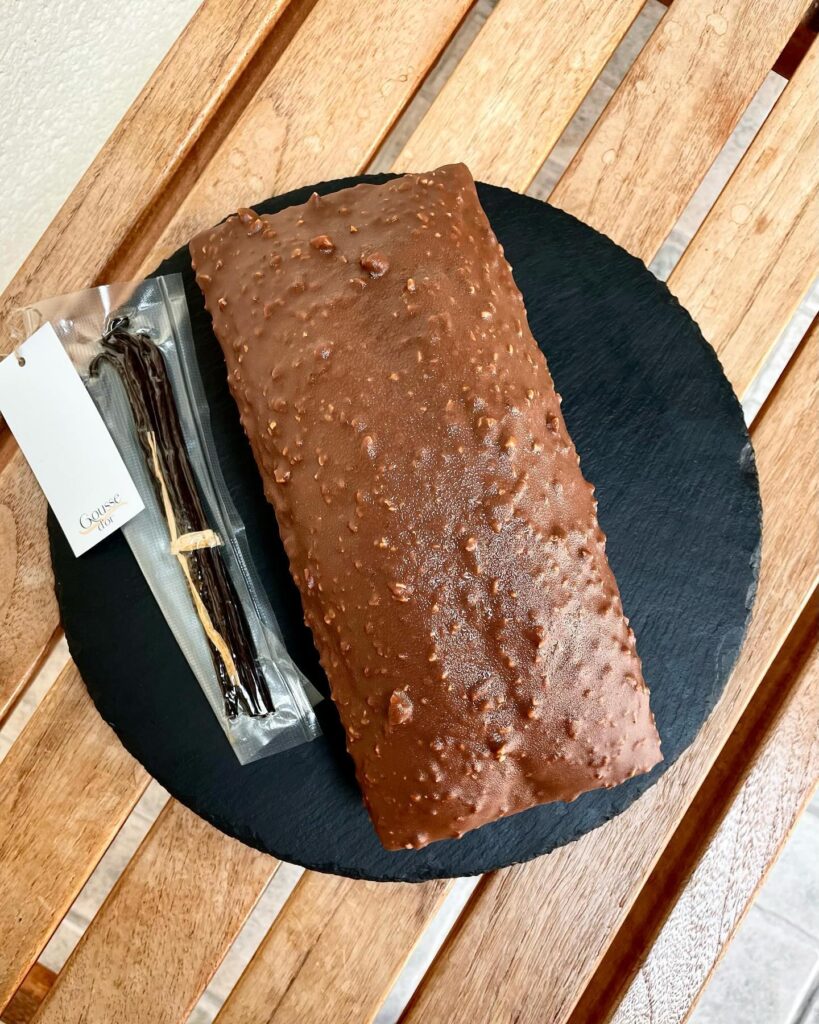
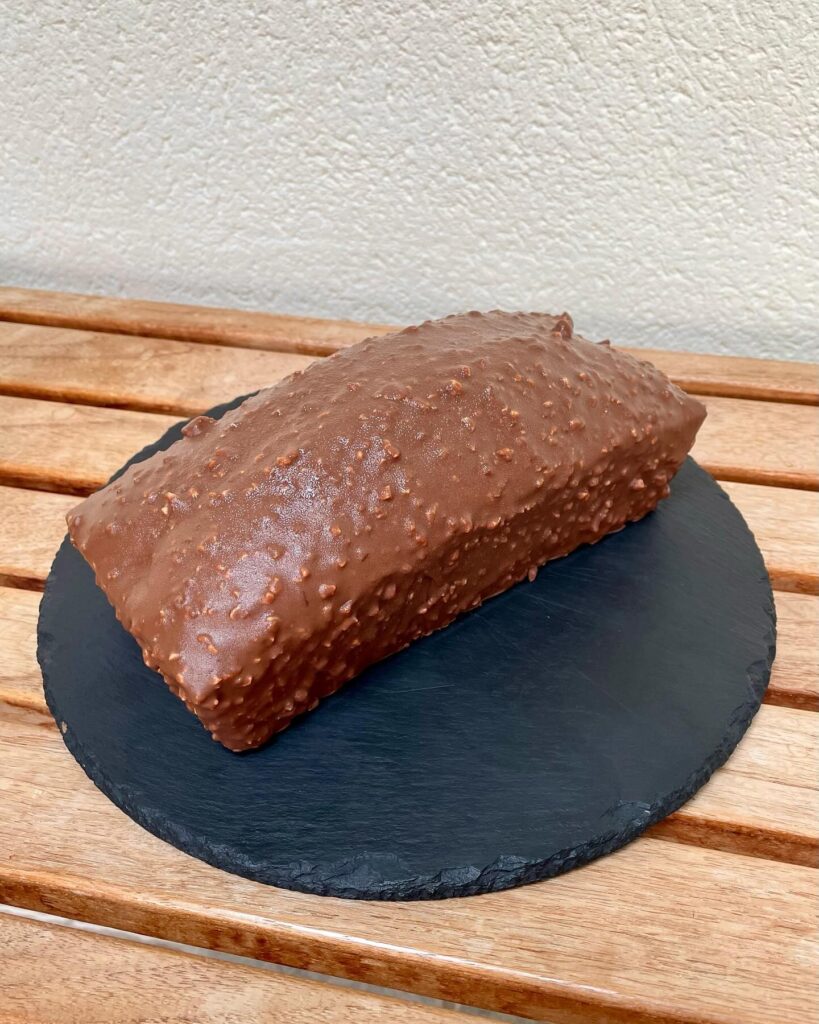
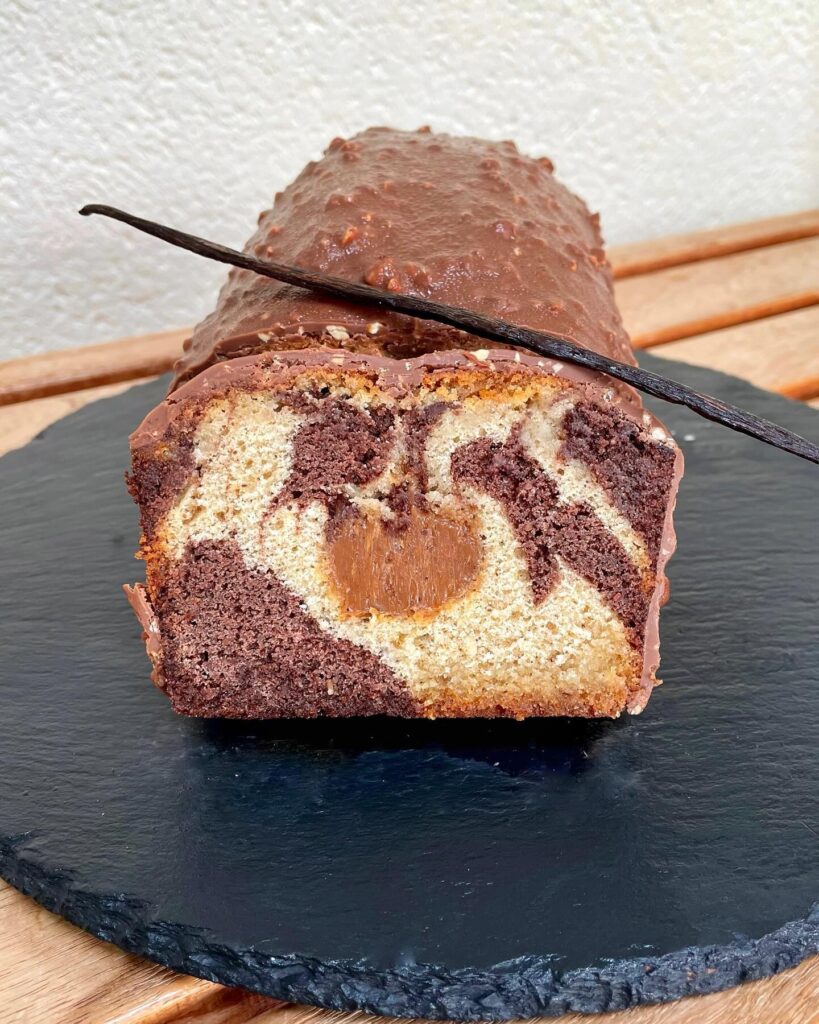
The Perfect Finish: Serving the Smooth Caramel Cake with Rocher Glaze
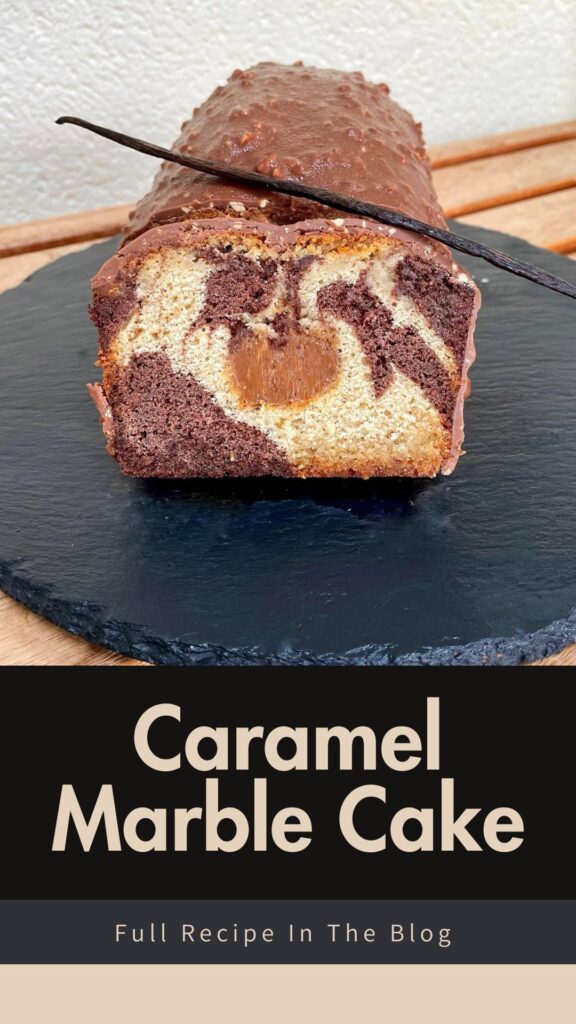
After the glaze has set, your Smooth Caramel Cake with Chocolate Rocher Glaze is ready to be enjoyed! Each slice reveals a beautifully marbled cake with a creamy caramel center, surrounded by the crunchy, nutty chocolate coating. This dessert is ideal for special occasions or as a decadent treat for anyone who loves the combination of caramel and chocolate.
Whether you’re serving it to guests or indulging yourself, this cake will impress with its blend of textures and flavors. Enjoy every bite!
Smooth Caramel Cake with Chocolate Rocher Glaze
Ingredients
Smooth Caramel
- 160 g sugar
- 30 g glucose
- 300 g very hot 30% liquid cream
- 1 piece vanilla pod
- Pinch of salt
- 70 g butter
Cake
- 180 g sugar
- 4 eggs
- 250 g butter, melted and cooled
- 70 g milk
- 300 g flour
- 10 g baking powder
- 10 g unsweetened cocoa
- 1 piece vanilla pod
Soaking Syrup
- 50 g sugar
- 100 g water
Glacage Rocher
- 300 g milk chocolate
- 50 g neutral oil
- Praline or almond slivers
🎓 Are You 18–24?
You Are Eligible For $0 Prime Trial!
6-month trial at no cost + limited-time 5–10% cashback
Get It Now!Instructions
Prepare the Smooth Caramel
- Heat the sugar and glucose in a saucepan over medium heat until the sugar melts and turns amber.
- Gradually add the very hot cream and the vanilla pod while whisking continuously.
- Stir in a pinch of salt and the butter until smooth.
- Set aside to cool and refrigerate overnight.
Bake the Cake
- Preheat the oven to 180°C (350°F).
- In a bowl, whisk together the sugar and eggs until light and fluffy.
- Add the milk and cooled melted butter to the mixture.
- Gently fold in the flour and baking powder.
- Divide the batter into two portions. In one, add the unsweetened cocoa, and in the other, the seeds from the vanilla pod.
- Alternate spooning the two batters into a greased mold to create a marbled effect.
- Bake for 30–35 minutes, or until a toothpick comes out clean. Let the cake cool in the mold.
Prepare the Soaking Syrup
- Bring the water and sugar to a boil in a saucepan until the sugar dissolves completely.
- Pour the syrup over the cake while it’s still in the mold to soak.
Freeze the Cake and Add Caramel
- Carefully unmold the soaked cake and wrap it in cling film.
- Place the cake in the freezer for 4 hours.
- After freezing, pipe the prepared caramel into the center of the cake.
- Return to the freezer for an additional 2 hours.
Prepare the Glacage Rocher
- Melt the milk chocolate in a bain-marie (double boiler).
- Once melted, remove from heat and stir in the oil and praline or almond slivers.
- Let the mixture cool to 35°C before glazing the cake.
Glaze the Cake
- Pour the Rocher glaze over the frozen cake, ensuring it is fully coated.
- Let it set before serving.
Notes
- Ensure the caramel is prepared a day before to allow it to cool properly.
- The cake needs a total of 6 hours of freezing for the best results.
- Let the Rocher glaze cool to 35°C before applying to avoid melting the cake.
Leave a Reply