Sometimes, all you need is a quick, comforting dish to lift your spirits. This Garlic Butter Gnocchi recipe is just that—a deliciously simple meal that you can whip up in under 15 minutes. With just a handful of ingredients, this dish delivers a satisfying combination of crispy gnocchi, rich garlic butter, and a generous sprinkle of Parmesan cheese. Perfect for those busy weeknights or when you’re craving something cozy but don’t want to spend hours in the kitchen.
I stumbled upon this recipe on a particularly hectic evening. I was exhausted and didn’t want to fuss with a complicated meal, but I was craving something indulgent. I remembered a packet of gnocchi sitting in the refrigerator and decided to toss it with some garlic butter. The result was pure magic—a quick, flavorful dish that felt like a warm hug in a bowl. Now, it’s my go-to recipe when I need a comforting meal in a hurry.
Let’s dive into this delicious recipe and see how easy it is to make your own Garlic Butter Gnocchi!

Ingredients You’ll Need For This
- 2 tbsp garlic butter
- 400g pan-fry gnocchi (usually found in the refrigerator section of most supermarkets)
- Parmesan cheese
- Fresh herbs (like parsley or basil)
Steps to Make Garlic Butter Gnocchi
1. Heat the Garlic Butter
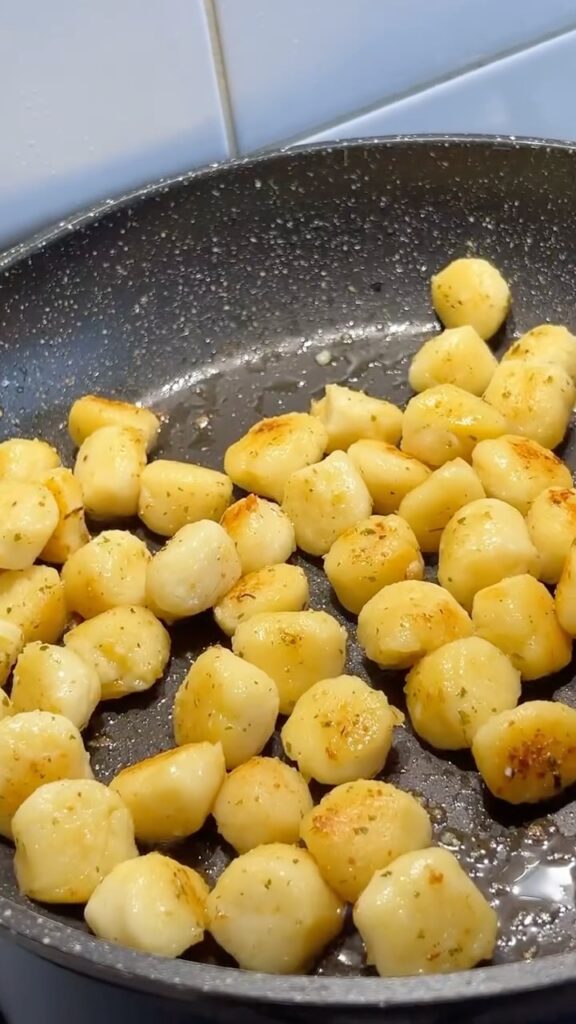
Start by adding the garlic butter to a frying pan over medium-high heat. Allow it to melt completely, releasing that amazing garlic aroma that will fill your kitchen. Garlic butter is the star of this dish, bringing a rich, savory flavor that pairs perfectly with the gnocchi.
2. Cook the Gnocchi
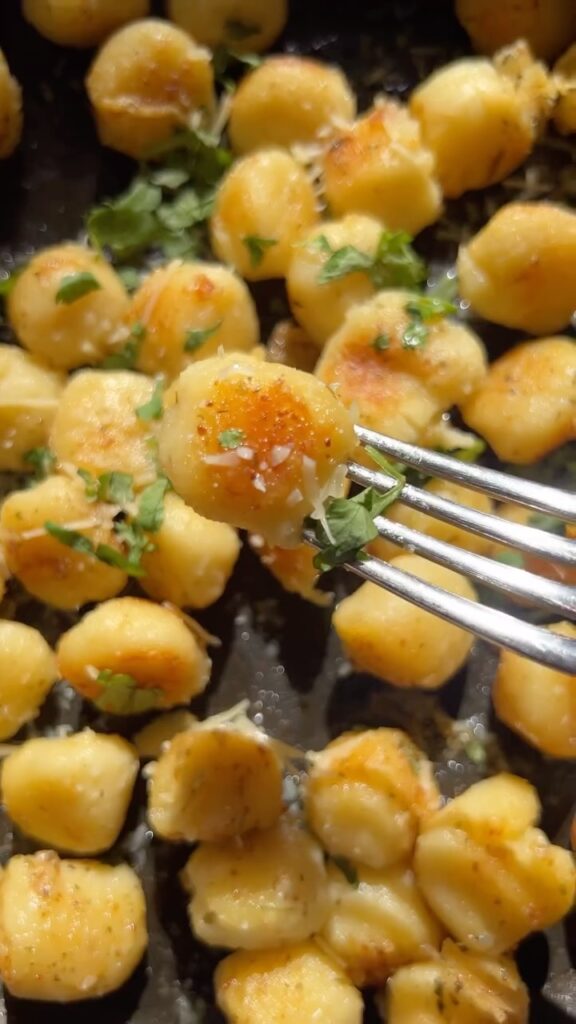
Once the butter is melted and starting to sizzle, add the gnocchi to the pan. Stir the gnocchi frequently to ensure they cook evenly and become golden brown on all sides. This usually takes about 8-10 minutes. Pan-frying the gnocchi gives them a wonderful crispy exterior while keeping the inside soft and pillowy.
3. Add the Parmesan Cheese
Just before the gnocchi are fully cooked, sprinkle a little Parmesan cheese over them and stir. The cheese will melt into the gnocchi, adding a deliciously creamy and salty finish.
4. Serve and Enjoy
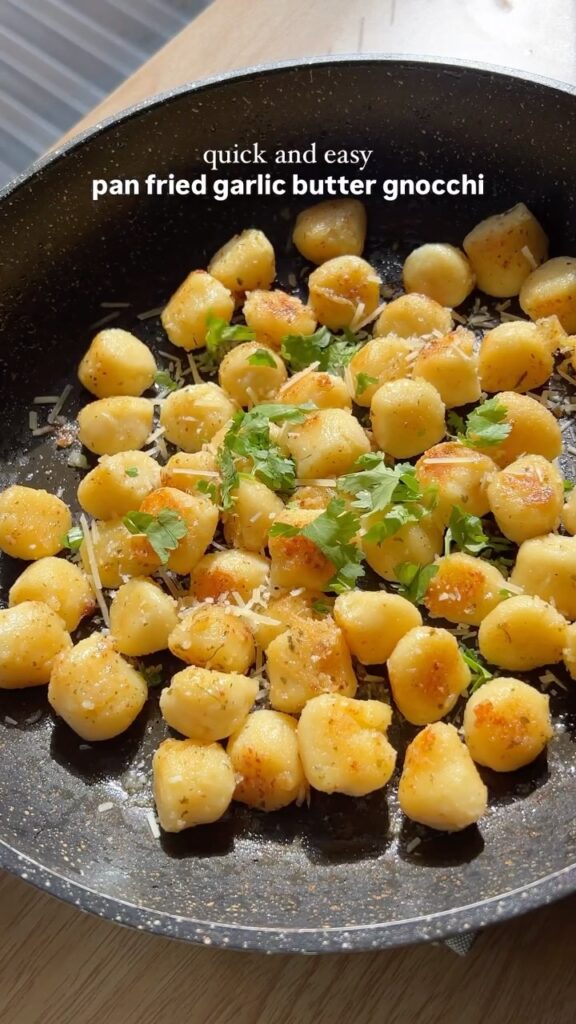
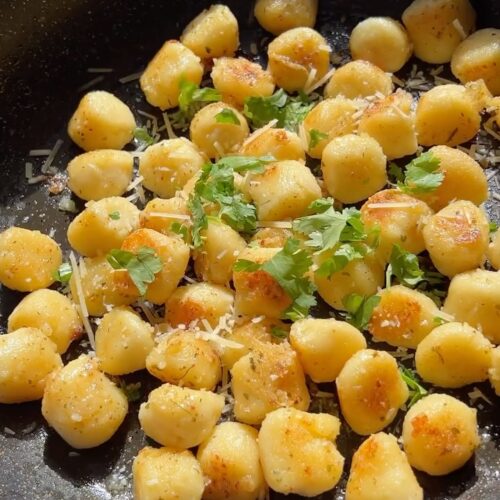
Once the gnocchi are golden and the Parmesan is melted, remove the pan from the heat. Plate the gnocchi and add an extra sprinkle of Parmesan cheese on top. Finish with some fresh herbs like parsley or basil for a burst of freshness and color. Serve immediately and enjoy every delicious bite!


Variations to Try
This recipe is incredibly versatile, and there are plenty of ways to make it your own:
- Add some veggies: Throw in some cherry tomatoes, spinach, or mushrooms along with the gnocchi for a bit of color and extra nutrients.
- Make it spicy: If you like a bit of heat, add a pinch of red pepper flakes to the garlic butter.
- Switch up the cheese: While Parmesan is classic, you could use Pecorino Romano or even a bit of crumbled feta for a different flavor profile.
- Add some protein: For a heartier meal, add some grilled chicken, shrimp, or even crispy beef bacon.
Perfect Pairings
This Garlic Butter Gnocchi is a filling dish on its own, but if you’re looking to round out your meal, here are some ideas:
- Side Salad: A simple green salad with a tangy vinaigrette would complement the rich flavors of the gnocchi nicely.
- Roasted Vegetables: Serve with a side of roasted asparagus or broccoli for added texture and flavor.
- Crusty Bread: A slice of warm, crusty bread is perfect for sopping up any leftover garlic butter from the plate.
Storing and Reheating
If you have any leftovers (though it’s hard to imagine with this delicious dish!), store them in an airtight container in the refrigerator for up to two days. To reheat, simply pop the gnocchi back into a hot frying pan for a few minutes until warmed through and crispy again.
Why This Gnocchi Recipe Works
This recipe is a fantastic way to enjoy gnocchi without the usual fuss of boiling water. The pan-fried method gives the gnocchi a delightful texture that’s both crispy and tender. The garlic butter adds a deep, savory flavor, while the Parmesan cheese brings a nice salty bite. Together, they create a dish that feels both indulgent and comforting. Plus, with minimal ingredients and prep time, this dish is perfect for when you want something quick and satisfying.
Give this Garlic Butter Gnocchi recipe a try next time you’re looking for an easy and delicious meal. It’s sure to become a staple in your kitchen!

Pan Fried Garlic Butter Gnocchi
Ingredients
Ingredients:
- 2 tbsp garlic butter
- 400 g pan fry gnocchi – you can get this from the refrigerator section in Woolies!
- Parmesan cheese
- Fresh herbs
Instructions
Method:
- Add the garlic butter to a fry pan over medium-high heat. Once it’s melted add the gnocchi and cook until golden (about 8-10 minutes), stirring frequently. Once it’s almost cooked, add a sprinkle of Parmesan cheese and mix.
- Add more Parmesan and fresh herbs to serve.
- Enjoy!
Notes
- Tip: Keep stirring the gnocchi frequently to ensure they cook evenly and achieve a golden, crispy texture.
- Experiment with different herbs like basil, parsley, or chives to add a fresh twist to your dish.
- For an extra cheesy flavor, consider using Pecorino Romano instead of Parmesan.
- Leftovers can be stored in an airtight container in the fridge for up to 2 days; reheat in a skillet to regain crispiness.
Leave a Reply