

Ever open your fridge on a Sunday night and realize you’ve got absolutely nothing ready for the week ahead? That used to be me — every single week — until I started making these crunchy sweet and salty no-bake protein bars.
They take about fifteen minutes of actual hands-on time, and suddenly you’ve got sixteen bars staring back at you, ready to grab whenever hunger strikes.
I’m serious when I say these are the snack I make on repeat. The puffed quinoa gives them this amazing light crunch, the peanut butter and honey bring the sweet and salty magic, and there’s zero oven involved.
Just mix, press, chill, and cut. Whether you’re meal prepping for a hectic workweek or you need a quick energy boost before the gym, these bars have your back.
I’ve made a lot of protein bar recipes over the years — trust me — and these are the ones my friends actually ask me to make again. So let me walk you through everything I’ve learned so yours turn out perfectly on the very first try.
Why These No-Bake Protein Bars Are My Go-To Snack
There are so many reasons I keep coming back to this recipe, but the biggest one is simplicity. No baking, no complicated steps, no weird ingredients you have to hunt for at a specialty store.
You stir everything together, press it into a pan, and pop it in the freezer for ten minutes. That’s it.
They’re also genuinely satisfying. Each bar comes in around 190 calories with a solid hit of protein and fiber, so they actually keep you full instead of leaving you hungry twenty minutes later.
The texture is what really wins people over though — that crunch from the puffed quinoa combined with the chewy peanut butter and honey base is addictive. If you love a sweet-salty combo like I do, you’re going to be hooked.
I also appreciate that this recipe plays nicely with what’s already in my pantry. It’s flexible enough that you can swap things around without disaster, which is a huge deal when you’re cooking on a budget or just don’t feel like running to the store.
How to Keep No-Bake Protein Bars from Falling Apart
This is the number one question I get about no-bake bars, and I totally get the frustration. There’s nothing worse than slicing into your bars and having them crumble apart.
Here’s what I’ve found works best:
Press the mixture really firmly into the pan. I mean it — use the back of a spoon, a spatula, or even your hands covered in plastic wrap and really pack it down.
The tighter you press, the better the bars hold together once they’re chilled and cut.
Don’t skip the chill time. Even though the freezer only needs about ten minutes, that quick blast of cold is what sets everything up.
If you find the bars are still a little soft when you cut them, pop them back in for another five minutes. There’s no harm in being patient here.
Use coconut flour to help bind things. A couple of tablespoons goes a long way in absorbing moisture and keeping the mixture from being too sticky or too crumbly.
If you don’t have coconut flour on hand, just use a bit more protein powder instead — it does the same job.
Can You Customize These Protein Bars?
Absolutely, and honestly, I change them up all the time depending on my mood and what’s in the cupboard. That’s one of my favorite things about this recipe — it’s practically begging for you to make it your own.
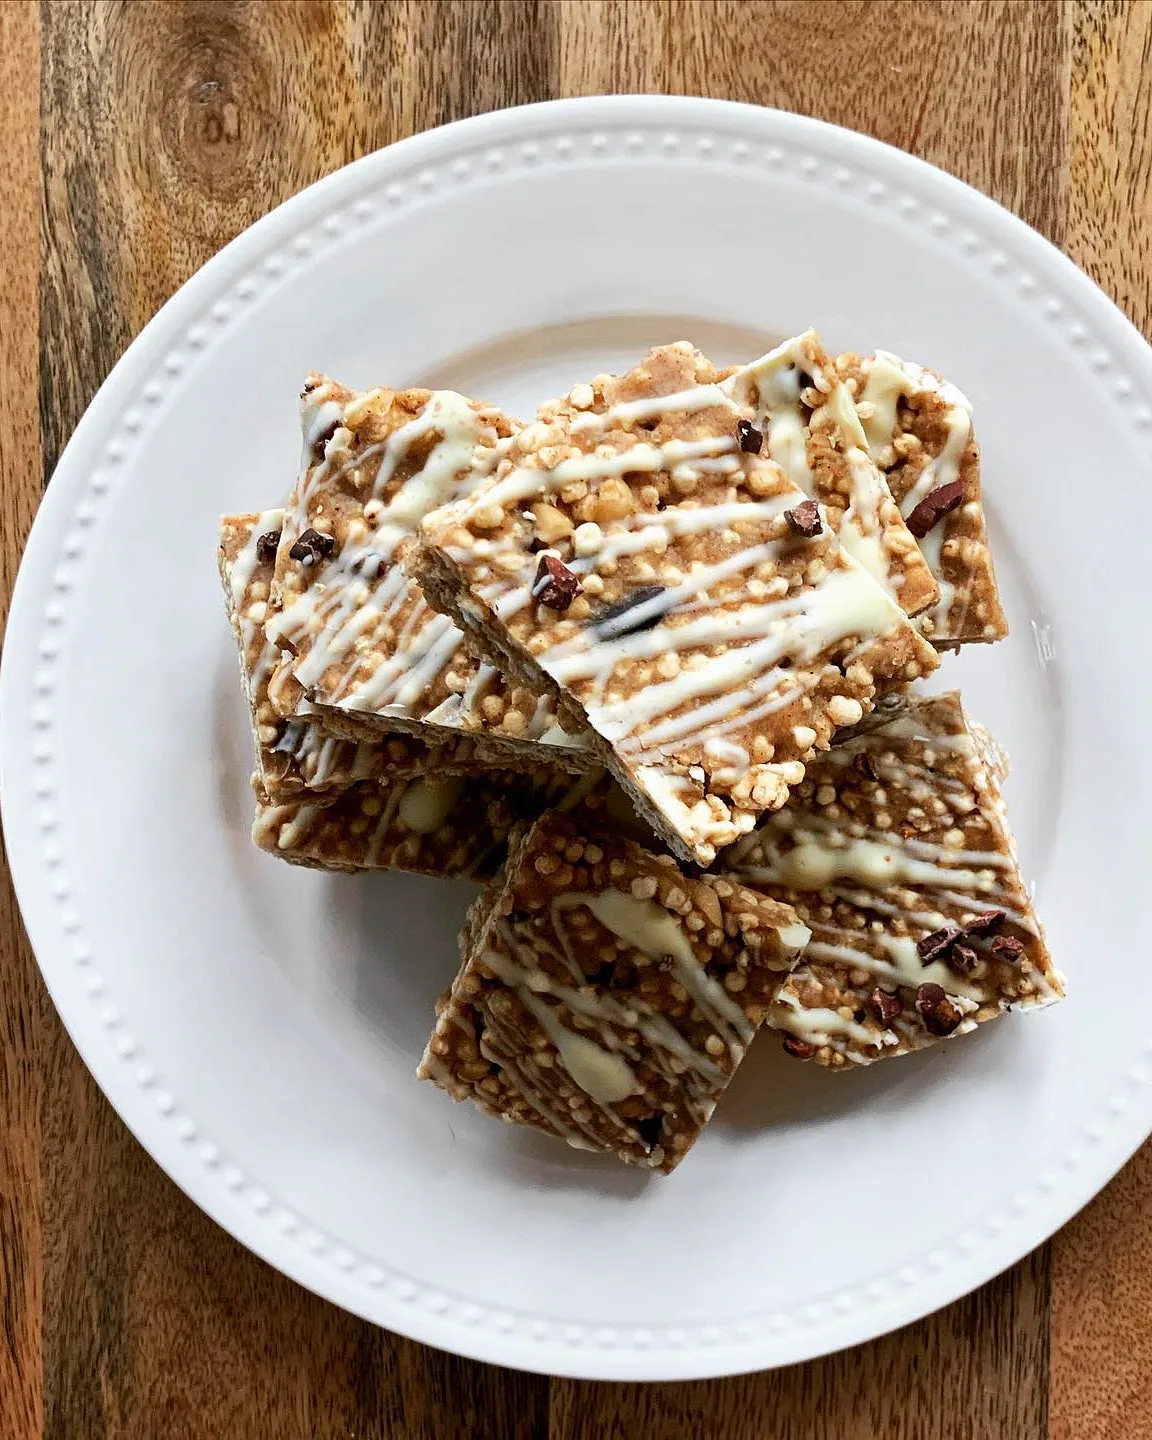
Not a peanut butter person? Almond butter or cashew butter works beautifully as a substitute.
You could even use sunflower seed butter if you’re nut-free. The walnuts in this recipe can be swapped for any chopped nut you like — pecans, almonds, pistachios — or left out entirely if you prefer.
The chocolate drizzle on top is technically optional, but let’s be real, it makes everything better. I’ve used both white chocolate and dark chocolate and loved them both.
A tiny pinch of flaky salt on top of the melted chocolate takes these to a whole other level. It’s the kind of small detail that makes people think you spent way more time on these than you actually did.
If you want to amp up the fiber, stir in a tablespoon of psyllium husk. It doesn’t change the flavor at all, but it adds some extra staying power.
And if you’ve been exploring puffed quinoa recipes lately, you might also love my puffed quinoa pistachio bars — they’re another no-bake winner with a completely different flavor vibe.
How to Store No-Bake Protein Bars
Since these bars have no baked structure holding them together, keeping them cold is essential. I store mine in the refrigerator in an airtight container with a piece of parchment paper between layers.
They stay fresh and firm for about a week this way, which is perfect since the recipe makes sixteen bars.
Want to keep them even longer? These freeze wonderfully.
I like to wrap individual bars in parchment or plastic wrap and toss them in a freezer bag. Then you can just grab one straight from the freezer whenever you need it.
They’ll last a good couple of months in there.
One thing I will say — don’t leave them sitting out on the counter in a warm kitchen for too long. The coconut oil and honey make them a little softer at room temperature.
They won’t melt or anything dramatic, but they won’t be at their best. Cold is where they shine.
Are These Bars Good for Meal Prep?
One hundred percent. This is honestly one of the best meal prep snacks I’ve found.
The whole recipe takes about fifteen minutes from start to finish with zero cooking, and you end up with a full week’s worth of grab-and-go snacks.
I usually make a batch on Sunday and portion them out into a container right in the fridge. My mornings are chaotic enough as it is, so having something I can just grab and toss into my bag is a total lifesaver.
My kids love them too, which is always a win.
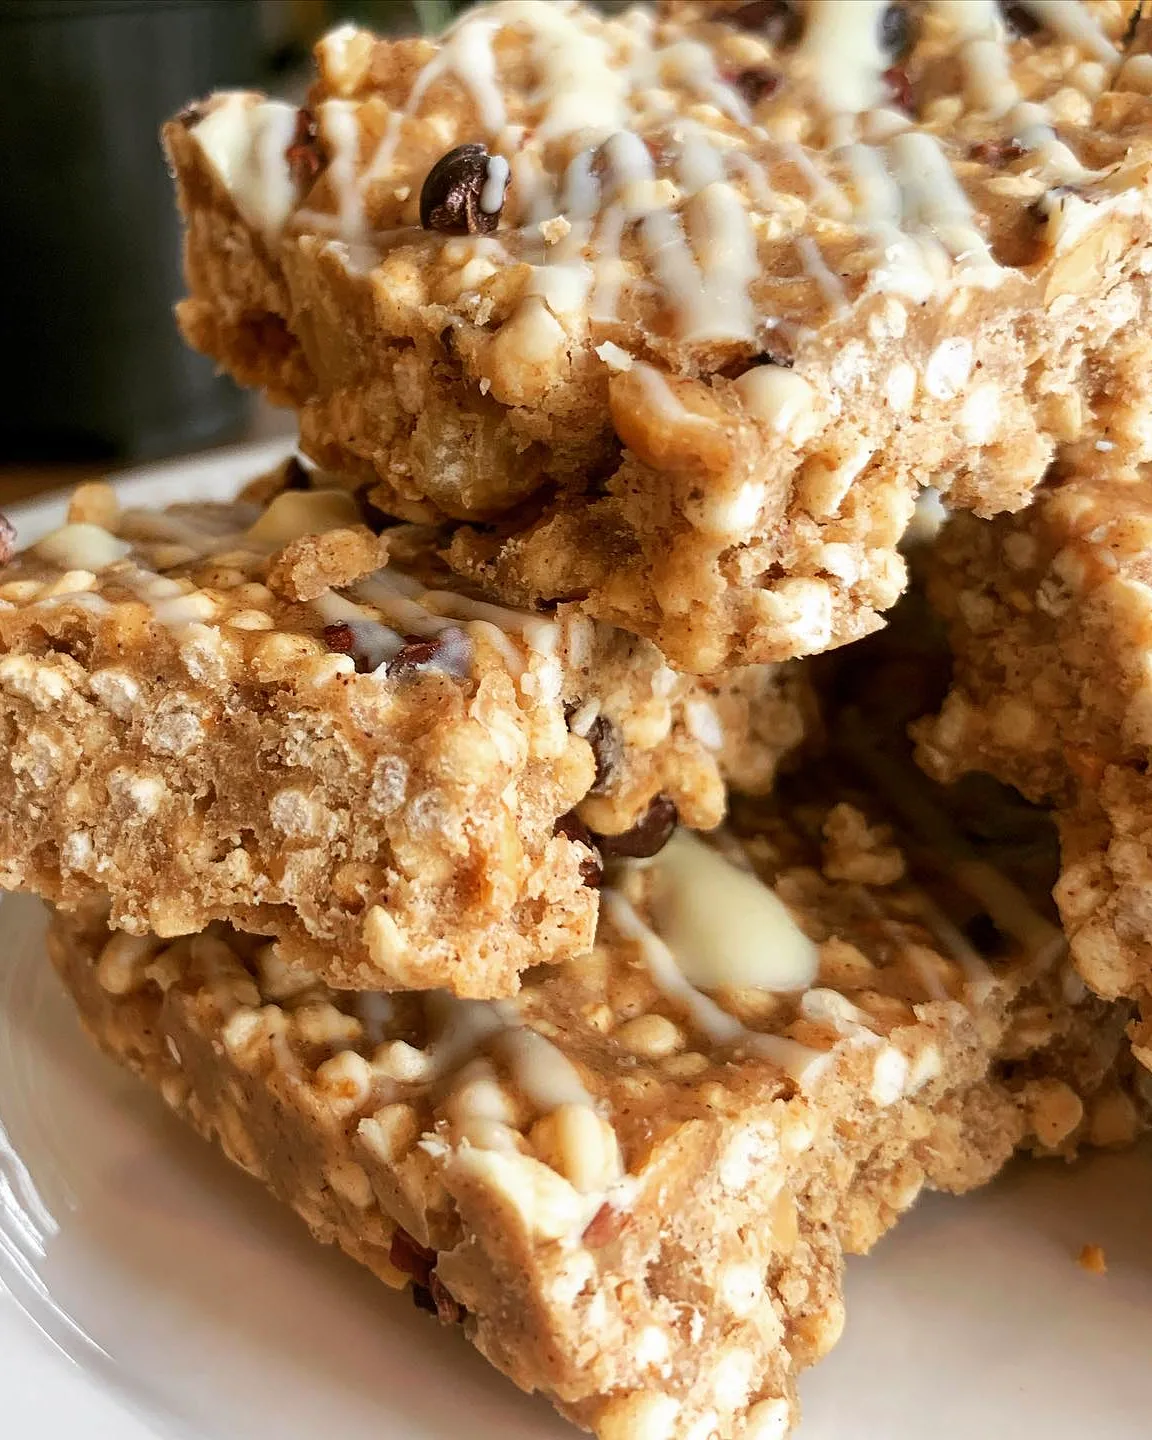
If you enjoy having healthy snacks prepped and ready, you might also want to try my peanut butter date energy balls. They’re another quick, no-cook option that pairs perfectly with these bars for variety throughout the week.
Or if you’re in a chocolate-peanut-butter mood, my no-bake peanut butter bars are always a crowd-pleaser.
Tips for the Best Crunchy Sweet and Salty Protein Bars
After making these more times than I can count, here are the little things that really make a difference:
Use good peanut butter. The kind with just peanuts and salt is ideal here.
If you use a super-processed variety with a lot of added sugar and oils, the bars can turn out too soft. Natural peanut butter gives you that perfect chewy-but-firm texture.
Warm the wet ingredients slightly before mixing. If your honey and peanut butter are thick and stubborn, a quick few seconds in the microwave or a gentle warm-up on the stove makes everything combine much more smoothly.
Just don’t make it hot — warm is plenty.
Don’t overdo the cacao nibs. A quarter cup gives you these lovely little chocolatey crunches throughout.
Much more than that and they start to dominate the texture. They’re wonderful for a subtle crunch and a hint of bitterness to balance all that sweetness.
Chill before cutting for clean edges. If presentation matters to you — and hey, sometimes it does — let the bars sit in the fridge for a bit after the initial freezer time before slicing.
A sharp knife and cold bars are the recipe for neat, Instagram-worthy squares.
That’s really all there is to it. Simple ingredients, minimal effort, and a snack that genuinely tastes like a treat while still being good for you.
Give these a try this weekend and I think you’ll find yourself making them again and again — just like I do. And if you love easy no-bake desserts, don’t miss my no-bake Ferrero Rocher bars for when you want something a little more indulgent.
Crunchy Sweet and Salty No-Bake Protein Bars
Description
Ingredients
- 2 cups puffed quinoa
- ½ cup peanut butter
- ½ cup honey
- ¼ cup protein powder vegan vanilla flavor, about 40 grams
- 2 tbsp coconut flour or same protein powder
- ⅓ cup coconut oil melted
- 2 tbsp butter optional, for richer flavor
- 1 tsp cinnamon
- ½ tsp salt
- 1 tbsp psyllium husk optional, for more fiber
- ¼ cup cacao nibs
- ¼ cup walnuts or other nut, chopped
- ¼ cup white or dark chocolate optional, for drizzling
Instructions
- Mix everything together except for the puffed quinoa.
- Fold in the puffed quinoa.
- Press the mixture firmly into an 8×8 baking dish.
- Optional: melt white or dark chocolate, drizzle over the top, and sprinkle with a pinch of salt.
- Place in the freezer for about 10 minutes, then remove.
- Cut into bars.
- Store in the refrigerator to keep fresh.
Notes
- These bars must be kept refrigerated.
- Makes 16 bars — great for meal prep throughout the week.
- Press the mixture very firmly into the pan to help the bars hold together when cut.
Leave a Reply